Close your eyes and imagine it: You’re standing on a bustling corner in Manhattan. The air is thick with the smell of roasting coffee and the frantic energy of the morning rush. You duck into a narrow, yellow-lit deli where the glass cases are overflowing with treats. And there she is. The queen of the bakery case. The Classic Black and White Cookies.
It’s not just a cookie. It’s a texture-bending, flavor-merging, cake-disguised-as-a-biscuit miracle. The first bite is soft—almost pillow-like—with a hint of lemon and vanilla that dances on your tongue. Then comes the icing. One side is a velvety, dark chocolate dream; the other is a crisp, snowy vanilla cloud. It’s a symphony of harmony in a world of chaos.
Recommended Product
 -15%
-15%
Silicone Baking Mat with Measurement Guide (Non-Stick Pastry & Cake Mat)
- Material →: Food-grade silicone (safe for baking)
- Surface →: Non-stick (no butter or oil needed)
- Design →: Measurement guide for perfect cake sizes
But here’s the best part: You don’t need a plane ticket to JFK to experience this. We are bringing the deli vibes right to your kitchen, flour-dusted counters and all.
🍳 Used in this recipe
Get It on Amazon Basics✔ Free Delivery | ✔ Top Rated | ✔ Budget-Friendly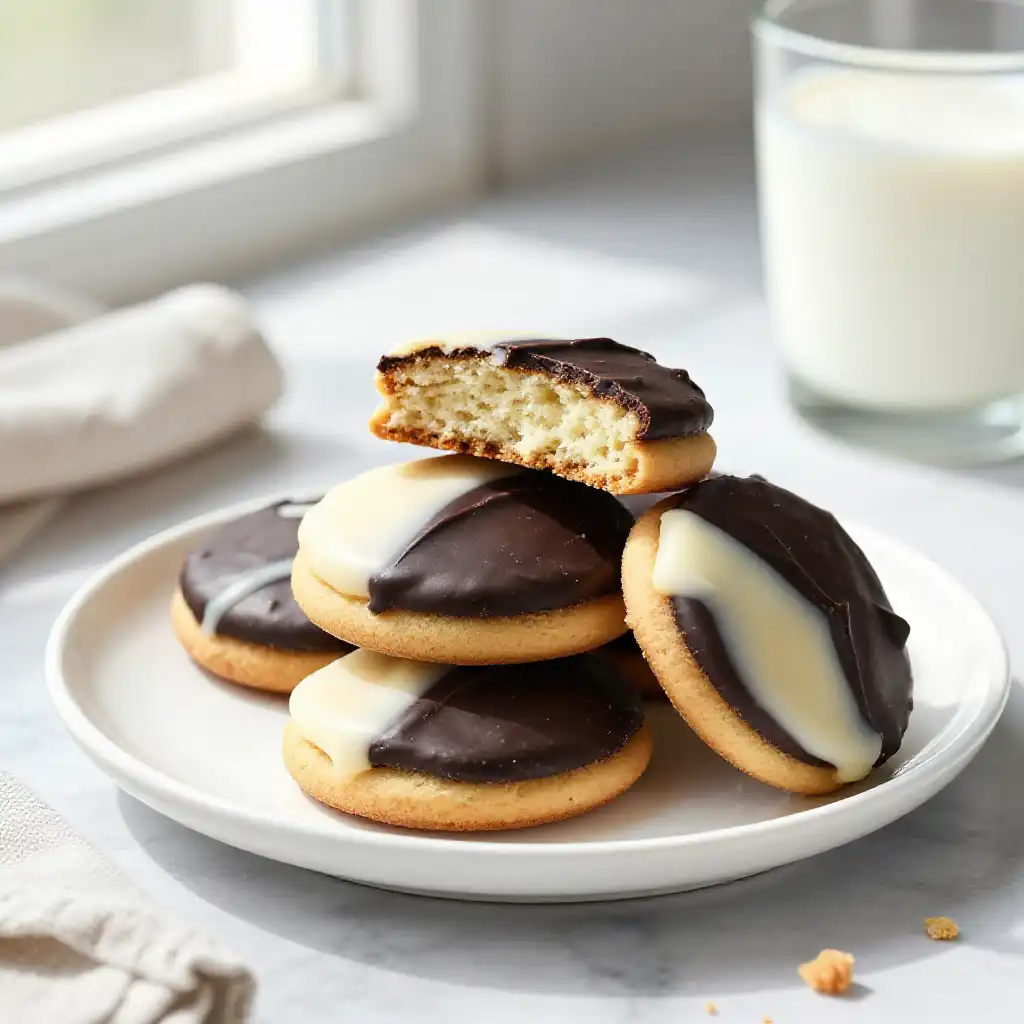
The Identity Crisis That Tastes Like Heaven
Is it a cake? Is it a cookie? Let’s be real: it’s both. The Classic Black and White Cookies are technically “drop cakes.” The batter is thicker than a pancake but fluffier than a standard chocolate chip cookie dough. This is what gives them that iconic “domed” shape and the tender crumb that melts the second it hits your palate.
Why do these rock so hard? Because they refuse to make you choose. We live in a world of “either/or,” but these beauties are firmly “both/and.” You get the deep cocoa richness and the pure sugar rush of vanilla in every single serving. Plus, the hint of lemon zest in the base isn’t just an “extra”—it’s the secret soul of the cookie that cuts through the sweetness and makes you go back for “just one more sliver.”
If you love mastering iconic treats like this, you should definitely check out more of our kitchen adventures over at our recipe vault, where we break down the complex into the craveable.
🍳 Used in this recipe
Get It on Amazon Basics✔ Free Delivery | ✔ Top Rated | ✔ Budget-FriendlyThe Science of the ‘Smeared’ Icing
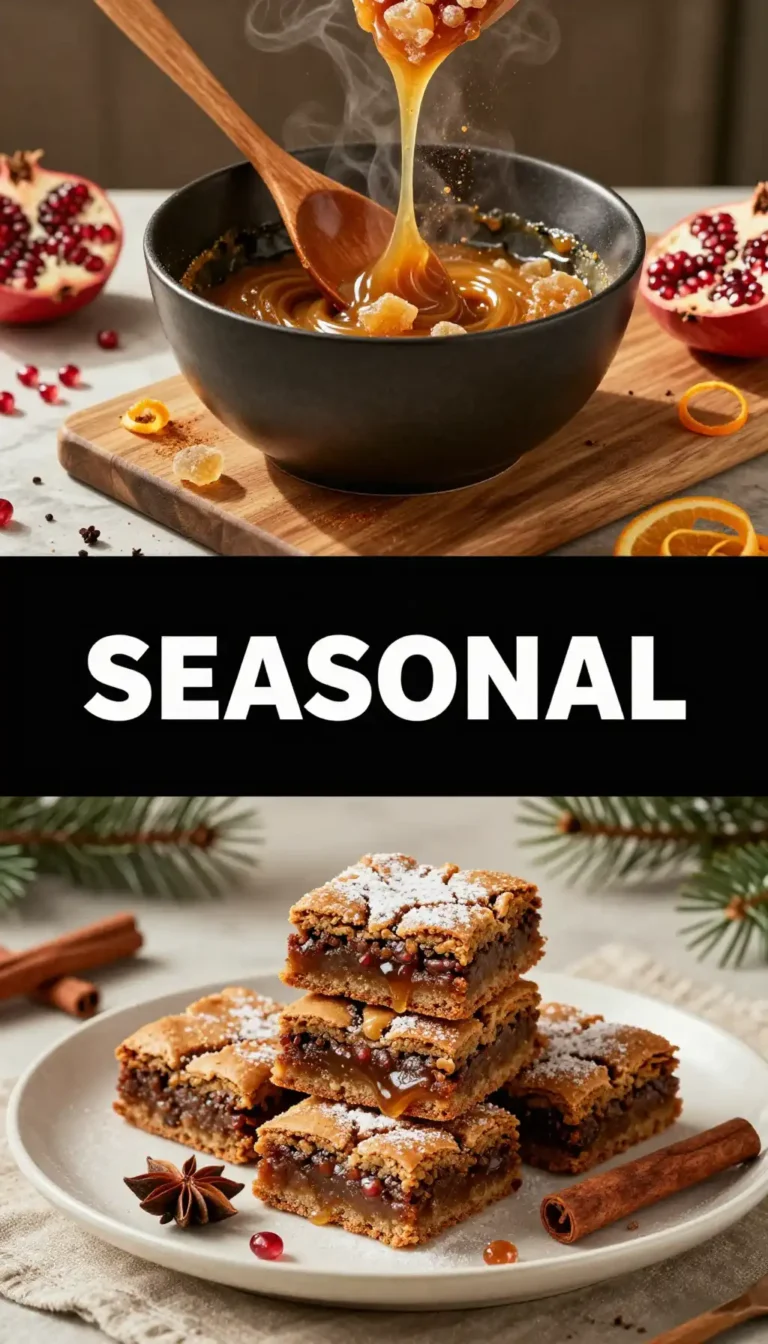
Let’s talk about the icing. This isn’t your standard buttercream that you can just slap on with a spoon. No, the easy Classic Black and White Cookies method requires a specific type of glaze—an boiled fondant-style icing that sets with a beautiful, professional sheen.
The secret? Corn syrup and heat. By gently warming the frosting, you ensure it flows smoothly over the flat side of the cookie (yes, we frost the bottom, not the top!). As it cools, the sugar crystallizes into a thin, snappy shell that keeps the cake underneath moist for days. It’s a delicate balance of moisture and structure that would make a chemist weep with joy.
Want to keep the vibes going while you wait for the icing to set? Whisk up something refreshing from this smoothie and drinks collection to keep your energy high!
🍳 Used in this recipe
Get It on Amazon Basics✔ Free Delivery | ✔ Top Rated | ✔ Budget-FriendlyWhat You Need to Raid From the Pantry
Before we start the transformation, gather your troops. You don’t need fancy equipment, just good ingredients and a little bit of patience. Here is what you’ll need to make how to make Classic Black and White Cookies a success story in your house:
The Cakey Base
- Unsalted Butter: Softened to the point where it feels like velvet.
- Granulated Sugar: For that classic sweetness.
- Large Eggs: Room temperature is a must—don’t skip this!
- Buttermilk: This is the secret to the tang and the tender crumb.
- All-Purpose Flour & Cake Flour: Using a mix ensures the cookie isn’t too tough.
- Lemon Zest: The “New York” secret ingredient.
The Iconic Glaze
- Confectioners’ Sugar: Sifted, unless you like lumpy icing (you don’t).
- Hot Water: To get that pourable consistency.
- Unsweetened Cocoa Powder: The darker the better.
- Light Corn Syrup: For that high-gloss finish.
The Step-by-Step to NYC Greatness
Ready to bake? Follow these steps closely. We aren’t just making food; we’re creating art.
- Cream the Dream: Beat your butter and sugar until it’s pale and fluffy. Think “cloud-like.” Add your eggs one at a time, followed by the lemon zest and vanilla.
- The Dry-Wet Dance: Whisk your flours together. Alternately add the flour mixture and the buttermilk to the butter mixture. Start and end with the flour. Do not overmix! If you overwork the dough, you’ll end up with a hockey puck instead of a pillow.
- The Scoop: Use a large ice cream scoop to drop mounds of dough onto parchment-lined sheets. You want these big—about 4 inches across. Flatten them slightly with a damp hand.
- The Bake: Slide them into a 350°F (175°C) oven for 12-15 minutes. They should be pale with just a hint of gold at the edges. Let them cool completely.
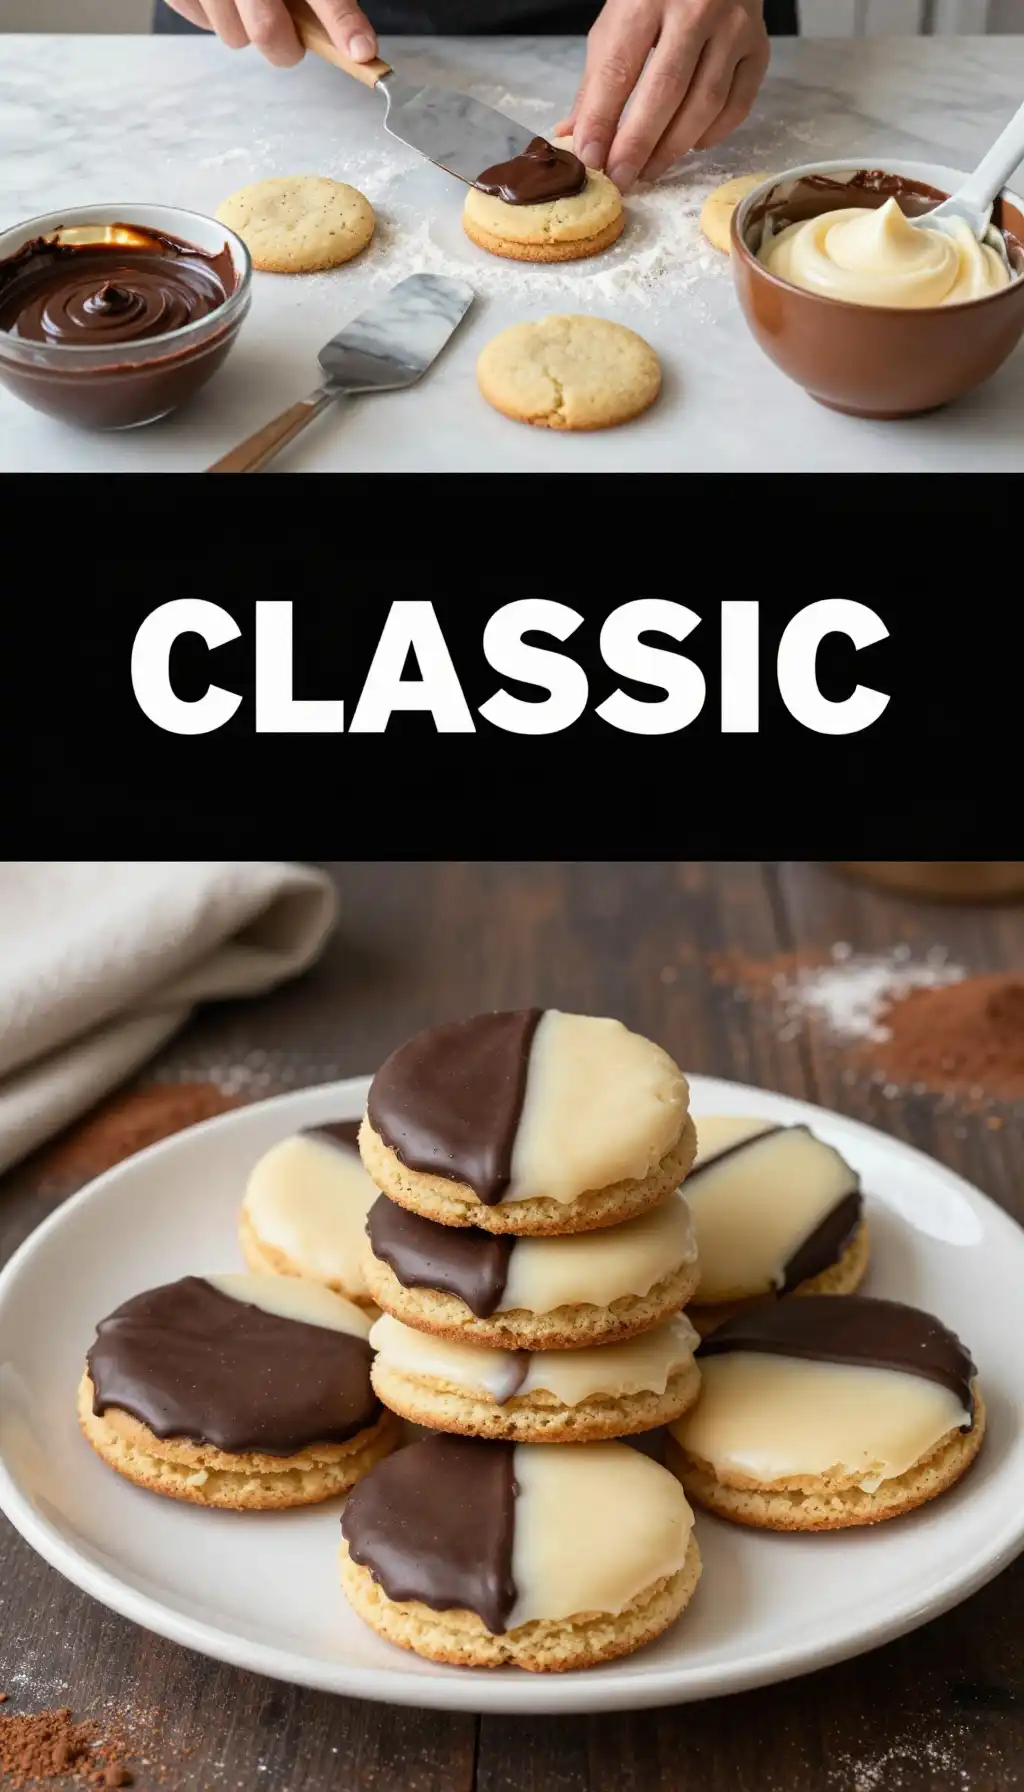
- The Flip: Here is the trick—flip the cookies over. We are icing the flat bottom side. This gives you that perfectly level surface for the half-and-half look.
- The Great Divide: Spread the vanilla icing over half of the cookie. Let it set for 15 minutes. Then, whisk the cocoa into the remaining icing and cover the other half. Use a steady hand!
How NOT to Ruin Your Masterpiece
Even the pros can stumble. Here is how to keep your Classic Black and White Cookies from becoming a “Pinterest Fail.”
🍳 Used in this recipe
Get It on Amazon Basics✔ Free Delivery | ✔ Top Rated | ✔ Budget-FriendlyThe Runny Icing Disaster: If your icing is too thin, it will run off the edges and look like a muddy mess. Add more sugar. If it’s too thick, it won’t shine. Add water, one teaspoon at a time. It should be the consistency of heavy cream.
The “Warm Cookie” Mistake: I get it. You’re hungry. But if you ice a warm cookie, the frosting will melt into the cake, and you’ll lose that crisp line. Patience is a virtue, especially in baking.
The Overbake: These cookies don’t get brown like chocolate chip cookies. If they look white but feel set, they are done. Overbaking leads to a dry, crumbly mess that no amount of icing can save.
🍳 Used in this recipe
Get It on Amazon Basics✔ Free Delivery | ✔ Top Rated | ✔ Budget-FriendlyRecommended Product
 -33%
-33%
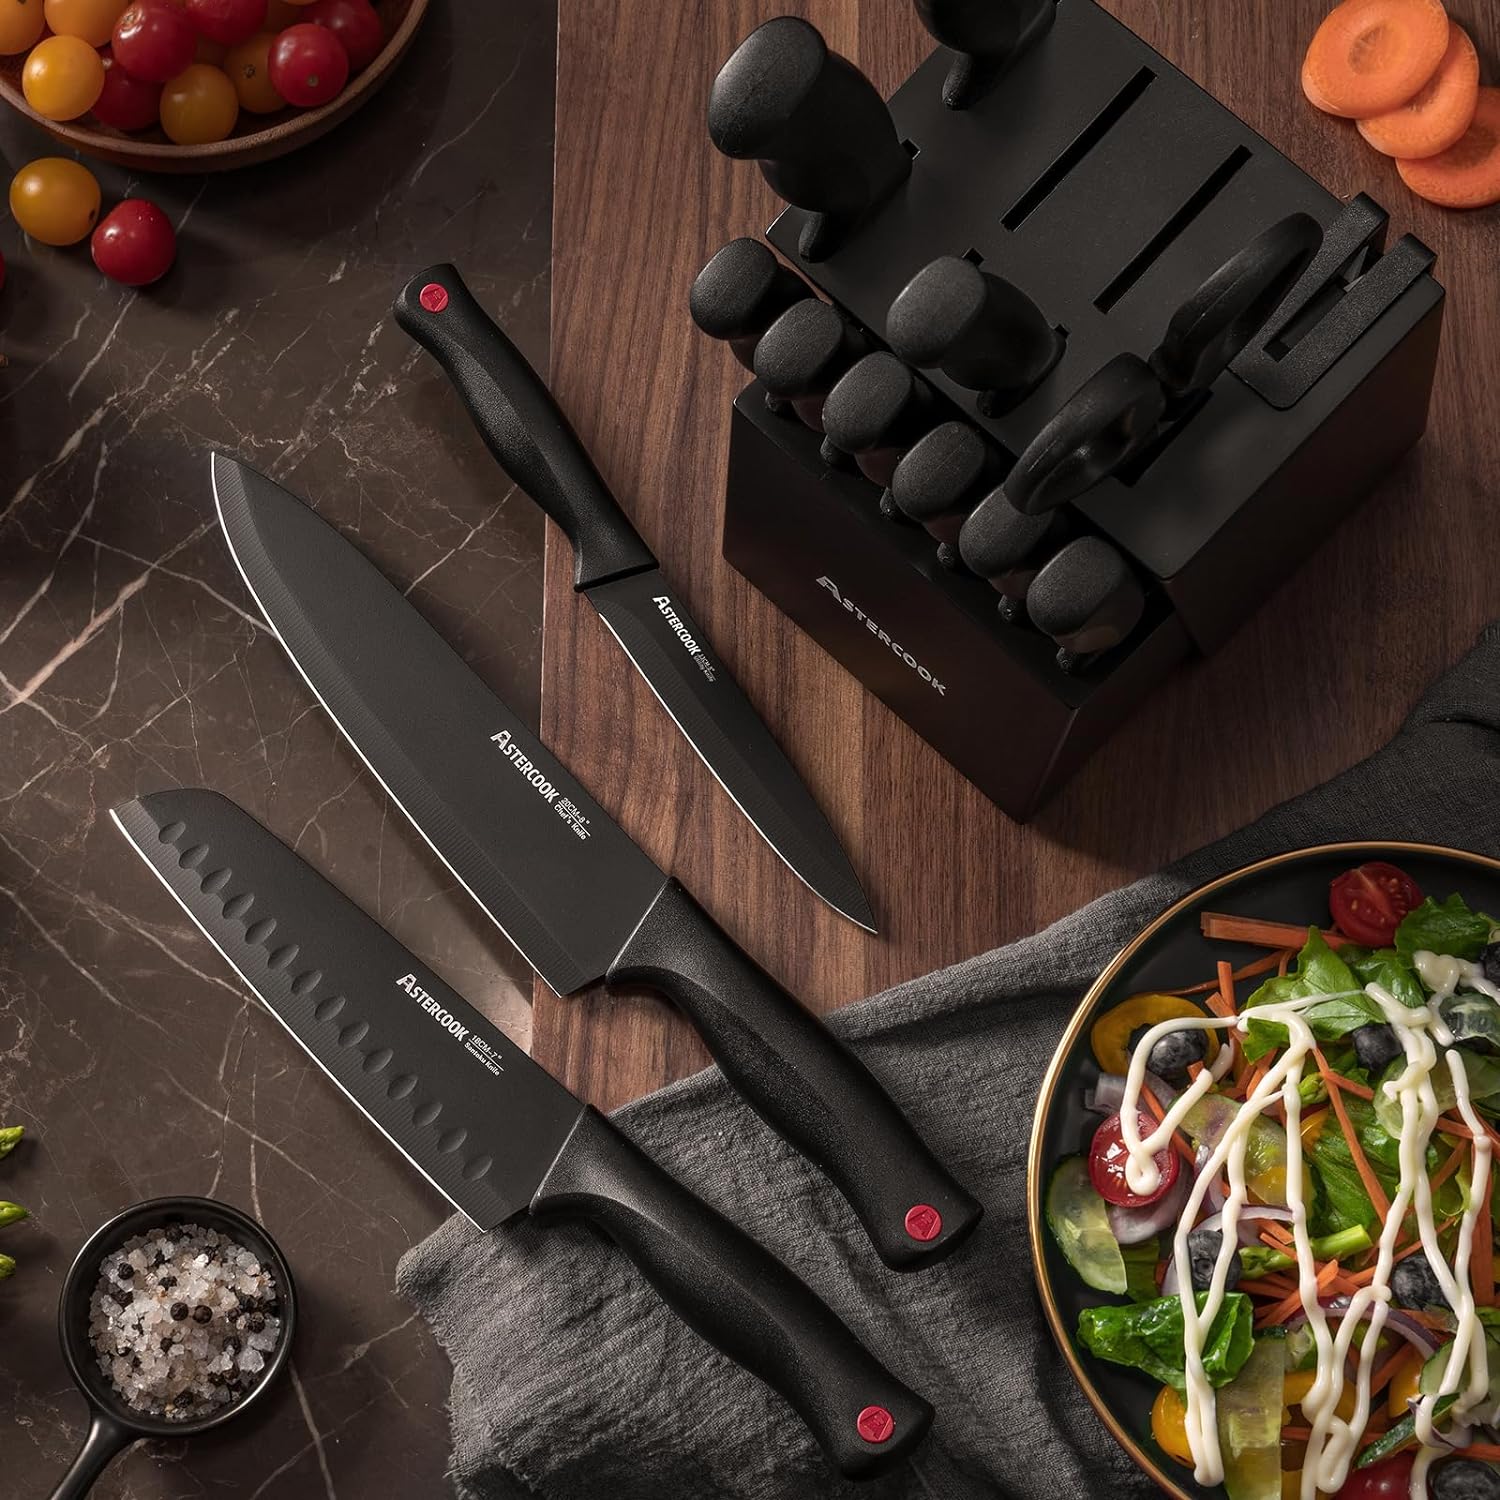
Astercook 15‑Piece Kitchen Knife Set with Built‑In Sharpener Block
- Built‑In Sharpener →: Integrated sharpener in block for easy maintenance
- Material →: High‑carbon German stainless steel blades (rust‑resistant, durable)
- Dishwasher Safe →: Yes (but hand washing recommended to preserve sharpness)
Serving Vibes: The Ultimate Setting
How do you serve these? Honestly, they are the ultimate “anytime” treat. But if you want to be extra, serve them on a rainy Sunday afternoon with a giant mug of hot coffee or a tall glass of cold milk. They are also the undisputed champions of the school bake sale or the office potluck.
The beauty of the easy Classic Black and White Cookies is their nostalgia. They remind people of simpler times, of neighborhood bakeries, and of the joy of having “a little bit of everything.”
Burning Questions (FAQ)
How to freeze Classic Black and White Cookies?
You can absolutely freeze these! For the best results, freeze them before icing. Wrap the individual “naked” cookies in plastic wrap and place them in a freezer bag for up to 3 months. When you’re ready for a fix, thaw them at room temperature and apply fresh icing. If they are already iced, freeze them in a single layer on a tray first, then stack with parchment paper between them.
🍳 Used in this recipe
Get It on Amazon Basics✔ Free Delivery | ✔ Top Rated | ✔ Budget-FriendlyCalories in Classic Black and White Cookies?
Let’s be honest: these are a “treat yourself” item. A standard deli-sized cookie can range from 350 to 450 calories depending on how heavy-handed you are with the glaze. But remember, you’re getting two flavors in one, so it’s basically a bargain for your tastebuds!
Why is my icing not shiny?
The shine comes from the corn syrup and the temperature. If you skip the corn syrup, the icing will be matte. Also, make sure your water is hot when mixing; this helps the sugar dissolve into a glass-like finish.
Recommended Product
 -40%
-40%
Astercook 21‑Piece Non‑Stick Cookware Set with Detachable/Removable Handles
- Pieces Included →: 21‑piece set with multiple pots, pans, and accessories
- Non‑Stick Coating →: Premium ceramic non‑stick free of harmful PFOA chemicals for healthier cooking
- Cleanup →: Easy to clean thanks to non‑stick surface and detachable handles
- Compatibility →: Works on induction, gas, electric, and ceramic stovetops; oven safe with handles removed
Can I make these smaller?
You can! Just reduce the baking time to about 8-10 minutes. These “mini” versions are perfect for parties, though New York purists might give you a side-eye for not going big.
🍳 Used in this recipe
Get It on Amazon Basics✔ Free Delivery | ✔ Top Rated | ✔ Budget-FriendlyThere you have it—the ultimate guide to the most iconic cookie in the concrete jungle. Now get in that kitchen and start spreading the love (and the icing)!

Classic Black and White Cookies
Ingredients
Ingredients
- 1.25 cup all-purpose flour spooned and leveled
- 1.25 cup cake flour ensures a tender texture
- 0.5 tsp baking powder
- 0.5 tsp salt
- 0.5 cup unsalted butter softened at room temperature
- 1 cup granulated sugar
- 1 large egg room temperature
- 0.5 cup whole milk
- 2 tsp vanilla extract divided for batter and icing
- 3 cup confectioners' sugar sifted
- 0.25 cup boiling water added gradually for icing consistency
- 0.25 cup unsweetened cocoa powder Dutch-processed preferred