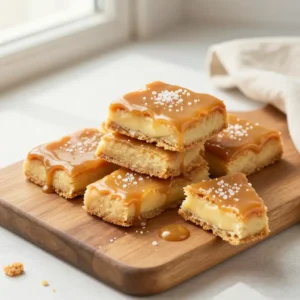
Imagine this: You take a bite, and the world goes silent for a split second. First, there’s the snap of chilled, velvety dark chocolate. Then, your teeth sink into a layer of caramel so gooey it feels like a warm hug for your taste buds. Finally, you hit the base—a crumbly, buttery shortbread that shatters perfectly, releasing a hit of salt that makes everything pop.
It’s sweet. It’s salty. It’s dangerously addictive.
Recommended Product
 -15%
-15%
Silicone Baking Mat with Measurement Guide (Non-Stick Pastry & Cake Mat)
- Material →: Food-grade silicone (safe for baking)
- Surface →: Non-stick (no butter or oil needed)
- Design →: Measurement guide for perfect cake sizes
We aren’t just making a snack here; we are crafting a masterpiece of textures. If these bars were a person, they’d be the one who shows up to the party in a leather jacket but carries a bouquet of wildflowers. They’ve got edge, they’ve got soul, and they definitely know how to make an entrance.
🍳 Used in this recipe
Get It on Amazon Basics✔ Free Delivery | ✔ Top Rated | ✔ Budget-Friendly
## The Trilogy of Decadence
Why settle for a plain cookie when you can have three layers of glory? Most people call these “Millionaire’s Shortbread,” and honestly, the name fits. Eating one of these makes you feel like you just won the culinary lottery without having to leave your kitchen.
The magic lies in the contrast. You have the **crunch** of the biscuit, the **chew** of the caramel, and the **silky melt** of the chocolate. It’s a sensory roller coaster that doesn’t require a ticket—just a mixing bowl and a little bit of patience while things set in the fridge.
🍳 Used in this recipe
Get It on Amazon Basics✔ Free Delivery | ✔ Top Rated | ✔ Budget-FriendlyBut let’s be real. The real reason these rock? They are incredibly impressive but surprisingly low-stress. You don’t need fancy equipment. You don’t need a degree in pastry arts. You just need a deep-seated love for butter and a willingness to lick the spatula.
## The Secret Science of “The Goo”
Let’s talk about the caramel. This isn’t the hard, tooth-cracking stuff you find in a dusty candy jar. This is “soft-set” caramel.
🍳 Used in this recipe
Get It on Amazon Basics✔ Free Delivery | ✔ Top Rated | ✔ Budget-FriendlyThe secret to getting that perfect consistency—the kind that oozes slightly when you bite it but stays put on the bar—is all about the **Maillard reaction**. When you simmer condensed milk, butter, and sugar, you aren’t just melting things. You are restructuring molecules.
You’re looking for that “light fudge” stage. If you undercook it, you’ll have a delicious soup. If you overcook it, you’ll have a chewy taffy that might require a trip to the dentist. We want the sweet spot: the moment it turns the color of an old penny and starts pulling away from the sides of the pan.
## What You Need to Raid From the Pantry
🍳 Used in this recipe
Get It on Amazon Basics✔ Free Delivery | ✔ Top Rated | ✔ Budget-FriendlyBefore we dive into the heat of the kitchen, let’s make sure your cupboards are stocked with the essentials for these **easy Salted Caramel Shortbread Bars**.
* **The Foundation:** All-purpose flour, granulated sugar, and a generous amount of cold, cubed butter. This is what creates that “melt-in-your-mouth” shortbread texture.
* **The Gold:** Sweetened condensed milk is your best friend here. Pair it with brown sugar, butter, and a splash of vanilla extract (the real stuff, please!).
* **The Crown:** High-quality chocolate chips or chopped chocolate bars. I prefer a dark or semi-sweet chocolate to balance out the sugar rush of the caramel.
* **The Magic Touch:** Flaky sea salt. Don’t skip this. It transforms the bar from “just sweet” to “culinary genius.”
If you’re looking for more inspiration to pair with your baking marathons, check out our [latest flavor adventures](https://slapid.com/recipes//) to keep your kitchen humming.
🍳 Used in this recipe
Get It on Amazon Basics✔ Free Delivery | ✔ Top Rated | ✔ Budget-Friendly## Let’s Get Cooking (The Step-by-Step)
### Phase 1: The Crust
Start by preheating your oven to 350°F (175°C). Line an 8×8 inch pan with parchment paper, leaving a little overhang on the sides so you can lift the whole block out later.
Pulse your flour, sugar, and cold butter in a food processor until it looks like wet sand. Press this firmly into the bottom of your pan. Bake for about 20 minutes until it’s just barely golden. **Pro tip:** Don’t overbake! We want shortbread, not a brick.
🍳 Used in this recipe
Get It on Amazon Basics✔ Free Delivery | ✔ Top Rated | ✔ Budget-Friendly### Phase 2: The Caramel River
While the base cools, grab a heavy-bottomed saucepan. Combine your condensed milk, brown sugar, and butter. Melt it over medium heat, stirring constantly.
Once it starts to bubble, keep stirring for about 5-7 minutes. It will thicken and turn a gorgeous amber color. Stir in your vanilla and a pinch of salt. Pour this molten gold over your cooled crust and smooth it out. Let it set at room temperature for about 20 minutes, then pop it in the fridge.
### Phase 3: The Chocolate Cape
Melt your chocolate with a tiny teaspoon of coconut oil or butter to give it a gloss. Pour it over the chilled caramel layer. Spread it to the edges, sprinkle with that flaky sea salt, and let the whole thing chill until firm.
🍳 Used in this recipe
Get It on Amazon Basics✔ Free Delivery | ✔ Top Rated | ✔ Budget-FriendlyWhile you wait for it to set (the hardest part, I know), maybe treat yourself to a refreshing drink. You can find some incredible [smoothie and drink ideas here](https://indixer.com/category/smoothies-drinks/) to balance out the richness of the bars!
## How NOT to Ruin Your Masterpiece
I’ve seen some tragedies in my time. Here is how to avoid them:
🍳 Used in this recipe
Get It on Amazon Basics✔ Free Delivery | ✔ Top Rated | ✔ Budget-Friendly1. **The Impatience Trap:** If you try to cut these while the caramel is still warm, you will end up with a delicious pile of mush. It won’t be pretty. Give it at least 2 hours in the fridge.
2. **The Chocolate Shatter:** If you find your chocolate top is cracking when you cut it, try this: Take the bars out of the fridge 15 minutes before slicing. Use a hot knife (run it under hot water and wipe dry) to glide through the chocolate like butter.
3. **The Burnt Sugar Blues:** Caramel can go from “perfect” to “burnt” in about six seconds. Stay at the stove. Do not check your phone. Do not answer the door. Just stir. Your effort will be rewarded.
## Setting the Scene: Serving Vibes
These aren’t just cookies; they are an event.
🍳 Used in this recipe
Get It on Amazon Basics✔ Free Delivery | ✔ Top Rated | ✔ Budget-FriendlyImagine a rainy Tuesday afternoon. The house is quiet, the tea is steeping, and you have a plate of these **Salted Caramel Shortbread Bars** waiting. It’s the ultimate “treat yourself” moment.
Or, imagine a dinner party where everyone is stuffed, but then you bring out a platter of these cut into tiny, elegant squares. They disappear in seconds. They are the perfect companion to a strong cup of coffee or a tall glass of cold milk.
## Your Burning Questions Answered
🍳 Used in this recipe
Get It on Amazon Basics✔ Free Delivery | ✔ Top Rated | ✔ Budget-FriendlyRecommended Product
 -33%
-33%
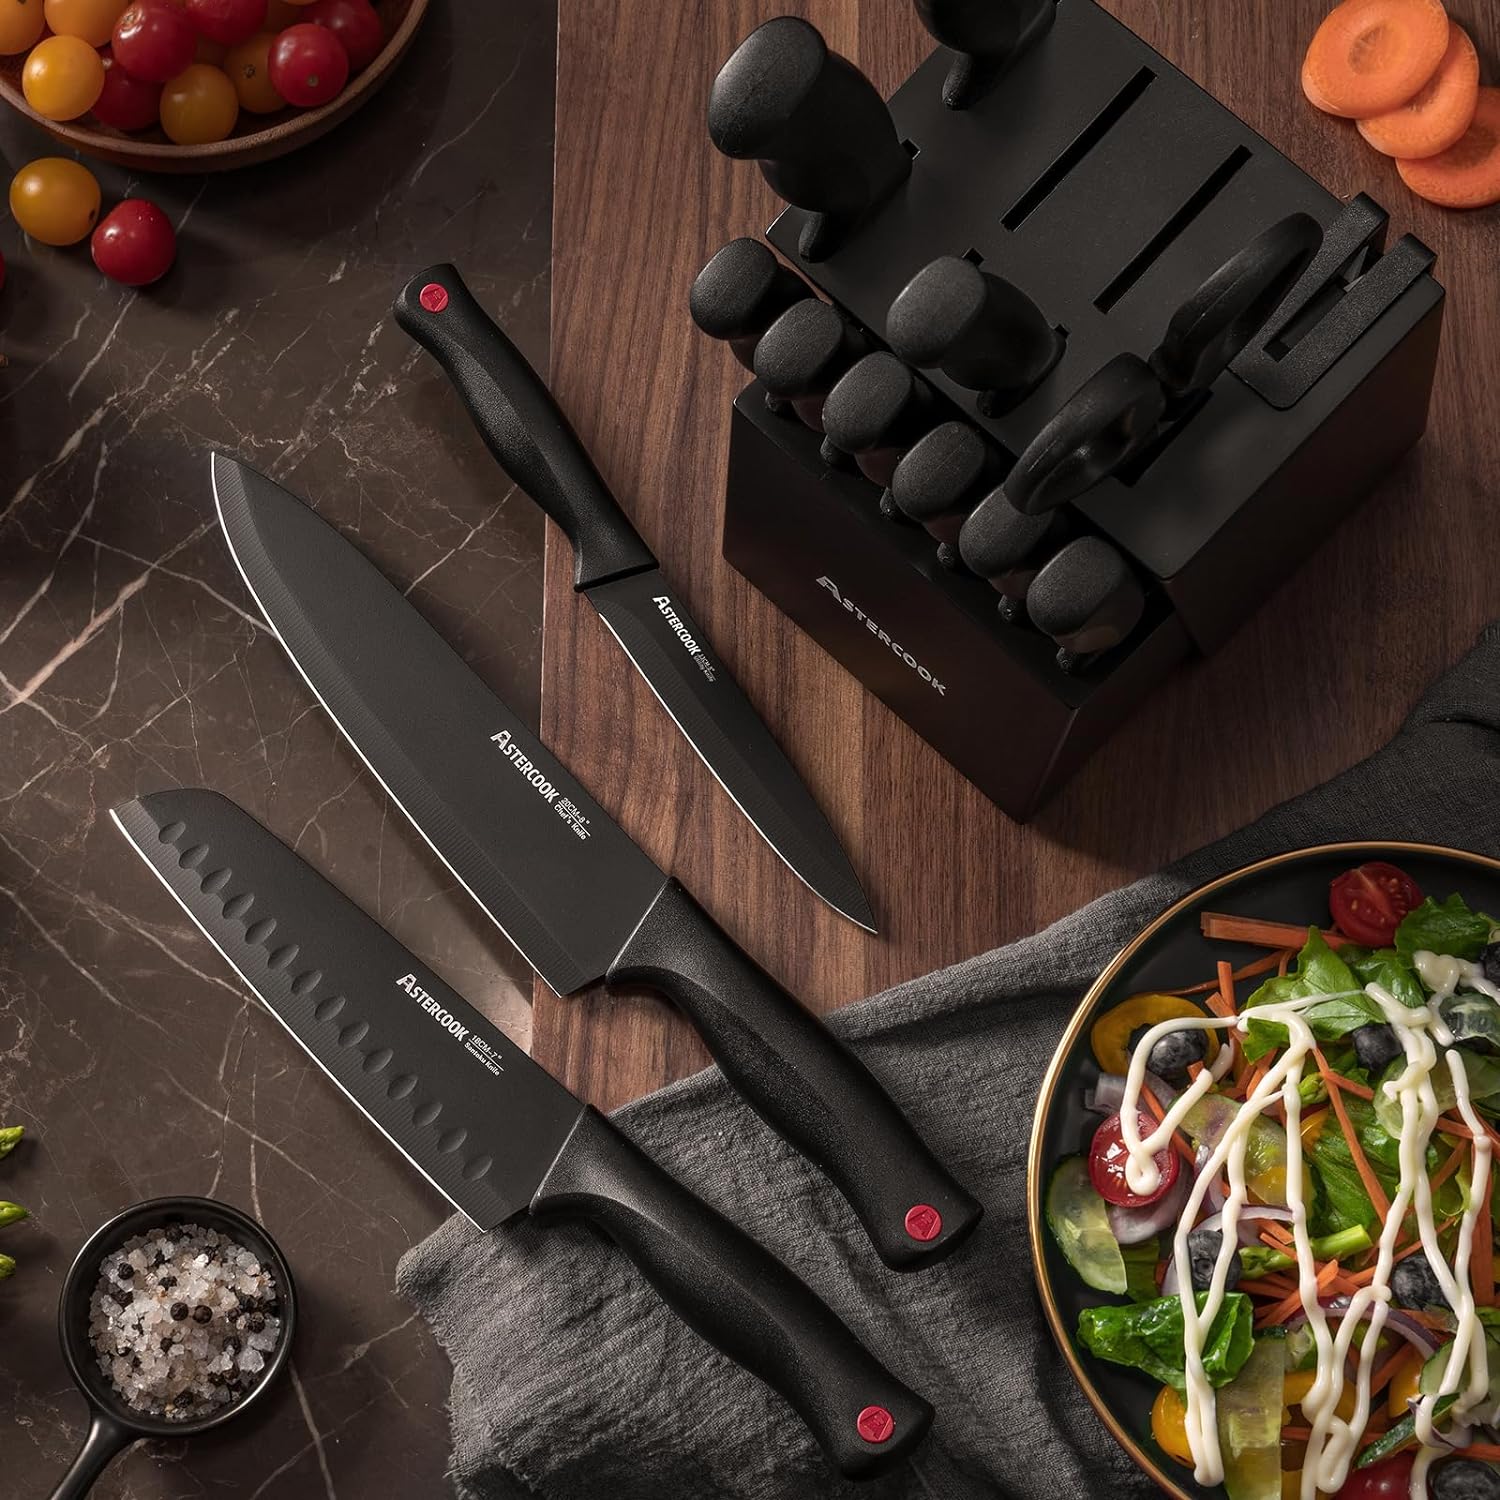
Astercook 15‑Piece Kitchen Knife Set with Built‑In Sharpener Block
- Built‑In Sharpener →: Integrated sharpener in block for easy maintenance
- Material →: High‑carbon German stainless steel blades (rust‑resistant, durable)
- Dishwasher Safe →: Yes (but hand washing recommended to preserve sharpness)
### How to freeze Salted Caramel Shortbread Bars?
These bars freeze beautifully! Once they are fully set and cut into squares, wrap them individually in plastic wrap and store them in an airtight container or a heavy-duty freezer bag. They’ll stay fresh for up to 3 months. When the craving hits, just let one thaw at room temperature for about 20 minutes.
### What are the calories in Salted Caramel Shortbread Bars?
While the exact count depends on the size of your slice (and your generosity with the butter), a standard 2-inch square typically ranges between 250 and 320 calories. They are rich, so a little goes a long way—but let’s be honest, they are worth every single calorie.
### Why is my caramel grainy?
Grainy caramel usually happens if the sugar crystals didn’t dissolve properly. To avoid this, keep the heat at medium and stir slowly but consistently. If you’re using brown sugar, make sure it’s fresh and not full of hard lumps.
🍳 Used in this recipe
Get It on Amazon Basics✔ Free Delivery | ✔ Top Rated | ✔ Budget-Friendly### Can I make these Salted Caramel Shortbread Bars gluten-free?
Absolutely! You can swap the all-purpose flour for a high-quality 1-for-1 gluten-free flour blend. The caramel and chocolate layers are naturally gluten-free, so you just need to focus on getting that buttery base right.
## Final Thoughts on the Perfect Bite
Learning **how to make Salted Caramel Shortbread Bars** is basically a superpower. You are now the person who can turn a few basic ingredients into a tray of pure joy.
🍳 Used in this recipe
Get It on Amazon Basics✔ Free Delivery | ✔ Top Rated | ✔ Budget-FriendlyRemember, the salt is the secret. That tiny crystalline crunch against the sweetness is what makes these bars sophisticated instead of just “sugary.” So go forth, melt that butter, stir that caramel, and prepare for the rounds of applause that are inevitably coming your way.
If you loved this guide, don’t forget to check out our other [decadent dessert recipes](https://slapid.com/recipes//) to keep your oven busy and your heart full!
Salted Caramel Shortbread Bars
Ingredients
Ingredients
- 2 cups all-purpose flour
- 0.5 cup granulated sugar
- 1 cup unsalted butter cold, cubed
- 1 cup unsalted butter
- 1 cup light brown sugar packed
- 0.75 cup light corn syrup
- 14 oz sweetened condensed milk 1 can
- 1 tsp vanilla extract
- 1.5 tsp sea salt flakes plus extra for garnish
- 1.5 cups semi-sweet chocolate chips
- 1 tbsp vegetable oil
Notes
Recommended Product
 -40%
-40%
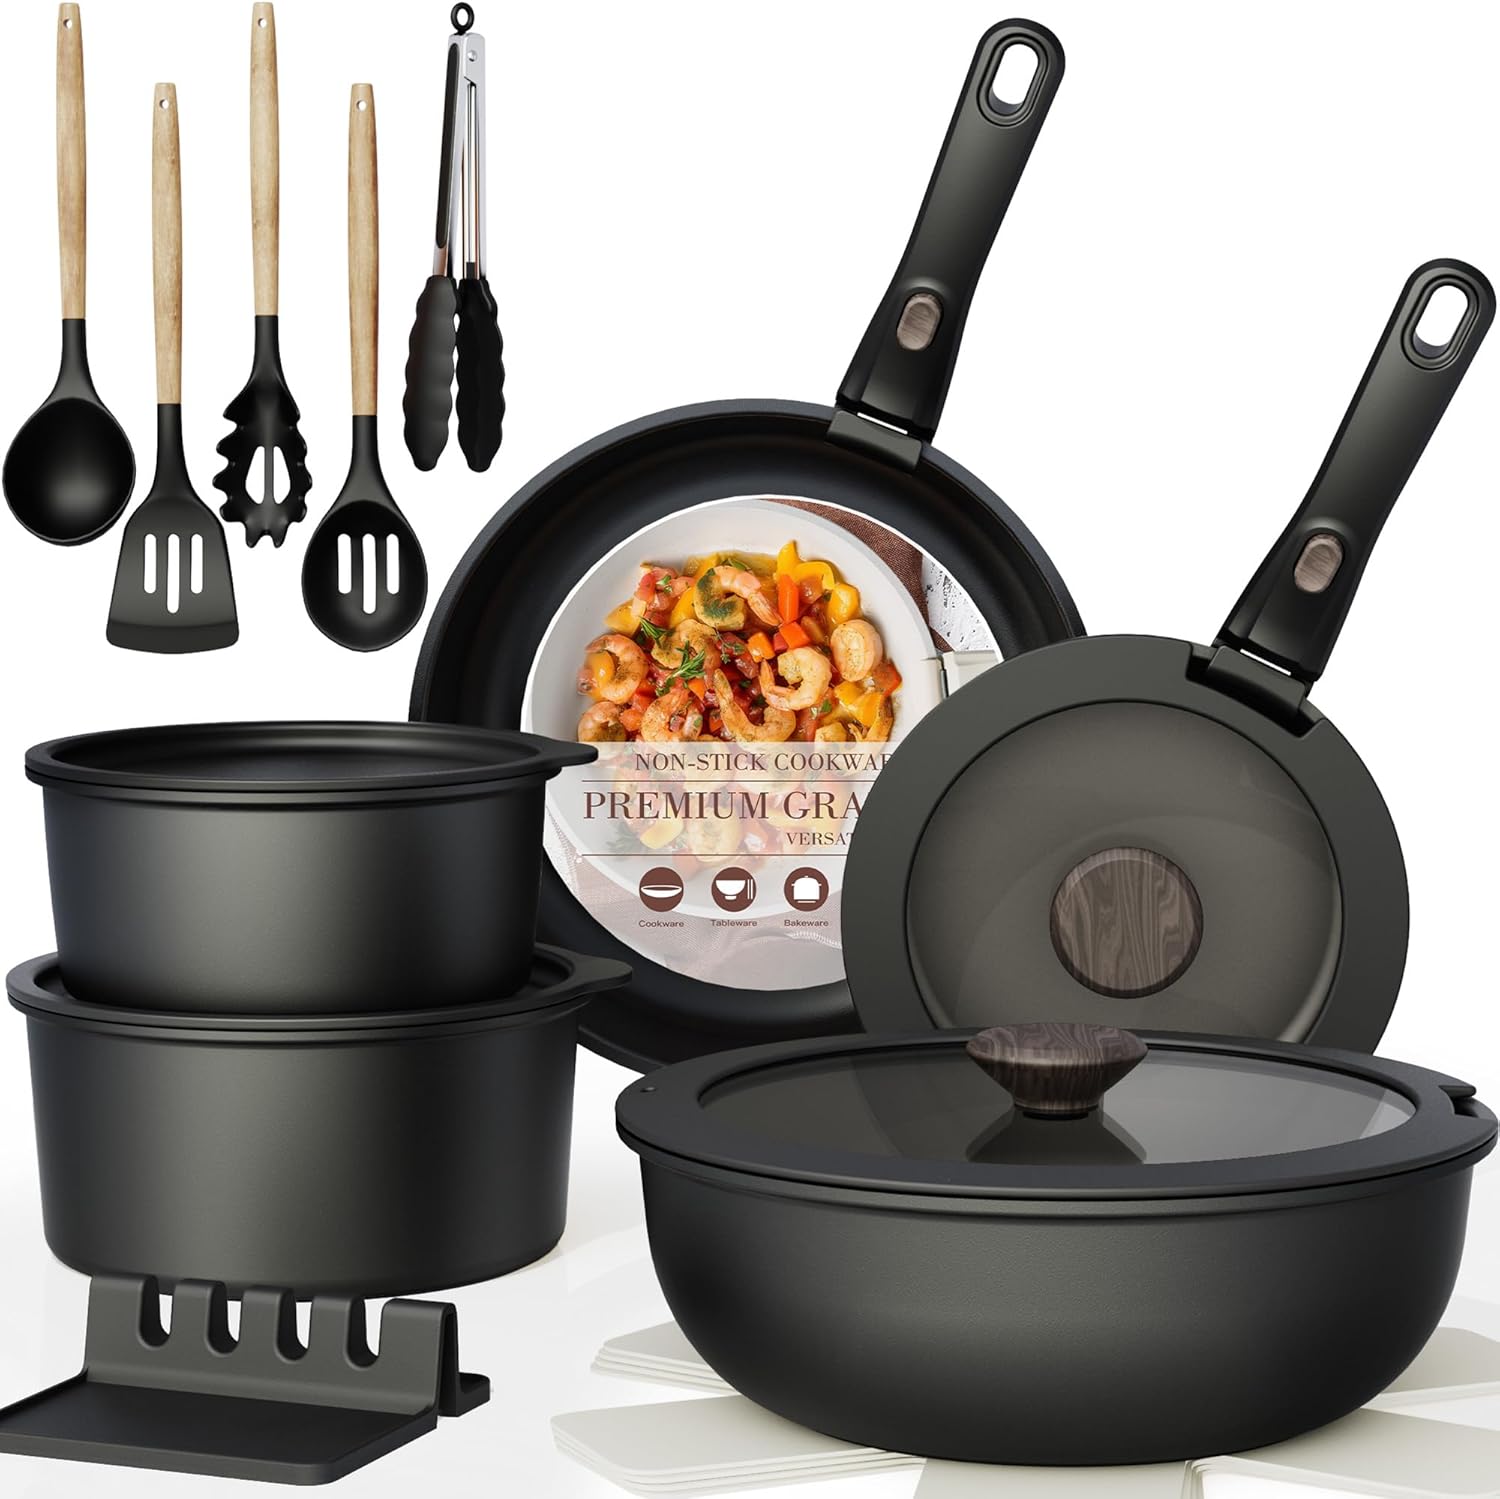
Astercook 21‑Piece Non‑Stick Cookware Set with Detachable/Removable Handles
- Pieces Included →: 21‑piece set with multiple pots, pans, and accessories
- Non‑Stick Coating →: Premium ceramic non‑stick free of harmful PFOA chemicals for healthier cooking
- Cleanup →: Easy to clean thanks to non‑stick surface and detachable handles
- Compatibility →: Works on induction, gas, electric, and ceramic stovetops; oven safe with handles removed