Close your eyes for a second and imagine the scent of a kitchen on a sunny Sunday afternoon. It’s not just “sweet”—it’s that deep, intoxicating, floral warmth of real vanilla bean swirling through the air like a sugary hug. We’ve all had those yellow-box cookies from the grocery store, right? They’re fine, but they’re a bit… quiet. A bit dusty.
Today, we are turning up the volume. We’re making **Bare Vanilla Wafers** that actually taste like, well, vanilla. These aren’t just cookies; they are crisp, golden discs of pure joy that shatter between your teeth and melt into a buttery puddle on your tongue.
Recommended Product
 -15%
-15%
Silicone Baking Mat with Measurement Guide (Non-Stick Pastry & Cake Mat)
- Material →: Food-grade silicone (safe for baking)
- Surface →: Non-stick (no butter or oil needed)
- Design →: Measurement guide for perfect cake sizes
Whether you’re planning to build the world’s most legendary banana pudding or you just need a companion for your afternoon espresso, you’ve come to the right place. Grab your apron, because the house is about to smell better than a high-end candle shop.
🍳 Used in this recipe
Get It on Amazon Basics✔ Free Delivery | ✔ Top Rated | ✔ Budget-Friendly
The Magic Behind the Crunch
Why bother making these from scratch? I’ll give you one word: **Control.**
When you make your own **easy Bare Vanilla Wafers**, you aren’t just following a recipe; you’re conducting an orchestra of flavor. You get to decide exactly how much snap they have. You get to ensure they are buttery enough to feel indulgent but light enough that you can accidentally eat twenty of them while watching your favorite show.
But let’s be real. The true hero here is the texture. Store-bought wafers are often either rock-hard or strangely soft. Our version hits that perfect middle ground—a crisp exterior that gives way to a delicate, airy crumb. It’s the kind of cookie that demands a second (and third) helping.
🍳 Used in this recipe
Get It on Amazon Basics✔ Free Delivery | ✔ Top Rated | ✔ Budget-FriendlyIf you’re looking for more inspiration to pair with these treats, why not check out some of the incredible options over at [Indixer’s smoothie and drink category](https://indixer.com/category/smoothies-drinks/)? A creamy milkshake or a cold brew coffee is the ultimate dance partner for these wafers.
The Secret Weapon: Vanilla Bean Paste
Let’s talk shop. Most people reach for that dusty bottle of “vanilla flavoring” in the back of the pantry. Stop right there.
If you want to know **how to make Bare Vanilla Wafers** that people will actually talk about at parties, you need to upgrade to vanilla bean paste.
🍳 Used in this recipe
Get It on Amazon Basics✔ Free Delivery | ✔ Top Rated | ✔ Budget-FriendlyWhy Paste is King
Vanilla extract is great for everyday baking, but vanilla bean paste is like the difference between a standard TV and 4K resolution. It’s thick, syrupy, and packed with those gorgeous little black specks that scream “I made this from scratch and I’m a culinary genius.”
The flavor is more concentrated, offering a floral, woody depth that survives the heat of the oven. When you bite into one of these wafers, you aren’t just tasting sugar; you’re tasting the complex, aromatic profile of real orchids.
The Flavor Makers
Before we start the engine, let’s look at what you need to raid from the pantry. This is a simple list, but quality matters.
🍳 Used in this recipe
Get It on Amazon Basics✔ Free Delivery | ✔ Top Rated | ✔ Budget-Friendly* **Unsalted Butter:** Make sure it’s softened but not greasy. This provides the “melt-in-your-mouth” factor.
* **Granulated Sugar:** For that classic snap and sweetness.
* **A Large Egg:** This acts as the glue, providing structure and a bit of leavening.
* **Vanilla Bean Paste:** The star of the show. Don’t hold back.
* **All-Purpose Flour:** The backbone of our cookie.
* **Baking Powder & Salt:** To give them a little lift and to balance the sweetness.
* **Whole Milk:** Just a splash to get the consistency perfect.
Looking for more incredible ways to use these ingredients? Hop over to [Slapid Recipes](https://slapid.com/recipes//) for a treasure trove of baking inspiration.
The Step-by-Step: Let’s Get Cooking
Ready to transform these basic ingredients into golden treasure? Follow these steps, and don’t skip the chilling!
🍳 Used in this recipe
Get It on Amazon Basics✔ Free Delivery | ✔ Top Rated | ✔ Budget-Friendly1. Cream It Like You Mean It
In a large bowl, beat your softened butter and sugar together until the mixture is pale, fluffy, and looks like clouds. This usually takes about 3-4 minutes. Don’t rush this—incorporating air here is what keeps the wafers from becoming heavy hockey pucks.
2. The Aromatic Phase
Add the egg and that glorious vanilla bean paste. Beat it again until everything is silky smooth. You’ll see those tiny black vanilla seeds distributed throughout the batter. That’s the smell of success, my friend.
3. Dry Meets Wet
Whisk your flour, baking powder, and salt together in a separate bowl. Gradually add this to the butter mixture, alternating with your milk. Mix until *just* combined. If you overmix, you’ll develop too much gluten, and your wafers will be tough instead of tender.
🍳 Used in this recipe
Get It on Amazon Basics✔ Free Delivery | ✔ Top Rated | ✔ Budget-Friendly4. The Chill Factor
This is the hard part: waiting. Wrap the dough and let it chill in the fridge for at least 30 minutes. This firms up the butter and makes the dough easier to handle, ensuring your cookies don’t spread into one giant “mega-cookie” on the tray.
5. Scoop and Bake
Preheat your oven to 350°F (175°C). Line a tray with parchment paper and scoop small mounds of dough—about a teaspoon each. They will spread, so give them plenty of breathing room. Bake for 12–15 minutes until the edges are a deep golden brown.
How NOT to Mess This Up
Even the best bakers have “oops” moments. Here’s how to avoid the most common wafer-related tragedies:
🍳 Used in this recipe
Get It on Amazon Basics✔ Free Delivery | ✔ Top Rated | ✔ Budget-Friendly* **The “Pancake” Problem:** If your cookies spread too much and become translucent, your butter was likely too hot or you skipped the chilling phase. Cold dough is happy dough.
* **The “Soggy Bottom”:** If you take them out too early, they’ll be chewy. While chewy cookies are usually great, **Bare Vanilla Wafers** should have a definitive “snap.” Wait for those golden edges!
* **The “Bland” Mistake:** Don’t skimp on the salt. A pinch of salt is what makes the vanilla flavor pop. Without it, the cookie just tastes like “sweet.”
Serving Vibes: When to Eat These
These wafers are versatile enough to fit any mood.
**The Rainy Day Ritual:** Brew a pot of Earl Grey tea, grab a handful of wafers, and curl up with a book. The way the butter in the cookie interacts with the bergamot in the tea? Pure poetry.
🍳 Used in this recipe
Get It on Amazon Basics✔ Free Delivery | ✔ Top Rated | ✔ Budget-FriendlyRecommended Product
 -40%
-40%
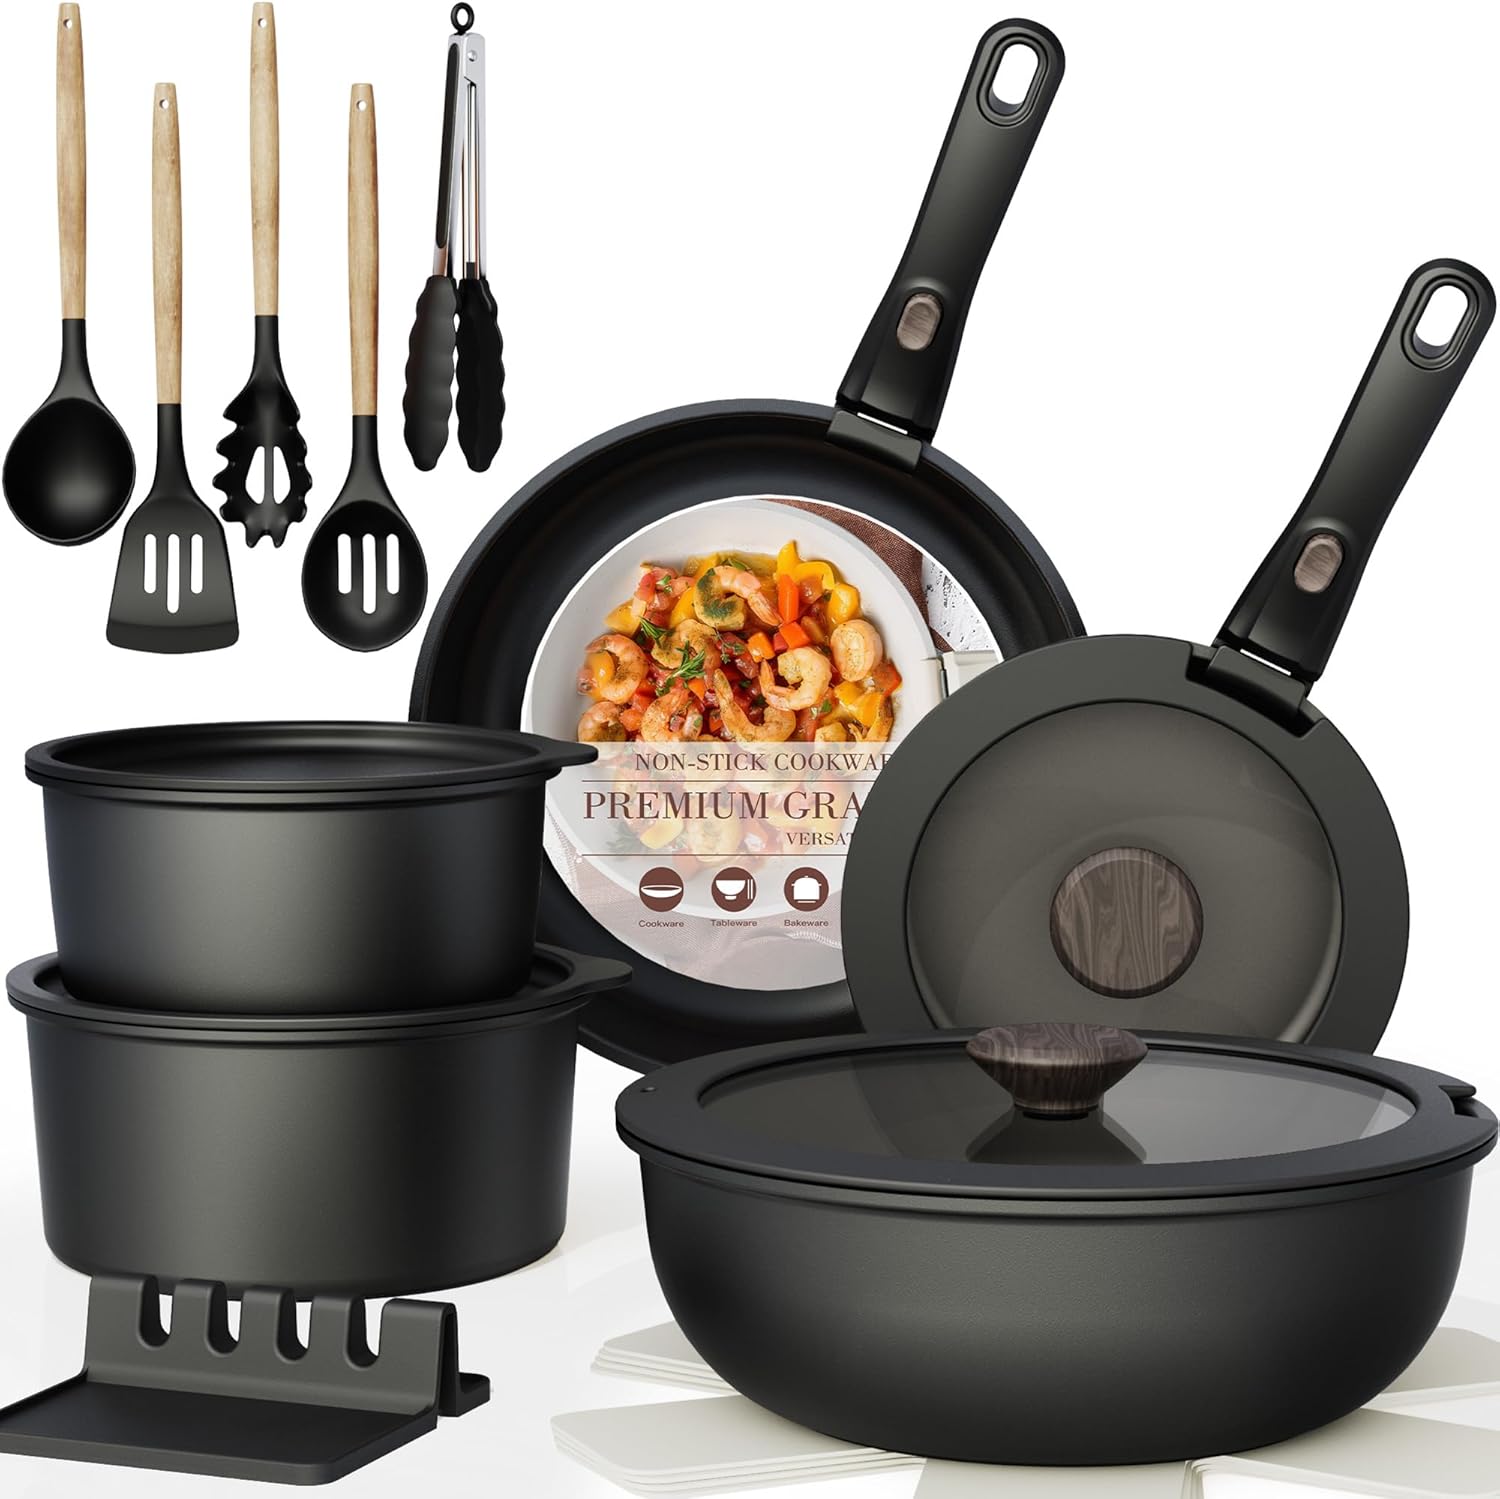
Astercook 21‑Piece Non‑Stick Cookware Set with Detachable/Removable Handles
- Pieces Included →: 21‑piece set with multiple pots, pans, and accessories
- Non‑Stick Coating →: Premium ceramic non‑stick free of harmful PFOA chemicals for healthier cooking
- Cleanup →: Easy to clean thanks to non‑stick surface and detachable handles
- Compatibility →: Works on induction, gas, electric, and ceramic stovetops; oven safe with handles removed
**The Party Showstopper:** Use these to layer a classic banana pudding in a glass trifle bowl. As the wafers sit in the custard, they soften slightly but retain enough body to give you that perfect texture.
**The Midnight Snack:** Honestly? Just eat them straight out of the jar while standing in the glow of the refrigerator light. We won’t judge.
Frequently Asked Questions
How to freeze Bare Vanilla Wafers?
It’s easy! Once the cookies are completely cooled, place them in a single layer on a baking sheet and freeze until solid. Then, transfer them to a freezer-safe bag or airtight container. They’ll stay fresh for up to 3 months. To eat, just let them thaw at room temperature for 10 minutes (or eat them frozen—they’re surprisingly good that way!).
🍳 Used in this recipe
Get It on Amazon Basics✔ Free Delivery | ✔ Top Rated | ✔ Budget-FriendlyHow many calories in Bare Vanilla Wafers?
While it varies based on the size of your scoop, a standard homemade vanilla wafer typically contains about 40–50 calories. They are light and airy, making them a great “small bite” treat when you want something sweet without feeling weighed down.
Can I use vanilla extract instead of paste?
Absolutely. Use a 1:1 ratio. The flavor won’t be quite as “bold” and you won’t have the pretty flecks, but they will still be delicious.
Why are my wafers soft the next day?
Homemade cookies don’t have the preservatives that keep store-bought ones crunchy forever. If they lose their snap, just pop them back into a 300°F oven for 3-5 minutes to “re-crisp” them. Just keep a close eye so they don’t burn!
🍳 Used in this recipe
Get It on Amazon Basics✔ Free Delivery | ✔ Top Rated | ✔ Budget-FriendlyRecommended Product
 -33%
-33%
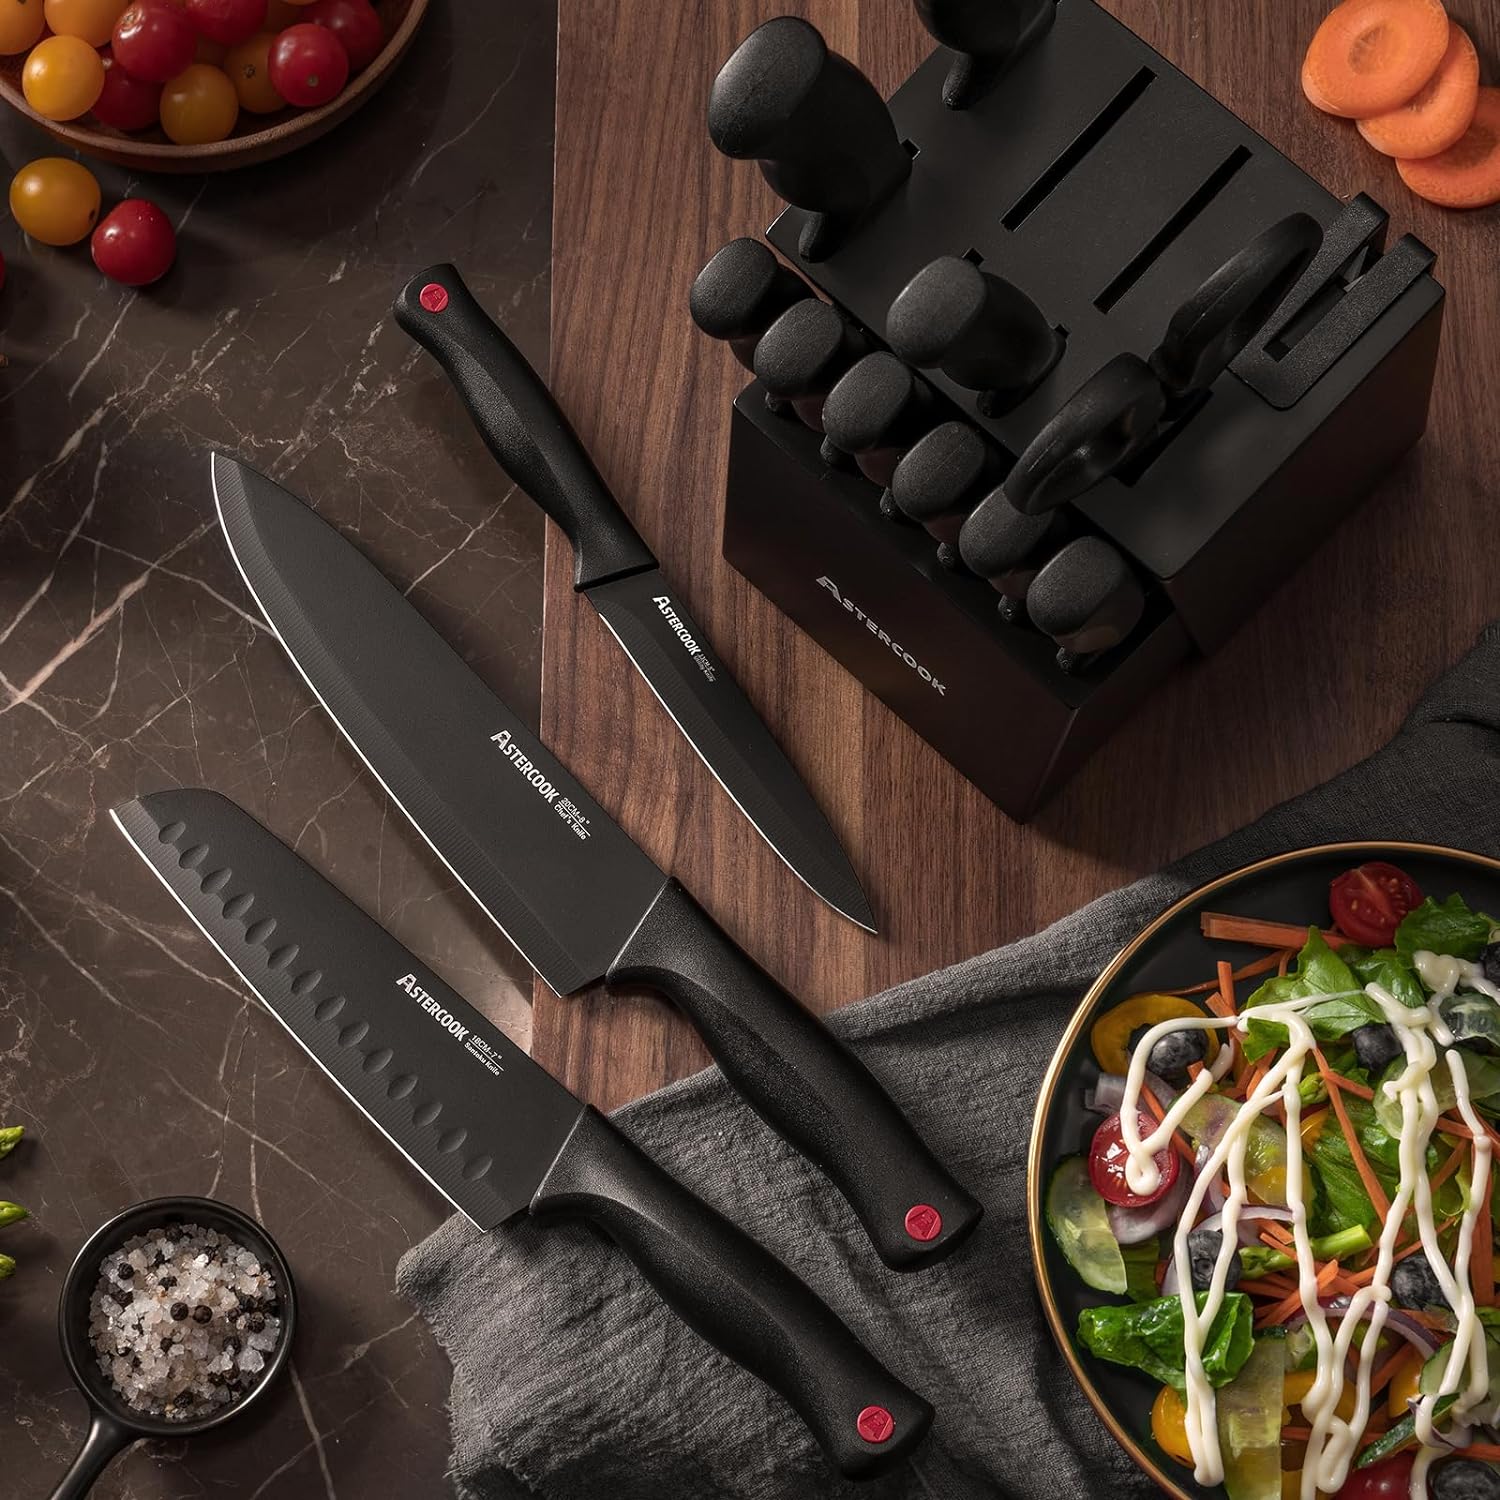
Astercook 15‑Piece Kitchen Knife Set with Built‑In Sharpener Block
- Built‑In Sharpener →: Integrated sharpener in block for easy maintenance
- Material →: High‑carbon German stainless steel blades (rust‑resistant, durable)
- Dishwasher Safe →: Yes (but hand washing recommended to preserve sharpness)
Conclusion: The Ultimate Bite
There you have it—the blueprint for the most aromatic, buttery, and addictive **Bare Vanilla Wafers** you’ve ever tasted. Once you realize how easy it is to make these at home, you’ll never look at the boxed version the same way again.
Now, go forth and bake! Your kitchen is waiting, and that vanilla-scented air isn’t going to create itself. Don’t forget to share your results and let us know—did you eat them all in one sitting, or did they actually make it into a pudding? (We know the answer).
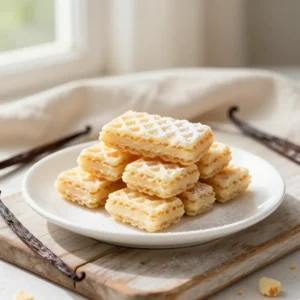
Bare Vanilla Wafers
Ingredients
Ingredients
- 1 cup unsalted butter softened to room temperature
- 0.75 cup granulated sugar
- 1 tbsp vanilla bean paste or 2 tsp pure vanilla extract
- 1 large egg room temperature
- 2 cups all-purpose flour
- 1.5 tsp baking powder
- 0.25 tsp salt
- 2 tbsp milk or cream optional for brushing