The Sound of Victory (and Crust)
There is a sound that I believe should be classified as a legitimate form of ASMR. It isn’t whispering into a microphone or tapping on wood. It’s the aggressive, crackling symphony that happens the moment you pull a loaf of bread out of the oven. It’s the sound of the crust settling, the song of the crumb cooling, and the noise that makes your cat stop napping and stare in awe. When you make this **Easy No-Knead Artisan Dutch Oven Bread**, your kitchen is no longer just a kitchen; it’s a bakery. It smells like a rustic French village at 6:00 AM.
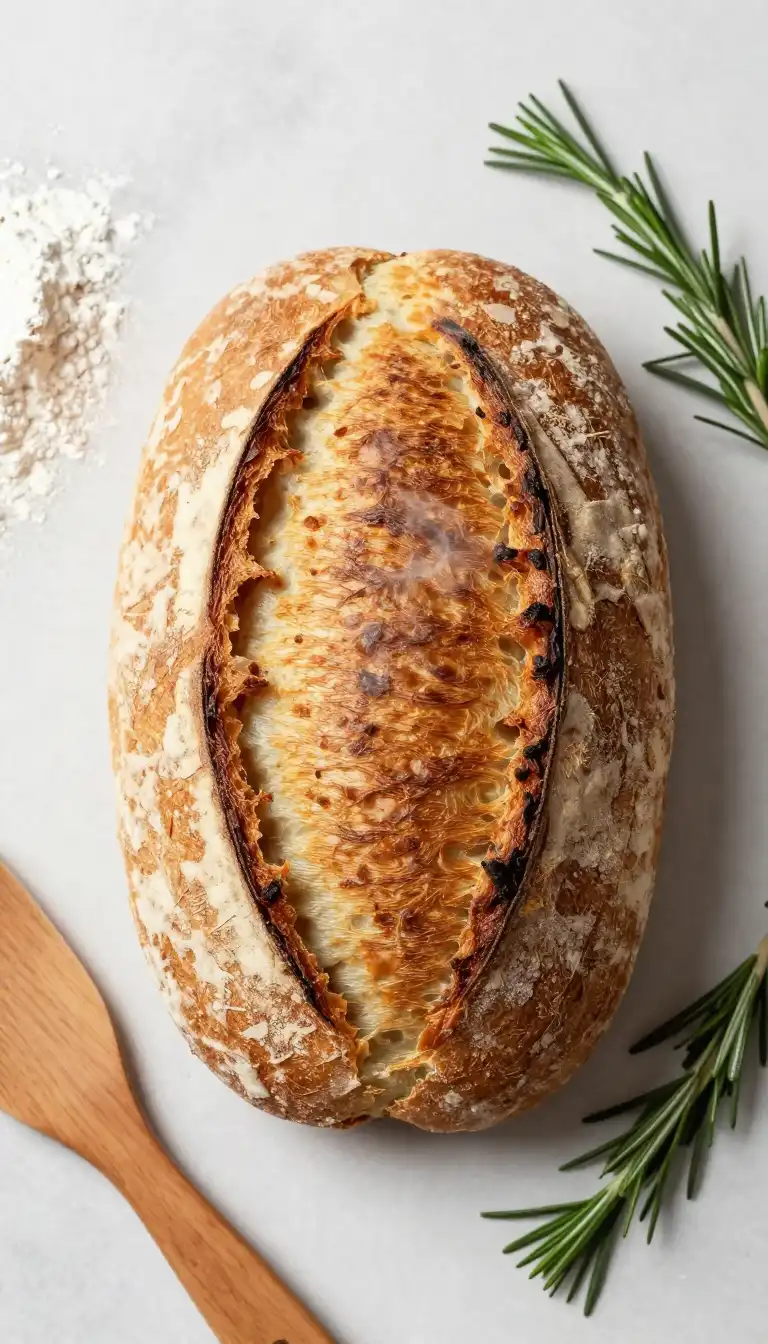
You walk into the room, and the scent hits you like a warm hug. It’s yeasty, it’s nutty, and it smells like you’ve spent all day kneading dough (spoiler: you haven’t). This is the magic trick that makes you look like a culinary wizard with the effort level of a culinary toddler. You want that crackle? You want that open, airy interior that looks like a honeycomb? You want a crust so dark and beautiful it looks like it belongs on the cover of a magazine? You’re in the right place.
Recommended Product

The Alchemy of Doing Absolutely Nothing
Here’s the deal. Most bread recipes are high-maintenance. They want you to knead for twenty minutes (which is approximately 19 minutes longer than I want to do anything), they want perfect temperatures, and they want constant attention. This recipe? It wants you to walk away.
🍳 Used in this recipe
Get It on Amazon Basics✔ Free Delivery | ✔ Top Rated | ✔ Budget-FriendlyThe secret weapon here is **Time**. With a hydration level of about 75-80%, the gluten strands in this dough are long and wet. Instead of physically beating them into submission on a floured countertop, we let the water and the yeast do all the heavy lifting. Over the course of 12 to 18 hours, the yeast breaks down the proteins, creating those big, beautiful bubbles you see in artisan loaves.
But wait, there’s more science! We use a Dutch oven. Why? Because bread needs steam. When you throw a loaf into a screaming hot pot, the water trapped inside the dough instantly turns to steam. That steam keeps the crust soft for the first part of the bake, allowing the bread to spring up (oven spring!) before the crust hardens into that gorgeous, golden armor. It’s a self-contained steam oven. It’s brilliant.
What You Need to Raid the Pantry
You don’t need fancy flour or a starter that’s older than your car. You need three things, maybe four if you’re feeling spicy.
🍳 Used in this recipe
Get It on Amazon Basics✔ Free Delivery | ✔ Top Rated | ✔ Budget-Friendly* **The Dry Stuff:** All-purpose flour is king here. Bread flour works too, but don’t stress if you only have the standard bag. You need 3 ½ cups of it. You’ll also need ½ teaspoon of instant yeast. That’s it. A tiny pinch of yeast creates a slow rise for maximum flavor.
* **The Wet Stuff:** 1 ½ cups of lukewarm water. Not ice cold, not boiling hot. Think “baby bath” temperature.
* **The Flavor & Texture:** 1 ½ teaspoons of fine sea salt. The salt not only flavors the bread but controls the yeast so it doesn’t go wild.
* **Optional:** A splash of olive oil for the bowl, and maybe some rolled oats or cornmeal to keep the dough from sticking to the pot.
Let’s Get Cooking: The Step-by-Step
This is where the “Easy” in **Easy No-Knead Artisan Dutch Oven Bread** really shines. Grab a big bowl and a wooden spoon.
1. **The Mix:** Dump the flour, yeast, and salt into the bowl. Pour in the water. Stir it around with your spoon until it looks like a shaggy, gross mess. That’s perfect. You are not making a smooth ball of dough. You are making a wet blob.
2. **The Wait (Part 1):** Cover the bowl with plastic wrap or a damp kitchen towel. Put it somewhere out of the way (countertop is fine) and ignore it for 12 to 18 hours. Go to work, go to sleep, binge-watch a series. When you come back, the dough should be bubbly, sticky, and smell amazing.
3. **The Fold:** Dust your counter with flour. Scrape the dough out. It will be sticky—this is normal. Dust the top with a little more flour. Fold the dough over on itself once or twice. Shape it into a rough ball. Don’t knead it. Just tuck it.
4. **The Rest (Part 2):** Place the dough on a piece of parchment paper. Let it rest for 30 minutes. Meanwhile, put your Dutch oven (with the lid on) into your regular oven and preheat to 450°F (230°C). Let that pot get screaming hot for at least 30 minutes. This is crucial!
5. **The Bake:** Carefully remove the hot pot. Lift the parchment paper with the dough on it and lower it right into the pot. Cover it. Put it back in the oven. Bake for 30 minutes covered.
6. **The Reveal:** Take the lid off. The bread will be pale but puffed up. Bake it uncovered for another 15-20 minutes until it’s deep golden brown and your kitchen smells like heaven.
7. **The Hardest Part:** Take it out. Let it cool on a wire rack. **Do not slice it immediately.** If you slice it hot, the steam escapes, and the inside gets gummy. Wait at least an hour. I know, it’s torture.
🍳 Used in this recipe
Get It on Amazon Basics✔ Free Delivery | ✔ Top Rated | ✔ Budget-FriendlyCommon Pitfalls (Or, How to Avoid Bread Drama)
Even an **easy** recipe has rules. Break them, and you’ll end up with a hockey puck instead of a boule.
* **The “Dense Brick” Mistake:** If your dough never bubbled up overnight, your yeast was probably dead. Or your kitchen was freezing. Always check your yeast expiration date! If your kitchen is cold, give it a few more hours.
* **The “Stuck to the Pot” Nightmare:** Never skip the parchment paper. Trying to scrape sticky dough off a 450-degree cast iron pot is a recipe for swearing and burnt fingers.
* **The “Gummy Center” Tragedy:** You cut into it while it was hot. I warned you! The starches are still setting. Patience is an ingredient here.
* **The “Pale Loaf” Disappointment:** Your oven wasn’t hot enough, or you took the lid off too early. That final 15 minutes uncovered is what gives it that beautiful, crusty color.
Serving Vibes: Setting the Scene
This bread is a mood. It’s not for a quick snack on the go. It demands presence.
🍳 Used in this recipe
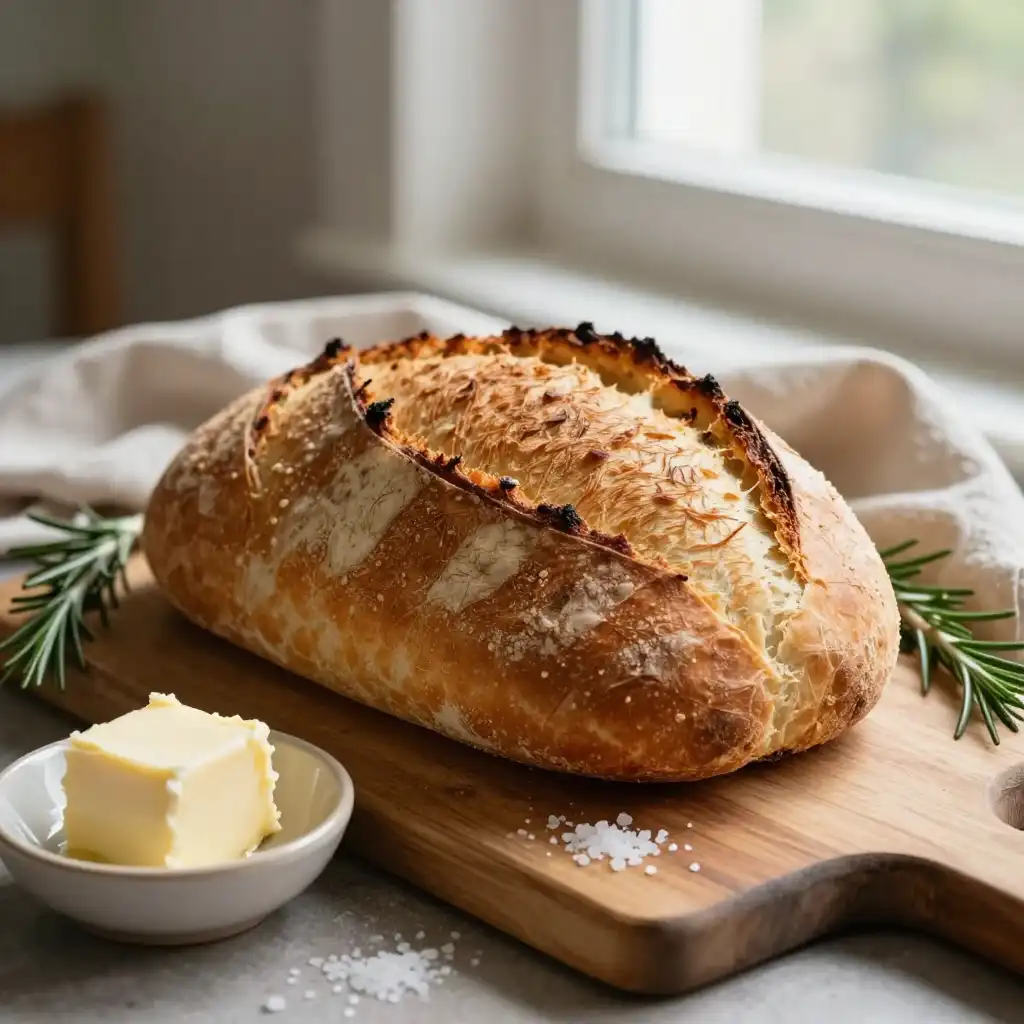
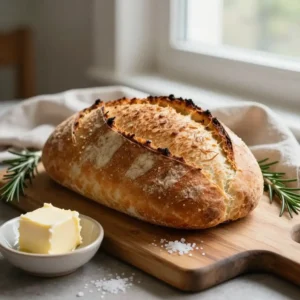
Get It on Amazon Basics✔ Free Delivery | ✔ Top Rated | ✔ Budget-FriendlyImagine a rainy Sunday afternoon. The windows are streaked with water, but inside, it’s warm. You’ve just pulled this golden sphere of joy out of the oven. You place it on a wooden cutting board in the center of the table. A knife rests beside it.
What do you pair it with? Since we aren’t messing around with heavy fats, think bright and bold. A high-quality extra virgin olive oil mixed with balsamic vinegar and a crack of black pepper is a classic dunking pool. Or, go for a smear of salty butter and a layer of tangy marmalade. It’s the perfect accompaniment to a bowl of roasted tomato soup. The crunch of the crust against the silky soup is a textural dream.
Recommended Product

Amazon Basics Silicone Baking Mat (2-Pack Non-Stick Oven Liners)
- Material →: Food-safe silicone, reusable thousands of times
- Non-Stick →: No butter, oil, or parchment needed
This isn’t just food; it’s a centerpiece. It’s the kind of bread that makes a simple dinner feel like a feast. It’s the ultimate potluck show-off dish. You walk in with a loaf of this, and everyone asks, “Did you *bake* this?” You just smile.
🍳 Used in this recipe
Get It on Amazon Basics✔ Free Delivery | ✔ Top Rated | ✔ Budget-FriendlyThe “I Have Questions” Section (FAQ)
Can I use whole wheat flour?
You can, but I wouldn’t go 100% whole wheat on your first try. Whole wheat flour absorbs more water and makes a denser loaf. Try a 50/50 split of all-purpose and whole wheat. If you do this, add an extra tablespoon or two of water because the dough will be thirsty.
How to freeze Easy No-Knead Artisan Dutch Oven Bread?
This is crucial for keeping that crust crisp. You have two options. **Option 1:** Slice the *completely cooled* loaf and freeze the slices in a zip-top bag. Toast them straight from frozen. **Option 2:** Freeze the whole loaf. Once cool, wrap it tightly in plastic wrap, then a layer of foil. To reheat, unwrap it and throw the frozen loaf into a 350°F oven for 15-20 minutes. It will taste like you just baked it.
What are the calories in Easy No-Knead Artisan Dutch Oven Bread?
It depends on the size of your slice, obviously! Roughly, a standard slice (1/8th of the loaf) is around **150-180 calories**. It’s mostly flour and water, so it’s pure energy. No guilt, just carbs.
🍳 Used in this recipe
Get It on Amazon Basics✔ Free Delivery | ✔ Top Rated | ✔ Budget-FriendlyMy dough is too sticky to handle! Help!
Remember the rule: **Wet dough makes airy bread.** Don’t add a cup of extra flour to make it stiff. Wet your hands instead of flouring them when you go to shape the dough. It will be sticky, but that’s the texture you want. Trust the process.
Recommended Product
 -33%
-33%
Astercook 15‑Piece Kitchen Knife Set with Built‑In Sharpener Block
- Built‑In Sharpener →: Integrated sharpener in block for easy maintenance
- Material →: High‑carbon German stainless steel blades (rust‑resistant, durable)
- Dishwasher Safe →: Yes (but hand washing recommended to preserve sharpness)
Do I really need a Dutch Oven?
Technically, you need a heavy, oven-safe pot with a tight-fitting lid. A Le Creuset is the gold standard, but a heavy cast-iron pot works perfectly. If you don’t have one, you can bake it on a baking stone or sheet, but you’ll need to create steam by placing a metal pan on the bottom rack of the oven while it preheats and pouring a cup of hot water into it when you put the bread in. It’s a bit more fiddly. The Dutch oven makes it foolproof.
Ready to get started? For a printable version and more details, check out the full recipe here: **Easy No-Knead Artisan Dutch Oven Bread Recipe**.
🍳 Used in this recipe
Get It on Amazon Basics✔ Free Delivery | ✔ Top Rated | ✔ Budget-FriendlyIf you need some visual inspiration before you start, head over to **Pinterest** and see what other bakers are creating. Now, go forth and bake that crust!
Easy No-Knead Artisan Dutch Oven Bread
Ingredients
Ingredients
- 3 cups all-purpose flour plus extra for dusting
- 1.5 teaspoons kosher salt or 1.5 tsp fine sea salt
- 0.25 teaspoon instant yeast or active dry yeast
- 1.5 cups warm water about 100-110°F (38-43°C)