The Sizzle That Broke the Internet (In My Kitchen)
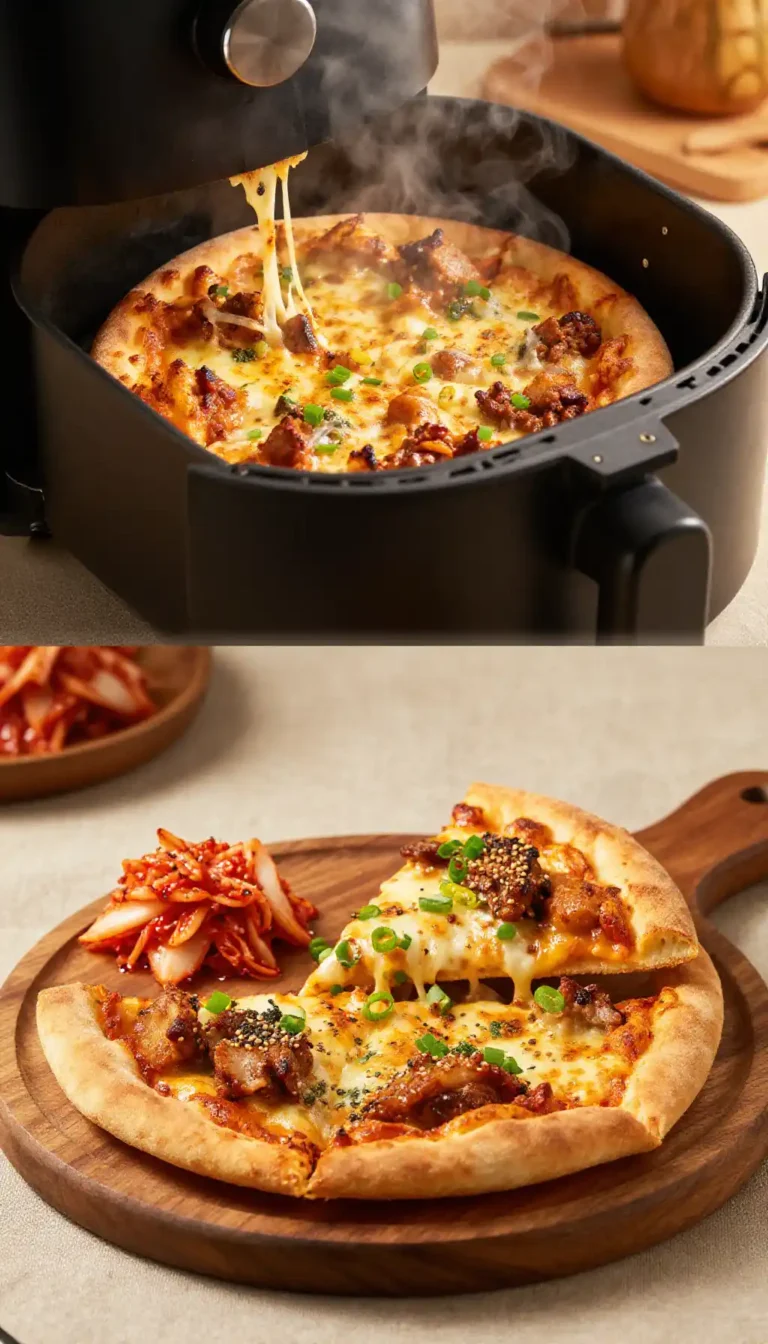
There’s a specific sound that signals pure, unadulterated joy. It’s not a notification ping or a winning lottery bell. It’s the sound of a pizza crust hitting a screaming-hot cast iron skillet. That immediate, aggressive *hiss*? It’s the culinary equivalent of a rockstar walking on stage. The air fills with the intoxicating scent of toasting dough, a warm, yeasty perfume that makes your stomach rumble in anticipation. This isn’t just dinner, my friends. This is an event.
For years, I chased that elusive pizzeria crust—the kind with a shatteringly crisp bottom, a chewy interior, and those beautiful, leopard-spotted char bubbles. I tried stones, steel, and fancy ovens. But the real magic wasn’t in some expensive gadget. It was sitting on my stovetop the whole time, seasoned with years of good meals and a little bit of love. This recipe for an **Easy Cast Iron Skillet Pizza with Crispy Crust** is the one that finally made me hang up my pizza stone for good.
Recommended Product

Why Your Pizza Stone is About to Get Lonely
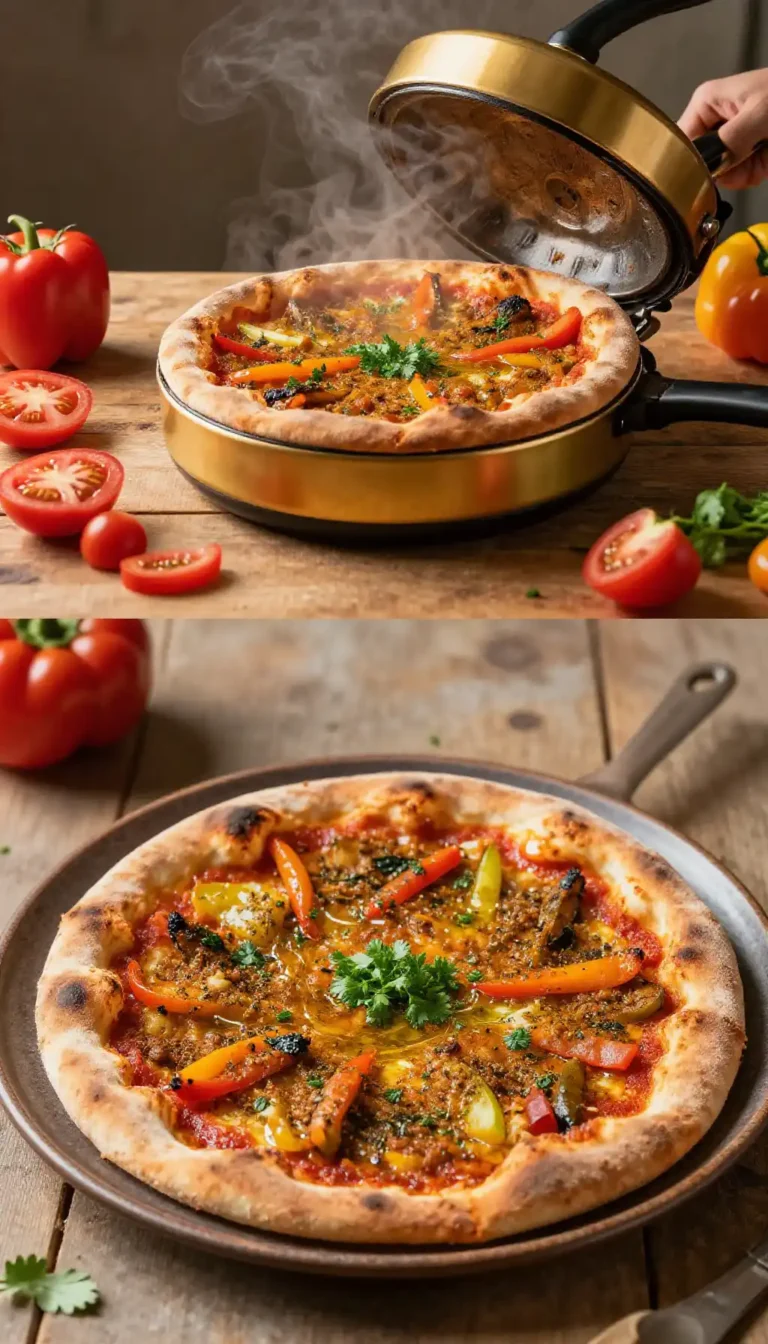
Let’s be real, pizza stones are great, but they can be a bit… high-maintenance. They’re fragile, they take forever to preheat, and cleaning them feels like an archaeological dig. The cast iron skillet, however, is the reliable workhorse of the kitchen. It’s nearly indestructible and it holds heat like nobody’s business. When you slide your dough into a skillet that’s been properly heated, you’re essentially searing the bottom of the pizza. This creates a foundation so crispy, you can hear the crunch from across the room.
🍳 Used in this recipe
Get It on Amazon Basics✔ Free Delivery | ✔ Top Rated | ✔ Budget-FriendlyThis method gives you incredible control. You get the intense bottom heat for that crunch, and the oven’s ambient heat for melting the cheese and cooking the toppings. Plus, the raised edges of the skillet create a perfectly thick, focaccia-like crust around the perimeter. It’s a two-for-one deal: crispy thin-crust in the middle and a fluffy, golden handle on the edge. It’s foolproof, forgiving, and frankly, it makes you look like a culinary genius with minimal effort. If you want to see other variations, a quick search on Pinterest will show you just how versatile this technique is.

The Secret Weapon: Your Skillet’s Heat Battery
The magic behind this pizza’s crispy soul isn’t just the skillet itself; it’s the science of thermal mass. Cast iron is a dense, heavy material. Think of it as a heat battery. When you put it in a hot oven, it absorbs a massive amount of thermal energy. Unlike a thin steel pan, it doesn’t lose that heat quickly when you introduce something cold, like your pizza dough.
This is the crucial part: that stored heat gets instantly transferred to the bottom of the dough. The intense, direct heat causes the water molecules in the dough to flash into steam, which pushes the dough upwards, creating air pockets and lift. Simultaneously, it kickstarts the Maillard reaction, that magical chemical process responsible for browning and creating complex, delicious flavors. This is why you get that golden-brown, crispy bottom and those beautiful, toasty spots on the crust’s edge. It’s not just cooking; it’s a delicious science experiment happening right in your oven.
🍳 Used in this recipe
Get It on Amazon Basics✔ Free Delivery | ✔ Top Rated | ✔ Budget-FriendlyHow to Make Easy Cast Iron Skillet Pizza with Crispy Crust (Without the Drama)
Alright, let’s get our hands dirty. This is the fun part. The whole process is about building layers of flavor and texture. It all starts with a good foundation.
**What You Need to Raid the Pantry:**
* **The Dough:** 1 lb of your favorite pizza dough (store-bought is a fantastic shortcut, no shame!). Let it come to room temperature for about 30 minutes before you start. This makes it pliable and happy.
* **The Fat:** 2 tablespoons of olive oil. This is non-negotiable for that crispy, golden “fried” edge.
* **The Sauce:** ½ cup of your favorite tomato sauce. Keep it simple or loaded with herbs, your call.
* **The Cheese:** 8 oz of low-moisture mozzarella, shredded. Fresh mozzarella is great, but it releases more water, so you’ll need to pat it dry first.
* **The Good Stuff:** Your choice of toppings! Think sliced bell peppers, mushrooms, onions, olives, or some spicy sausage. Go wild.
* **The Finish:** A handful of fresh basil, a drizzle of olive oil, and a sprinkle of grated Parmesan cheese.
🍳 Used in this recipe
Get It on Amazon Basics✔ Free Delivery | ✔ Top Rated | ✔ Budget-FriendlyThe Step-by-Step to Skillet Nirvana
This is where the transformation happens. Follow these steps, and you’re guaranteed success.
1. **Position and Preheat:** Place your 10 or 12-inch cast iron skillet on a rack in the upper-middle of your oven. Now, crank the heat to 500°F (260°C). Let the skillet get screaming hot for at least 30 minutes. This is the most critical step for a crispy crust, so don’t rush it!
2. **Oil the Stage:** Very carefully remove the blazing hot skillet from the oven. Pour the olive oil into it, tilting to coat the bottom and the sides. You should hear it sizzle immediately. Be careful, it’s extremely hot!
3. **Stretch, Don’t Roll:** Gently stretch and press your room-temperature dough into the oiled skillet. Don’t use a rolling pin! You want to preserve those air bubbles for a chewy texture. Let the dough rest for 5-10 minutes if it keeps shrinking back. It’ll relax and be easier to work with.
4. **Build Your Masterpiece:** Once the dough is laid out, work quickly. Spread your sauce, leaving a small border. Sprinkle on the cheese, then add your toppings. Less is more here; overloading can make the crust soggy.
5. **The Final Bake:** Slide the skillet back into the oven. Bake for 12-15 minutes. Keep an eye on it! You’re looking for a deeply golden-brown crust, bubbly, melted cheese, and toppings that are cooked through.
6. **The Grand Finale:** Using a sturdy oven mitt (seriously, don’t forget this!), pull the skillet out. Let it cool for a couple of minutes before you slice. This lets the cheese set just enough so it doesn’t slide off. Garnish with fresh basil and a final drizzle of olive oil. Prepare to be amazed.
Common Pitfalls: How NOT to Mess Up Your Masterpiece
Even the simplest recipes have sneaky ways of going wrong. Here’s how to sidestep the common disasters.
🍳 Used in this recipe
Get It on Amazon Basics✔ Free Delivery | ✔ Top Rated | ✔ Budget-Friendly* **The Soggy Bottom Blues:** This happens when your skillet isn’t hot enough or your toppings are too wet. The fix? Get that skillet scorching hot and don’t go crazy with the sauce. If using fresh mozzarella, pat it dry with paper towels. This is a non-negotiable for a crispy crust.
* **The Dough Rebellion:** If your dough keeps snapping back when you try to stretch it, it’s telling you it’s stressed out. Let it rest on the counter for 15-20 minutes covered with a towel. It will relax and stretch beautifully.
* **The Cheese Avalanche:** This is when all your toppings slide off in one giant, molten sheet. The solution is a light hand with the sauce and a strategic cheese-to-topping ratio. Sometimes, putting a light layer of cheese down *before* the sauce can act as a barrier.

Vibes: Setting the Scene for Your Pizza Party
This pizza has a vibe. It’s not a quiet, formal affair. It’s loud, it’s communal, and it’s meant to be shared.
Think: a rainy Sunday evening. The windows are fogged up, a good playlist is on in the background, and the whole house smells like an Italian bakery. You pull this golden, bubbling skillet from the oven and place it right in the center of the table. No fancy plates needed. Everyone gathers around with a pizza cutter (or a pair of scissors, we don’t judge), ready to dive in. It’s the perfect centerpiece for a casual get-together with friends or a cozy night in with the family. Pair it with a big, crisp salad and some sparkling water with lemon for a meal that feels both indulgent and incredibly comforting.
🍳 Used in this recipe
Get It on Amazon Basics✔ Free Delivery | ✔ Top Rated | ✔ Budget-FriendlyRecommended Product
 -15%
-15%
Silicone Baking Mat with Measurement Guide (Non-Stick Pastry & Cake Mat)
- Material →: Food-grade silicone (safe for baking)
- Surface →: Non-stick (no butter or oil needed)
- Design →: Measurement guide for perfect cake sizes
Leftovers? Here’s the Plan
If you somehow have leftover pizza (a rare occurrence in my house), you’ll want to store it properly. Let the slices cool completely, then store them in an airtight container in the fridge for up to 3 days. Please, I’m begging you, do not reheat this in the microwave. You’ll lose all that beautiful crispness.
To bring it back to its former glory, reheat it in a skillet over medium-low heat for a few minutes until the bottom is crisp again and the cheese is melted. Alternatively, you can pop it back in a 375°F (190°C) oven for about 8-10 minutes. It’ll taste just as good as the first day, maybe even better because the flavors have had time to meld.
The Final Slice: Your Questions Answered
How can I make sure my crust is extra crispy?
The secret is the preheat. Get that skillet in the oven while it heats up to at least 500°F (260°C) and let it sit for a solid 30 minutes. That stored, intense heat is what creates the ultimate crunch. Don’t be afraid to let the edges get a little dark—that’s pure flavor!
🍳 Used in this recipe
Get It on Amazon Basics✔ Free Delivery | ✔ Top Rated | ✔ Budget-FriendlyCan I make the dough from scratch for this recipe?
Absolutely! A homemade dough will add a wonderful personal touch. A simple no-knead dough that has proofed for several hours will work beautifully. The key is to make sure it’s at room temperature before you try to stretch it into the hot pan.
How to freeze Easy Cast Iron Skillet Pizza with Crispy Crust?
This is a great meal-prep hack. You can either freeze the whole baked pizza or individual slices. For best results, cool the pizza completely, then wrap each slice tightly in plastic wrap and place them in a freezer-safe bag. To reheat, bake from frozen in a 400°F (200°C) oven for about 10-12 minutes until hot and crispy. You can also freeze the unbaked pizza; just assemble it in the skillet, let it cool, then wrap it well and freeze. Bake from frozen, adding a few extra minutes to the cooking time.
What are the calories in Easy Cast Iron Skillet Pizza with Crispy Crust?
That’s a tricky one because it totally depends on your toppings and how big your slice is! A typical slice made with a standard dough, sauce, and mozzarella can range from 250-400 calories. Piling on veggies will add nutrients without a huge calorie jump, while heavier toppings like sausage will increase the count. The best approach is to build it to your liking and enjoy every delicious bite.
🍳 Used in this recipe
Get It on Amazon Basics✔ Free Delivery | ✔ Top Rated | ✔ Budget-FriendlyRecommended Product
 -40%
-40%
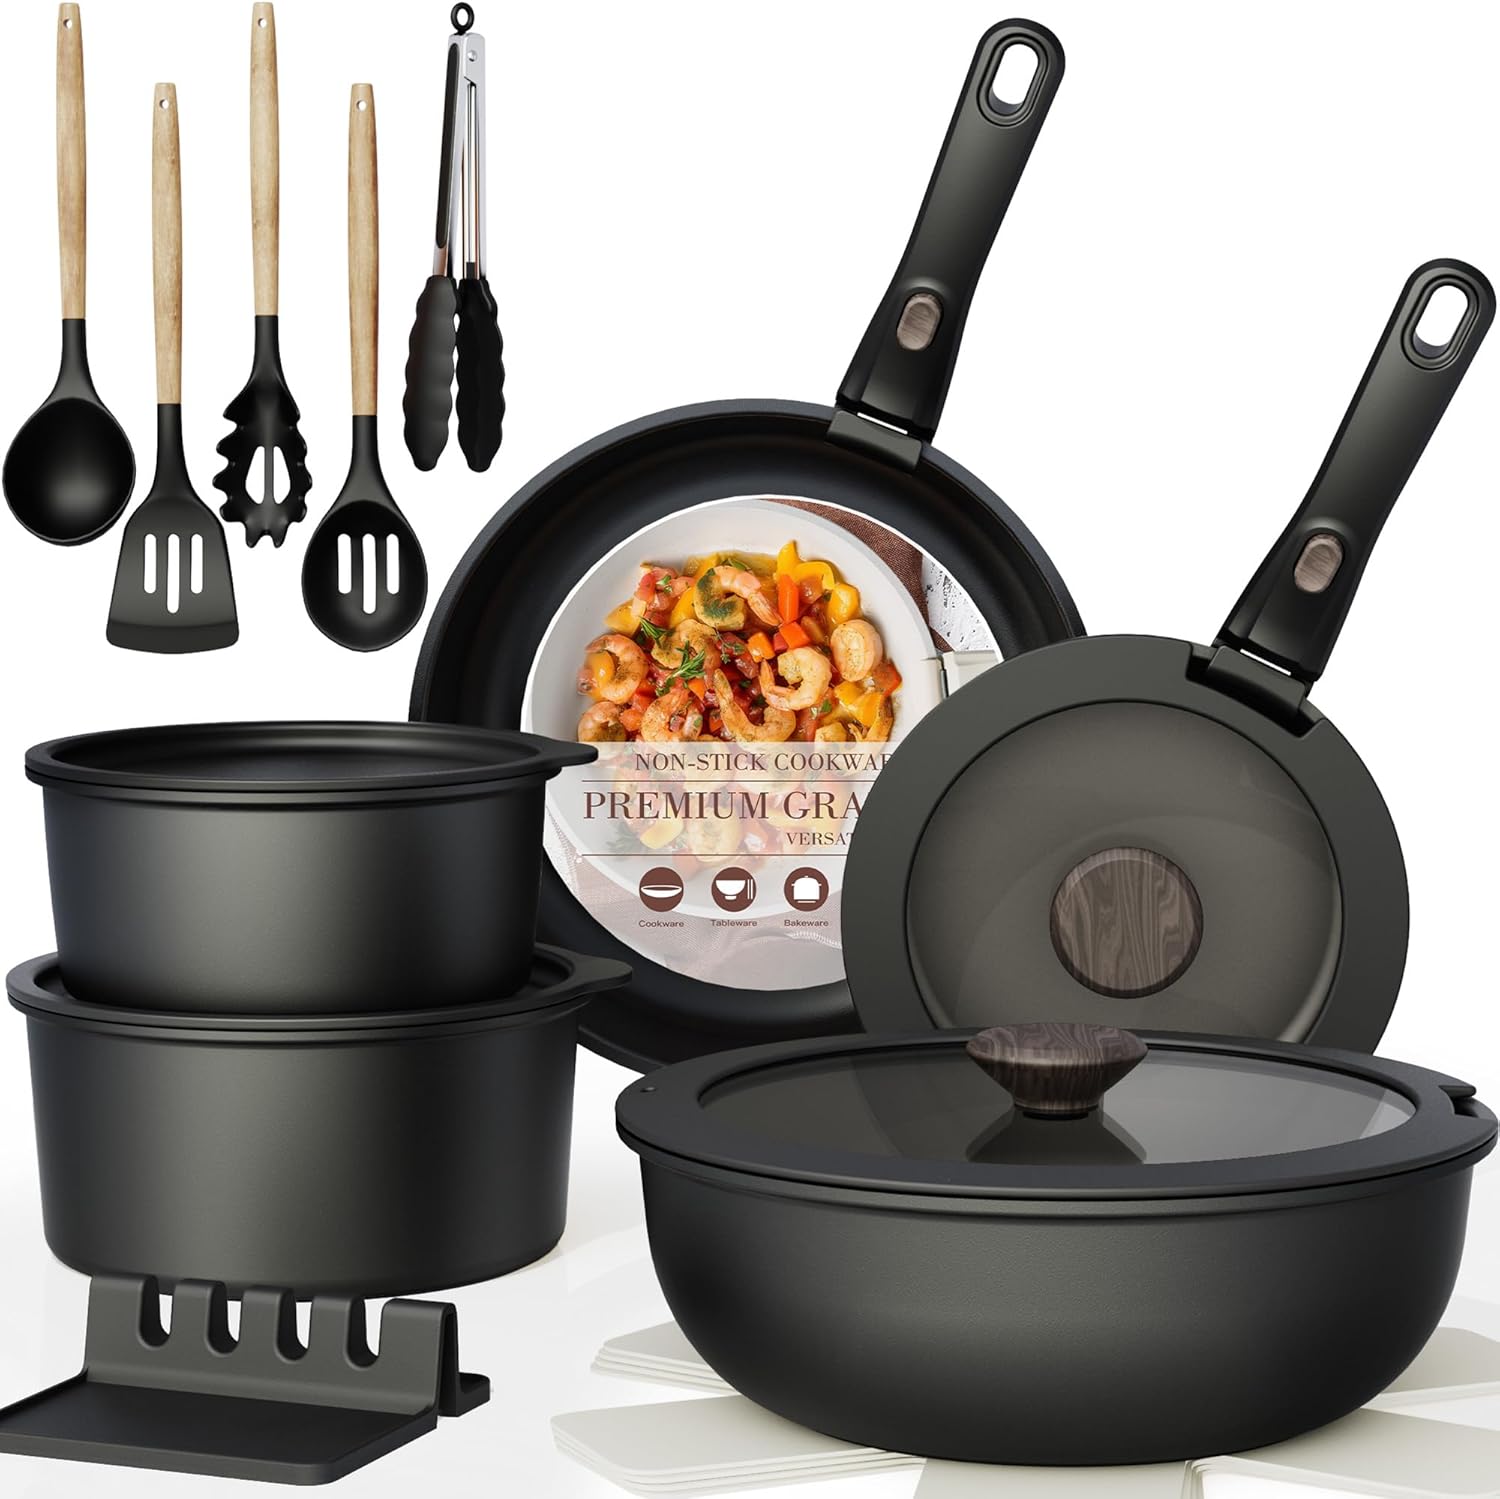
Astercook 21‑Piece Non‑Stick Cookware Set with Detachable/Removable Handles
- Pieces Included →: 21‑piece set with multiple pots, pans, and accessories
- Non‑Stick Coating →: Premium ceramic non‑stick free of harmful PFOA chemicals for healthier cooking
- Cleanup →: Easy to clean thanks to non‑stick surface and detachable handles
- Compatibility →: Works on induction, gas, electric, and ceramic stovetops; oven safe with handles removed
Can I use a different kind of cheese?
Of course! While low-moisture mozzarella is the classic choice for its perfect melt and mild flavor, feel free to experiment. Provolone adds a sharper bite, a little fontina brings a nutty creaminess, and a sprinkle of sharp cheddar can add a wonderful tang. Just make sure whatever you use melts well!

Easy Cast Iron Skillet Pizza with Crispy Crust
Ingredients
Ingredients
- 1 cup warm water about 110°F (43°C)
- 2 tsp active dry yeast or instant yeast
- 1 tsp honey or sugar for yeast activation
- 2 cups all-purpose flour plus more for dusting
- 1 tsp salt
- 2 tbsp olive oil divided, plus more for skillet
- 1/2 cup pizza sauce store-bought or homemade
- 1 cup shredded mozzarella cheese part-skim or whole milk
- 1/4 cup freshly grated Parmesan cheese optional for extra flavor
- 1/2 cup toppings of choice e.g., sliced pepperoni, bell peppers, mushrooms, olives
- 1 tsp dried oregano for sprinkling