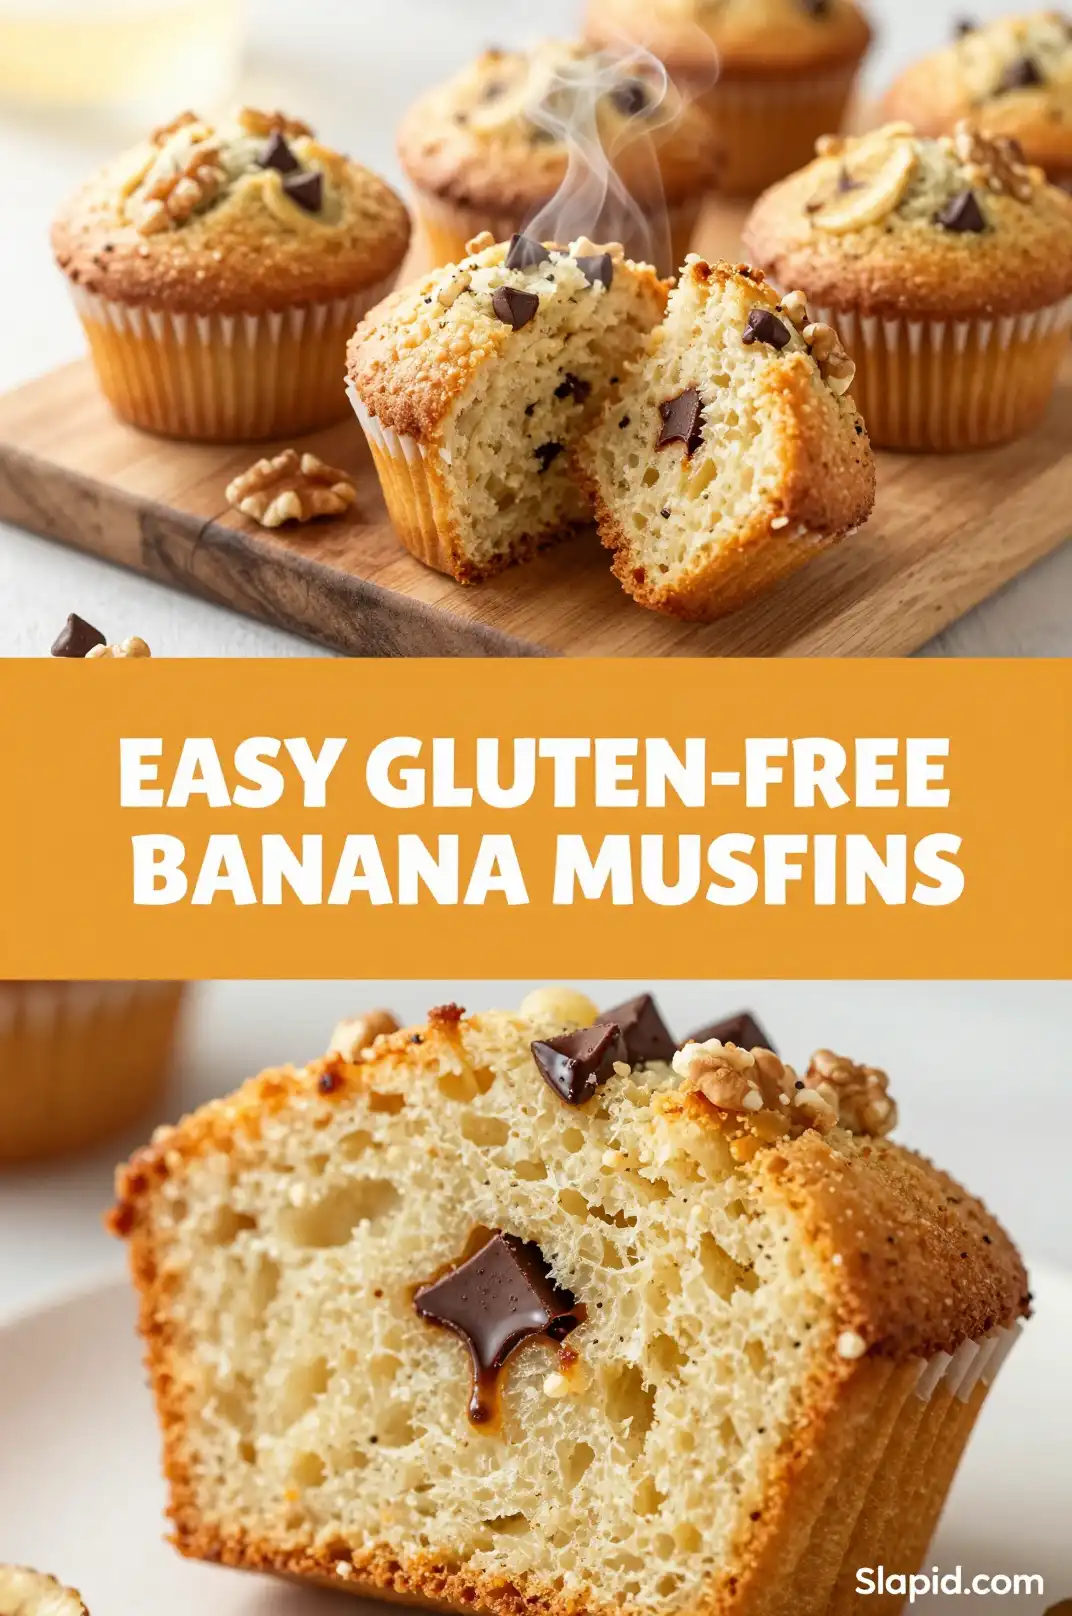
The Siren Song of the Speckled Banana
There are few smells in this world that can stop a busy human in their tracks and demand immediate attention. One of them is freshly brewed coffee. Another is rain on hot asphalt. But the third, the one that floats through the house and acts as a delicious, invisible lasso, is the scent of a banana muffin baking. It’s a warm, caramelizing, spicy-sweet aroma that promises comfort in every fluffy bite. You know that moment when you spot a banana on your counter transitioning from cheerful yellow to a confident, speckled brown? That’s not a tragedy, my friends. That’s an invitation. It’s nature’s way of saying, “Hey. It’s time for something wonderful.”
This specific creation, my Easy Homemade Gluten-Free Banana Bread Muffins, is what happens when that invitation is accepted with gusto. It’s the solution to that “what do I do with these bananas?” dilemma, a perfect breakfast on the run, and the ultimate cure for a case of the Tuesdays. We’re talking about a muffin with a crown that’s golden and crackled, a gentle rise that peeks over the liner, and an interior so moist and tender it practically melts. And because it’s all gluten-free, absolutely no one gets left behind on this flavor train. It’s pure, unadulterated, banana-laced joy, made from the simple things you probably already have in your pantry.
Recommended Product
 -11%
-11%
8‑Piece Deep Glass Baking Dish Set with Plastic Lids (Rectangular Bakeware)
- Material: Oven, freezer & microwave safe borosilicate glass (goes from fridge/oven without cracking)
- Pieces →: 4 rectangular dishes + 4 tight‑fitting plastic lids (stackable)
- Easy Care →: Dishwasher safe glass & lids
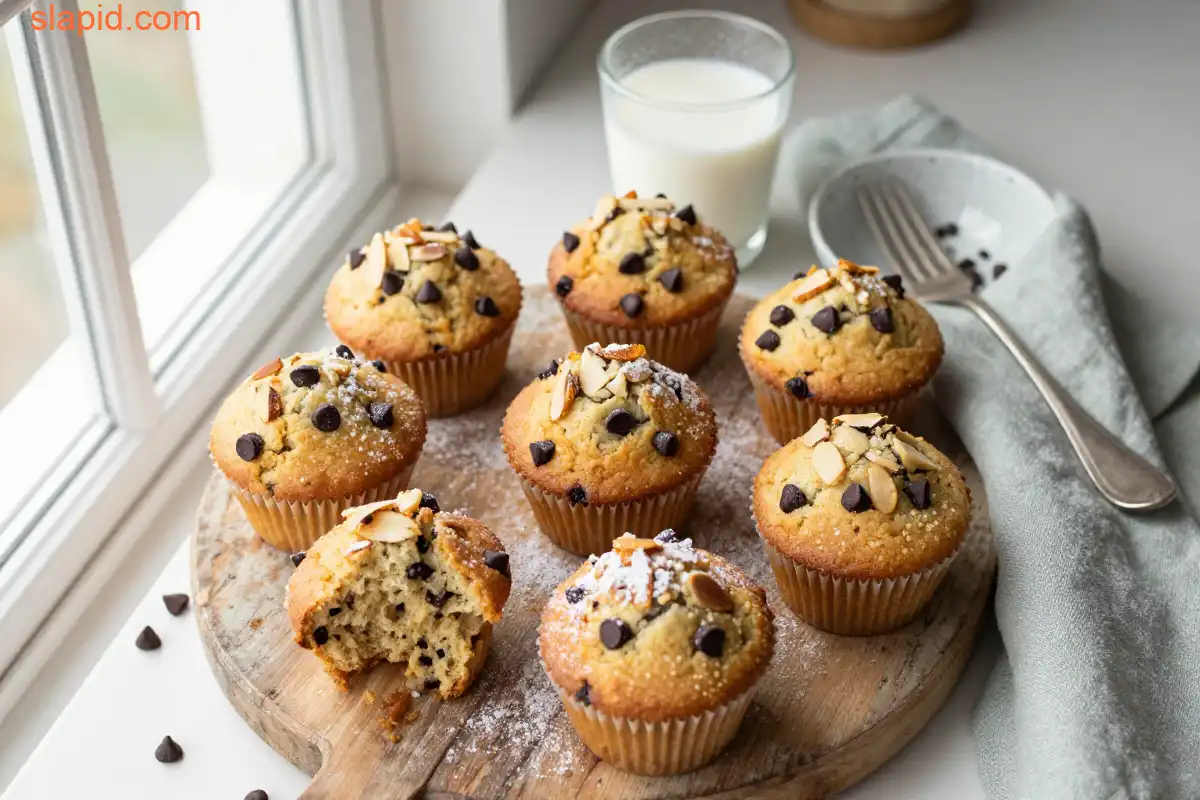
Why This Muffin Will Become Your New Obsession
Let’s be real for a second. The world is full of muffin recipes. So why should this one earn a permanent spot in your rotation? Because it masterfully balances simplicity with that “wow” factor. We’re not doing complicated steps or weird, hard-to-find ingredients. This is a dump, stir, and bake situation that yields bakery-level results. The gluten-free flour blend we’re using creates a crumb that’s soft and light, never gritty or dense. It has that perfect, slightly domed top that looks like it came from a fancy cafe, but it’s secretly a breeze to make at 7 AM.
🍳 Used in this recipe
Get It on Amazon Basics✔ Free Delivery | ✔ Top Rated | ✔ Budget-FriendlyAnd the flavor? It’s a powerhouse. We’re getting all that deep, sweet, almost caramel-like flavor from the super-ripe bananas, which then gets a warm, spicy hug from the cinnamon. It’s a symphony of cozy. These aren’t just muffins; they’re little pockets of happiness that are substantial enough to keep you full but light enough that you can happily enjoy one (or two) without feeling weighed down. It’s the recipe you’ll memorize because it’s that easy and that good. For more inspiration on making your gluten-free baking shine, you can always swing by my recipe page on slapid.com.
The Secret Weapon: Your Banana’s Mid-Life Crisis
The real magic, the absolute soul of these Easy Homemade Gluten-Free Banana Bread Muffins, isn’t in a fancy flour or a special spice. It’s in the banana itself. You might think a spotty banana is a banana that’s on its way out, but you’d be wrong. That banana is hitting its peak flavor potential.
Think of it like this: a green banana is stubborn and starchy. A perfectly yellow banana is pleasant and ready for a snack. But a banana covered in brown spots? That banana has undergone a glorious transformation. Through a process called respiration, the starches are rapidly converting into sugars. The banana is literally sweetening itself from the inside out. This is why a banana bread made with greenish-yellow bananas tastes… well, a little sad. It lacks that deep, complex sweetness. The mushy texture of a super-ripe banana is also a huge win for us bakers. It incorporates seamlessly into the batter, acting as a natural sweetener and a fat substitute, keeping the final muffin incredibly moist without needing a ton of extra oil or butter. So, when you see those spots, don’t toss it. You’re looking at the secret to muffin perfection.
🍳 Used in this recipe
Get It on Amazon Basics✔ Free Delivery | ✔ Top Rated | ✔ Budget-FriendlyLet’s Raid the Pantry (The Flavor Makers)
Before we get our hands dirty, let’s gather our cast of characters. This is all about simple staples coming together to make something magnificent. The key is having everything ready to go so the process is as smooth as the batter itself.
* **The Bananas:** The star of the show. You need them very ripe. We’re talking lots of brown spots, almost black. The mushier, the better for mixing.
* **The Gluten-Free Flour:** I recommend a good quality “cup-for-cup” or “1-to-1” blend that already contains xanthan gum. This is your structural hero and makes gluten-free baking foolproof.
* **The Binder:** We’ll use a couple of large eggs to give the muffins lift and structure.
* **The Sweetness:** We’ll use a mix of brown sugar (for that molasses flavor and extra moisture) and a bit of regular sugar.
* **The Fat:** A neutral oil, like avocado or vegetable oil, keeps things super tender. Melted butter also works beautifully if you prefer.
* **The Lift:** Baking powder and baking soda. This dynamic duo ensures a beautiful, high dome.
* **The Flavor Crew:** Ground cinnamon for warmth, a splash of pure vanilla extract for depth, and a pinch of salt to make all the other flavors pop.
Let’s Get Cooking: The Step-by-Step
Alright, aprons on (or not, I won’t tell). This is where the magic happens. Don’t be intimidated; this process is more forgiving than a sleepy kitten.
🍳 Used in this recipe
Get It on Amazon Basics✔ Free Delivery | ✔ Top Rated | ✔ Budget-Friendly1. **Prep Your Station:** Get your oven preheating to 375°F (190°C). Line a 12-cup muffin tin with paper liners or give it a generous greasing. This is also the perfect time to mash your bananas in a large bowl until they’re a lumpy-smooth paste.
2. **The Wet Team:** To your mashed bananas, add the oil (or melted butter), both sugars, the eggs, and the vanilla extract. Whisk it all together until it’s smooth and well-combined. The smell already starts to get good here.
3. **The Dry Team:** In a separate, medium bowl, whisk together your gluten-free flour, cinnamon, baking soda, baking powder, and salt. This step is crucial for even distribution—you don’t want to bite into a pocket of baking soda!
4. **The Union:** Pour the dry ingredients into the wet ingredients. Using a spatula or wooden spoon, gently fold them together. **This is the most important step:** Mix only until the flour streaks have just disappeared. Overmixing is the enemy of a tender muffin! A few lumps are totally fine.
5. **Divide and Conquer:** Scoop the batter evenly into your prepared muffin cups. I like to fill them almost to the top to encourage that nice, high dome. For a little extra pizzazz, you can sprinkle a tiny bit of coarse sugar on top before baking.
6. **Bake to Perfection:** Slide the tin into the hot oven and bake for 18-22 minutes. You’ll know they’re done when the tops are golden brown and a toothpick inserted into the center of a muffin comes out clean or with a few moist crumbs attached (but no wet batter).
7. **The Cool Down:** Let the muffins cool in the pan for about 5 minutes before transferring them to a wire rack. This little rest helps them set so they don’t fall apart, but it also means you can start eating them that much sooner.
How NOT to Mess It Up (Common Pitfalls)
Even the easiest recipes have a few sneaky ways to go wrong. Let’s sidestep those disasters, shall we?
* **The “Sad, Sunken Muffin”:** If your muffins look great in the oven but collapse into a sad crater when they cool, you’ve likely opened the oven door too early. That blast of cold air shocks the delicate structure. Keep that door shut until at least the 18-minute mark!
* **The “Dense Brick”:** Did you mix the batter until it was perfectly smooth? Oops. That’s the classic sign of overmixing. Remember, gluten-free flour is delicate. Treat it with a gentle hand. Stop mixing the second the flour disappears.
* **The “Dry & Crumbly”:** This usually happens for one of two reasons: either you measured your flour incorrectly (spoon and level, folks, don’t scoop!), or you left them in the oven too long. Start checking for doneness at the 18-minute mark. A few moist crumbs on your toothpick is your friend.
🍳 Used in this recipe
Get It on Amazon Basics✔ Free Delivery | ✔ Top Rated | ✔ Budget-FriendlyVibes: Setting the Muffin Scene
These muffins are the culinary equivalent of your favorite cozy sweater. They are perfect for a lazy, rainy Sunday morning, sitting by the window with a steaming mug of coffee or tea, watching the world get a good wash-down. The smell of cinnamon and banana will make your house feel like a warm hug. They’re also the ultimate road trip companion. Toss a couple in a bag for a hiking trip, a long drive, or just to survive the 3 PM slump at the office. They’re fantastic on their own, but if you want to get a little fancy, split one open while it’s still warm and slather it with a pat of salted butter or a dollop of cream cheese. It’s simple, rustic, and utterly satisfying.
Your Muffin Questions, Answered (The FAQ)
I get a lot of questions about these little guys. Here are the answers to the most common ones.
How to freeze Easy Homemade Gluten-Free Banana Bread Muffins?
Freezing these is a brilliant move for future-you. Once they are completely cool, pop them on a baking sheet and freeze until solid (about an hour). This prevents them from sticking together. Then, transfer them to a freezer-safe zip-top bag. They’ll be happy in the freezer for up to 3 months. To thaw, just leave them on the counter for an hour or microwave for 20-30 seconds.
🍳 Used in this recipe
Get It on Amazon Basics✔ Free Delivery | ✔ Top Rated | ✔ Budget-FriendlyCan I add nuts or chocolate chips?
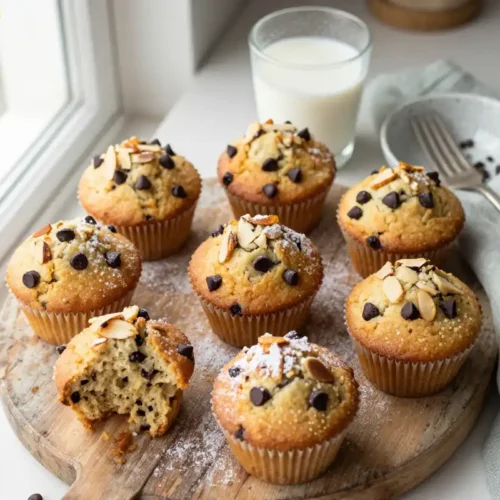
Absolutely! This recipe is a fantastic base for mix-ins. Fold in about ½ to ¾ cup of your favorites at the very end. Walnuts and pecans add a wonderful crunch, while chocolate chips (make sure they’re gluten-free!) turn these into a decadent treat.
What’s the deal with the calories in Easy Homemade Gluten-Free Banana Bread Muffins?
That’s a great question, as it can vary slightly depending on the exact brands of your ingredients (especially the sugar and flour). As a general estimate, one of these muffins comes in around 200-250 calories. They’re a satisfying snack that provides real energy, so you’re getting great bang for your buck!
My gluten-free flour is a blend without xanthan gum. What should I do?
No problem! If your chosen blend doesn’t already include it, you’ll need to add it yourself. For this recipe, add ¾ teaspoon of xanthan gum to your dry ingredients. It’s the magical ingredient that mimics gluten’s binding properties, so your muffins don’t crumble into a million delicious pieces.
🍳 Used in this recipe
Get It on Amazon Basics✔ Free Delivery | ✔ Top Rated | ✔ Budget-FriendlyCan I make these muffins dairy-free as well?
Yes, you easily can! The recipe is already almost there. Simply use a neutral oil instead of melted butter, and you’re golden. They’ll be just as moist and tender.
Recommended Product
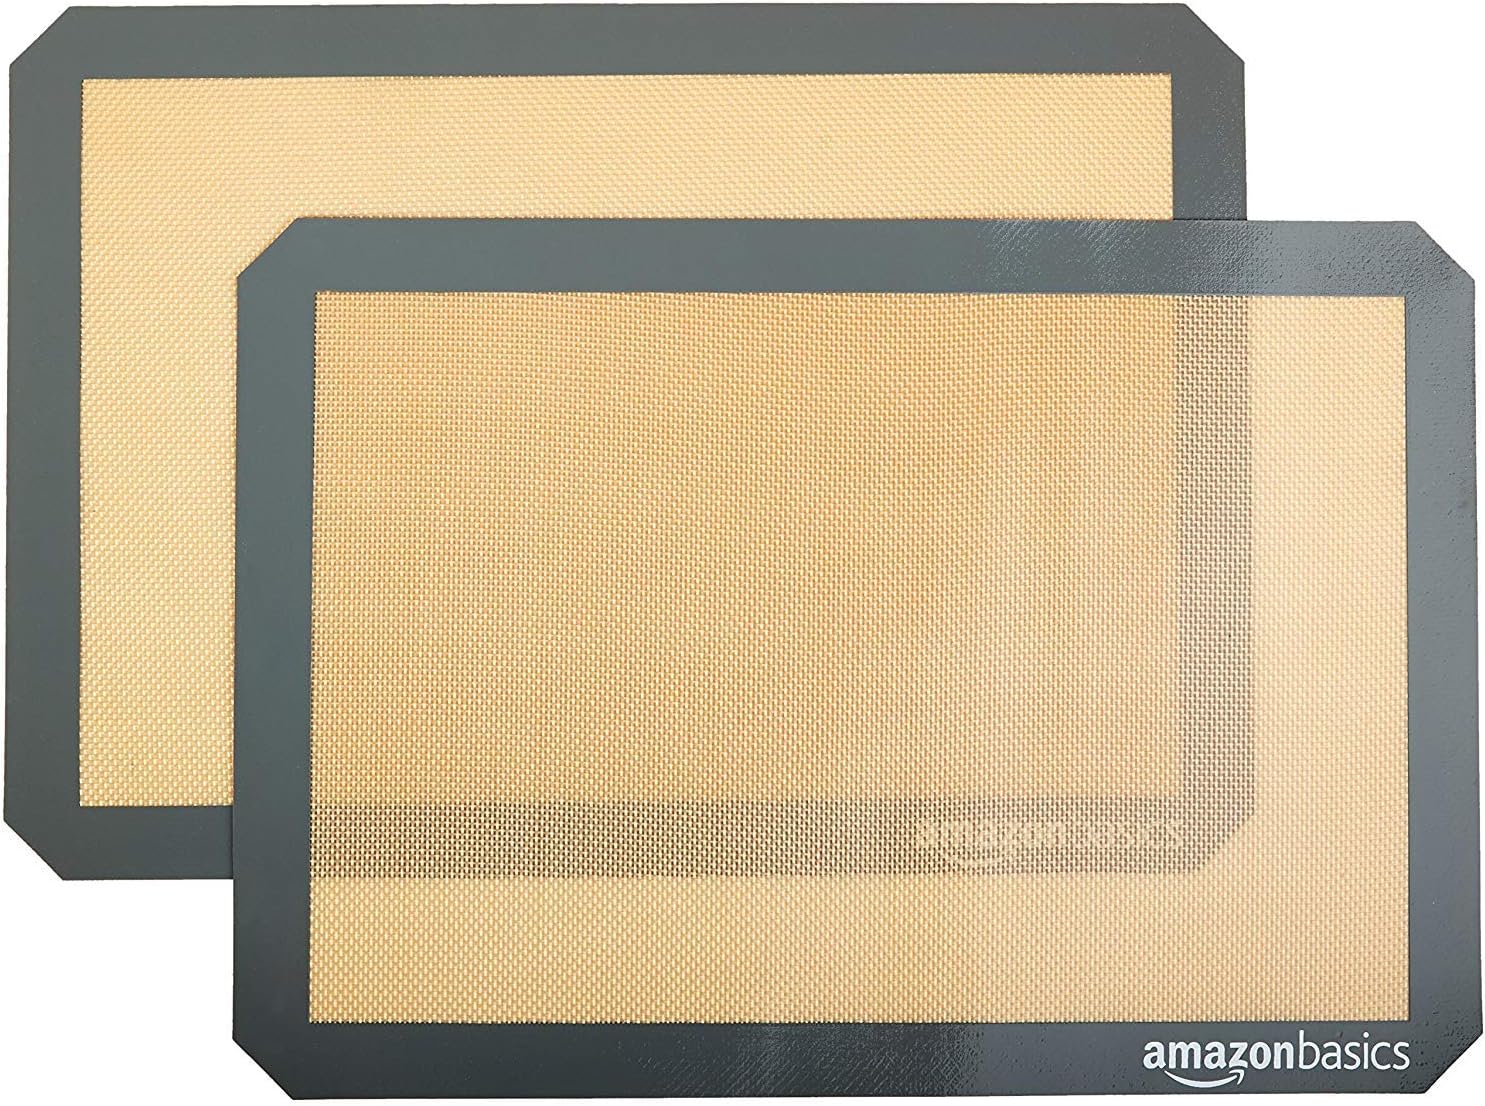
Amazon Basics Silicone Baking Mat (2-Pack Non-Stick Oven Liners)
- Material →: Food-safe silicone, reusable thousands of times
- Non-Stick →: No butter, oil, or parchment needed
Easy Homemade Gluten-Free Banana Bread Muffins
Ingredients
Ingredients
- 1 3/4 cup Gluten-Free All-Purpose Flour Use a blend that contains xanthan gum, or add 1/2 tsp.
- 1 tsp Baking Soda
- 1/2 tsp Ground Cinnamon
- 1/4 tsp Salt
- 3 medium Ripe Bananas Mashed well (about 1 1/4 cups)
- 1/2 cup Granulated Sugar
- 1/3 cup Unsalted Butter Melted and slightly cooled
- 1 large Egg Room temperature
- 1 tsp Vanilla Extract
Recommended Product
 -15%
-15%
Silicone Baking Mat with Measurement Guide (Non-Stick Pastry & Cake Mat)
- Material →: Food-grade silicone (safe for baking)
- Surface →: Non-stick (no butter or oil needed)
- Design →: Measurement guide for perfect cake sizes