The Crack of Dawn Loaf
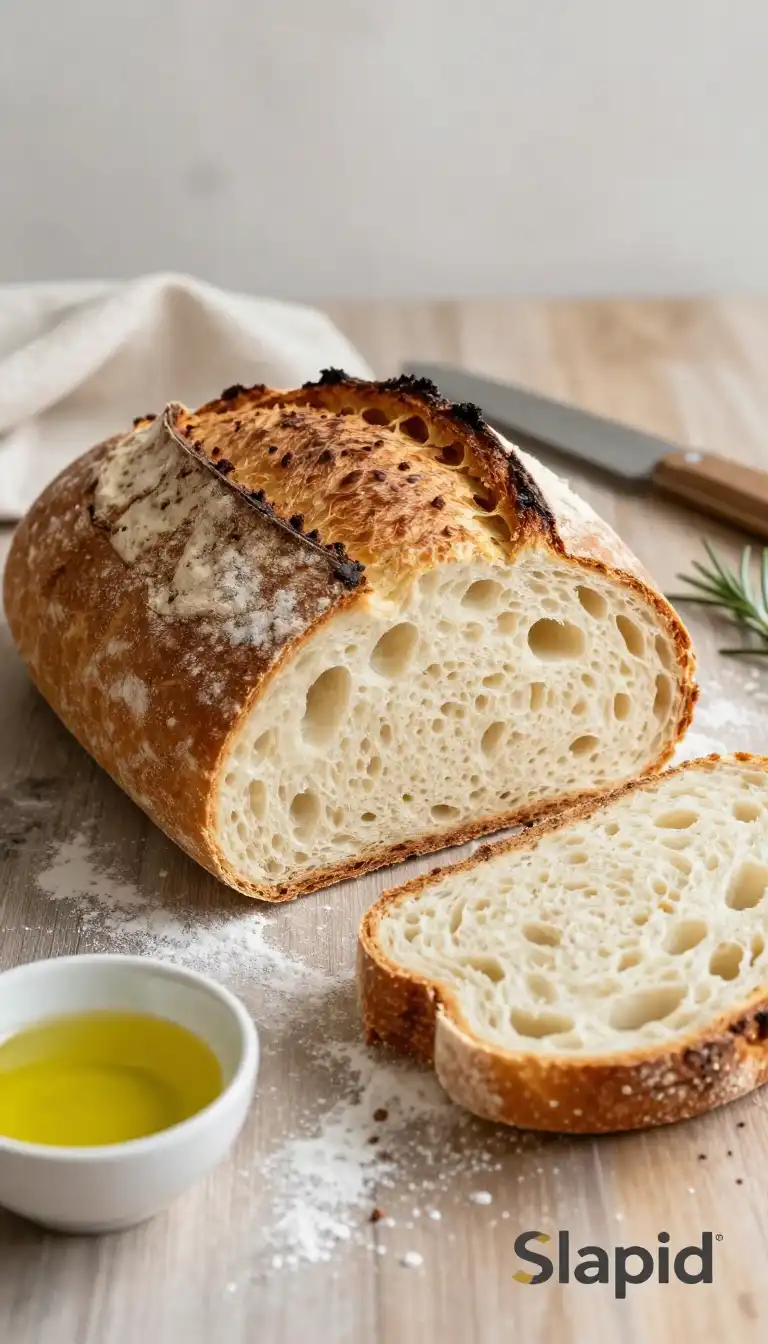
There’s a moment, just before the sun fully commits to the day, when the kitchen is quiet. That’s when the magic happens. I pull this loaf from the oven, and the steam that escapes smells like the highlands of Ethiopia—earthy, warm, and slightly sweet. The crust has this delicate, papery crackle, and when you press your thumb into it, it springs back with a promise. This isn’t just any gluten-free bread. This is the **Easy Homemade Gluten-Free Teff Flour Bread** that silences the skeptics and makes the gluten-free life feel like a victory lap.
Forget the dense, crumbly bricks that have given gluten-free baking a bad name. This loaf is moist, holds together like a dream for sandwiches, and toasts up into the most glorious, buttery vehicle for your favorite spreads. It’s the bread you’ve been searching for.
Why This Teff Bread is Your New Kitchen MVP
Let’s be real. Most gluten-free bread recipes require a pantry that looks like a science lab and the patience of a saint. Not this one. The beauty of this **Easy Homemade Gluten-Free Teff Flour Bread** lies in its beautiful simplicity. It’s a quick-mix, no-yeast, no-fuss kind of loaf. You don’t need to wait for it to rise for hours; the magic happens in the oven, transforming a simple batter into a sliceable, satisfying loaf.
The flavor is the real star, though. Teff flour, a tiny ancient grain from Ethiopia, brings a unique, complex personality to the party. It’s naturally malty and nutty with subtle chocolatey undertones. This means your bread has inherent flavor depth that doesn’t rely on a laundry list of add-ins. It’s perfect on its own, but it also plays incredibly well with others, from savory stews to sweet jams. And the texture? A tight, moist crumb that doesn’t crumble into a thousand pieces the moment you look at it sideways. It’s a reliable, everyday loaf that just happens to be gluten-free.
The Teff Takedown: The Science Behind the Super Grain
So, what is this magical ingredient, and why is it the secret weapon for our bread? Teff is a nutritional powerhouse, a tiny grain that packs a massive punch. Unlike many gluten-free flours that are just starches (looking at you, white rice flour), teff is a whole grain. This means it brings fiber, protein, and a host of minerals like calcium and iron to the table. It’s the structural champion of this recipe.
Here’s the clever part: while teff flour is completely gluten-free, it contains proteins that, when mixed with liquid and heat, form a gel-like structure. This gel traps air and moisture, giving our bread a tender, cohesive crumb without any gluten. It’s nature’s own binding agent. This is why we can achieve such a lovely, non-crumbly texture. The **how to make Easy Homemade Gluten-Free Teff Flour Bread** process leans into this natural property, using the right amount of liquid to activate these proteins perfectly. It’s not magic; it’s just smart cooking with an incredible grain.
Pitfalls to Dodge: Your “Don’t Do This” Guide
Even the simplest recipes have a few tripwires. Consider this your friendly heads-up to ensure your loaf is a triumph, not a tragedy.
**The “Over-Mixing” Trap:** You’re not making a glutenous bread, so you can’t develop elasticity by kneading. In fact, that’s the opposite of what you want. Once your wet and dry ingredients are combined, stop. A few lumps are your friends. Over-mixing can lead to a tough, gummy texture. Just fold until you can’t see any dry flour, and you’re golden.
**The “Oven Door Peeker” Syndrome:** This loaf gets its lift from steam and heat. Every time you open the oven door, you release that precious steam and cause a temperature drop. This can make your bread sink in the middle. Trust the process. Use your oven light to watch the glorious rise instead of opening the door. Patience is a virtue, especially here.
**The “Hot Pan Misstep”:** This recipe uses a hot start to the baking. This means your oven and loaf pan need to be preheated together. Don’t skip this step! It creates an instant burst of heat that helps the loaf rise quickly and forms that beautiful, crackly crust. Sliding a cold batter into a hot pan is the key to success.
Serving Vibes: Setting the Scene
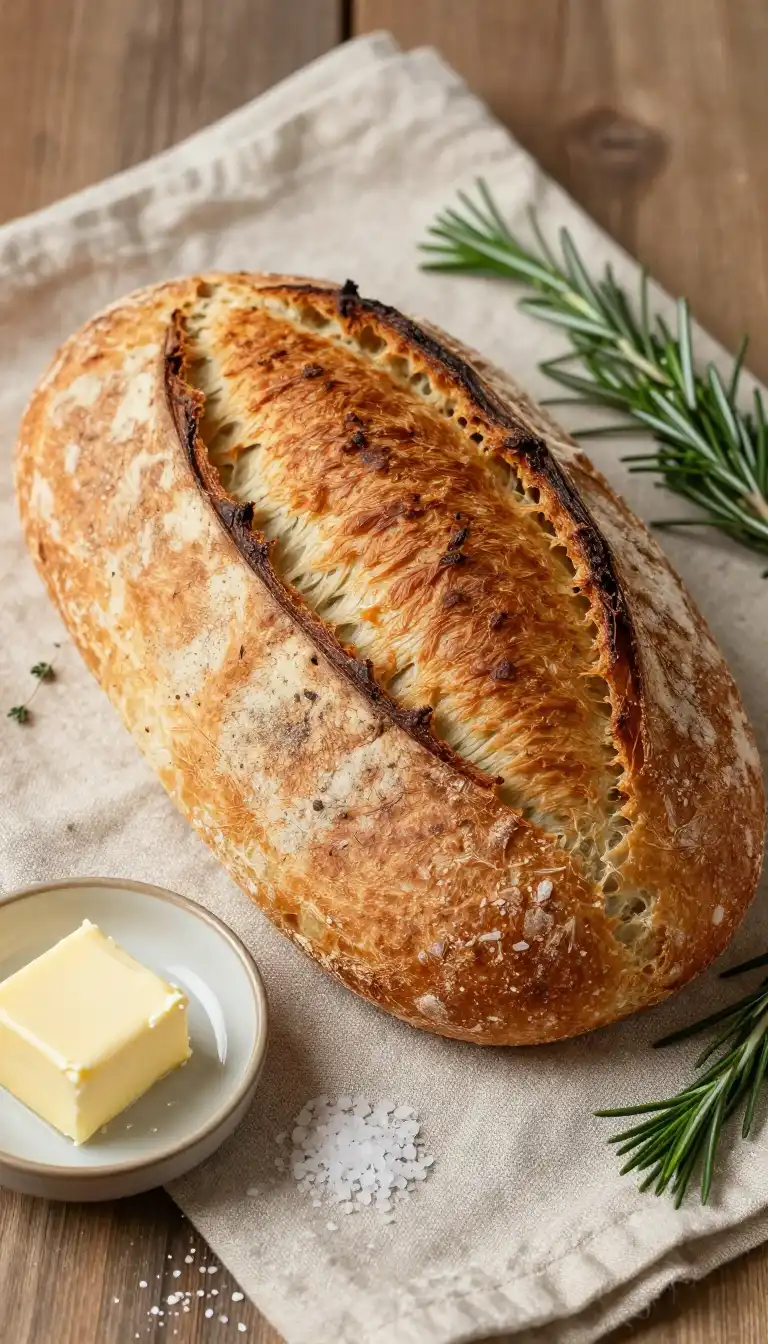
This loaf is a chameleon, adapting to any moment. Picture this: it’s a grey, drizzly afternoon. You slice a thick piece, pop it in the toaster, and slather it with salted butter. The steam curls up as you take the first bite—the crunch of the crust, the soft, warm center. It’s the ultimate comfort food, a hug in carb form.
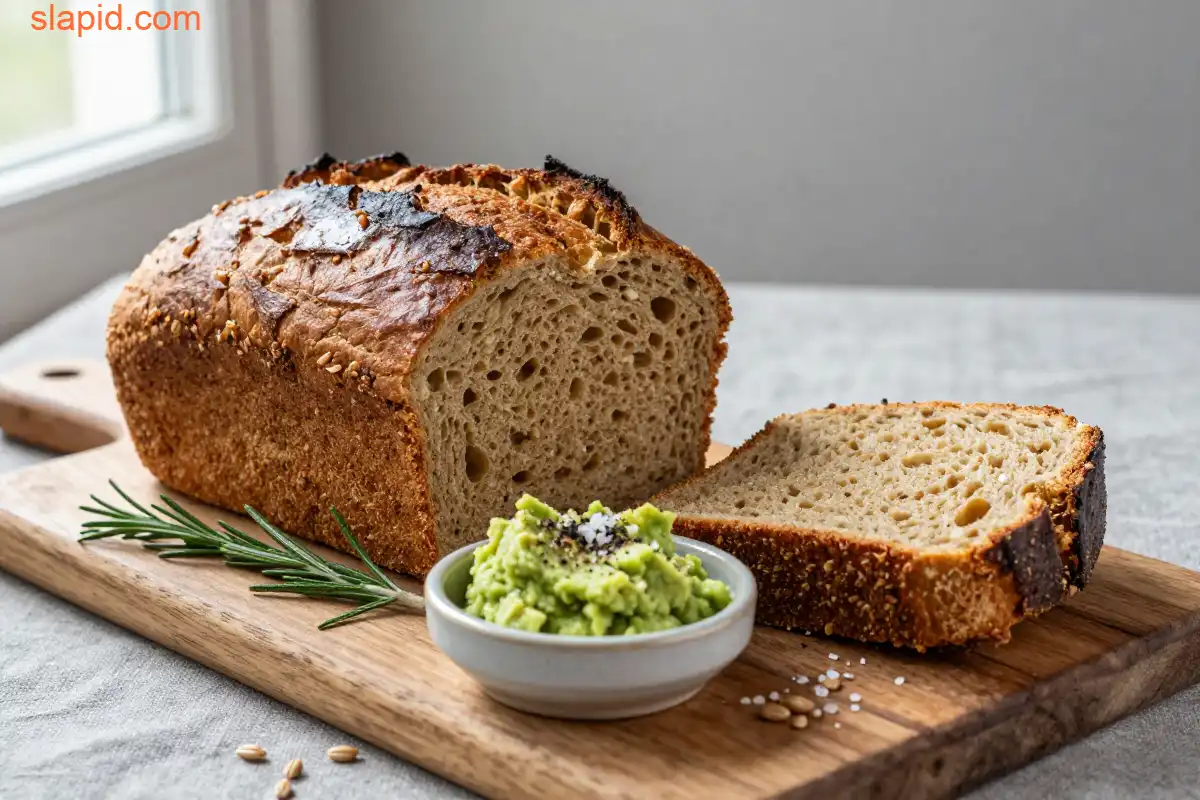
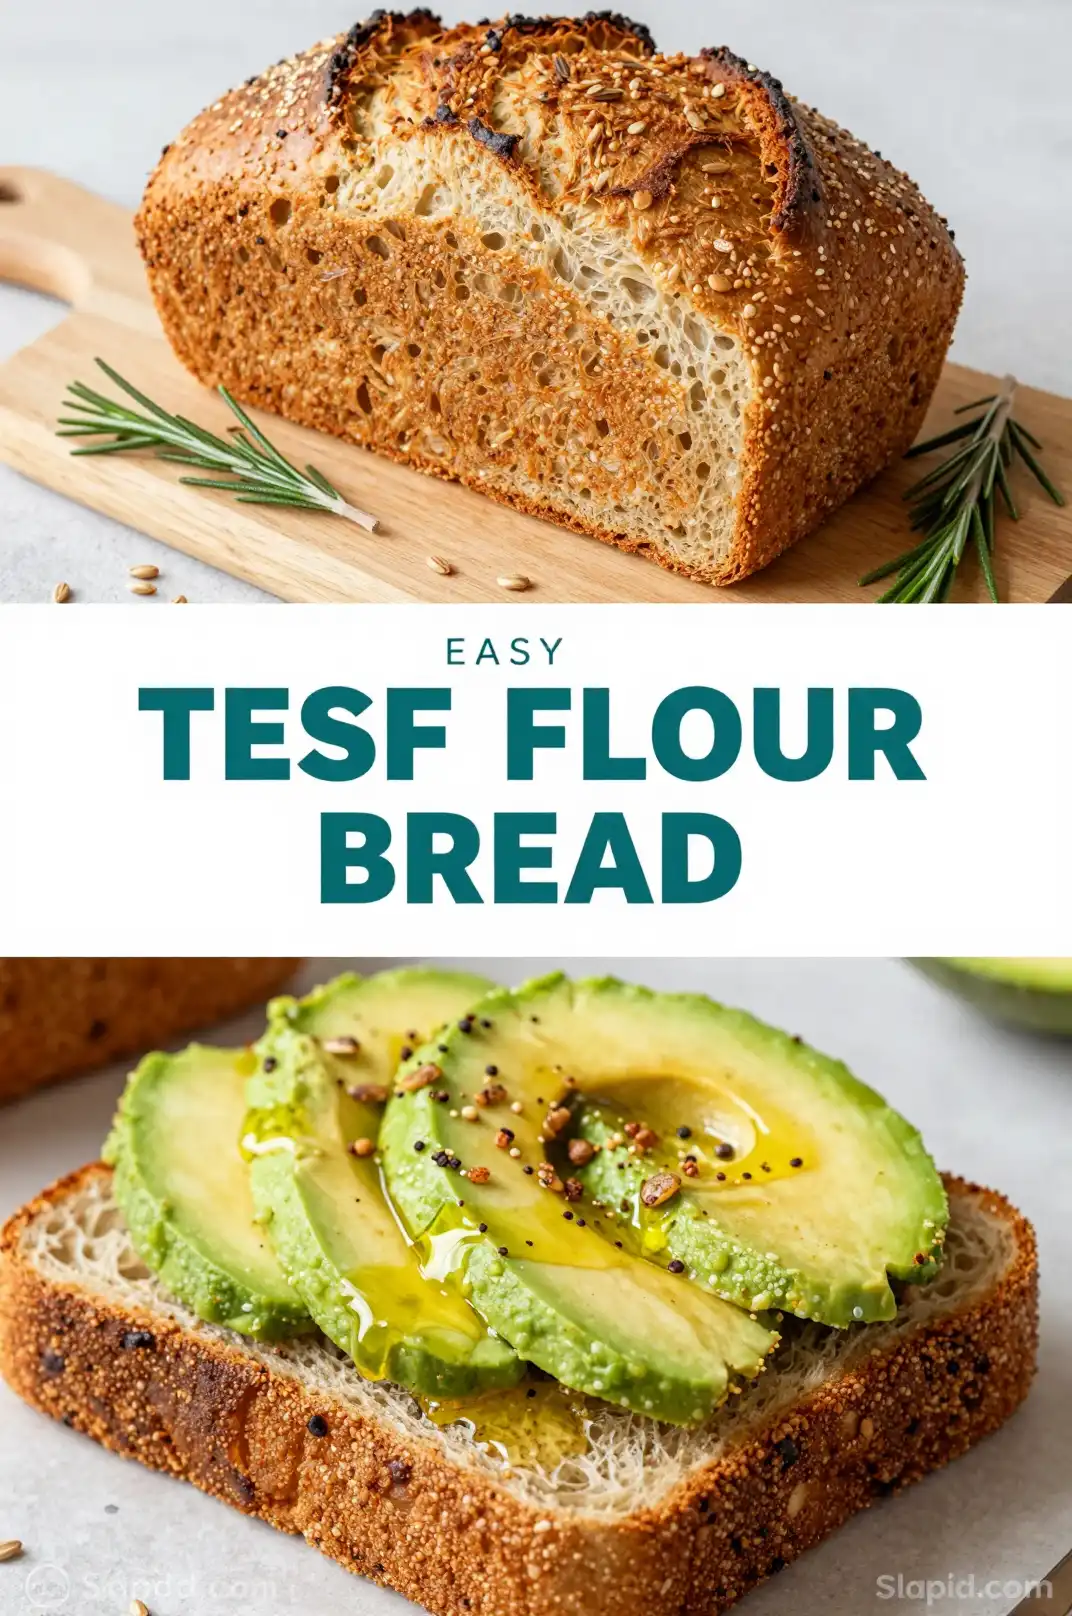
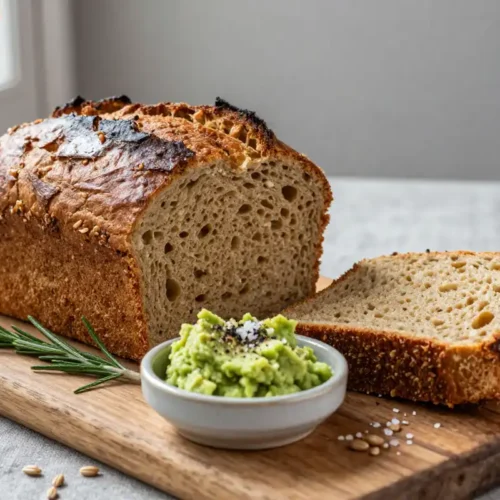
Now, flip the script. It’s a bright Saturday brunch. You’ve thickly sliced the bread, toasted it until golden, and piled it high with smashed avocado, a sprinkle of chili flakes, and a perfectly jammy egg. The sturdy, nutty base holds up to the weight and the flavors, making every bite a textural masterpiece. Whether it’s the star of a simple meal or the supporting actor for a hearty stew, this bread elevates the entire experience. This is the bread you bring to a potluck, the one that disappears first.
FAQs: Your Bread Questions, Answered
Let’s tackle the nitty-gritty questions that pop up when you’re about to embark on your gluten-free baking journey.
**How do I store my Easy Homemade Gluten-Free Teff Flour Bread?**
Because this loaf is wonderfully moist, it’s best stored in an airtight container or a bread box at room temperature for up to 3 days. The crust will soften, but a quick toast will bring back its glory. For longer storage, freezing is your best friend.
**How to freeze Easy Homemade Gluten-Free Teff Flour Bread?**
This is the best part. Once the loaf is completely cool, slice it. Yes, slice it first! Then, separate the slices with a small square of parchment paper (this prevents them from freezing into a single brick). Place the stack in a freezer-safe bag, squeeze out all the air, and freeze. You can toast slices directly from frozen—no need to thaw. This means you have instant, fresh-tasting bread on demand for weeks.
**What are the calories in Easy Homemade Gluten-Free Teff Flour Bread?**
A slice of this bread (assuming the loaf is cut into 12 slices) typically contains around 110-130 calories. It’s a nutrient-dense bread thanks to the teff, so you’re getting a good dose of fiber and protein for those calories, making it more satisfying than many commercial gluten-free options.
**Can I make this bread in a different pan?**
Absolutely! A standard 8.5×4.5-inch loaf pan is ideal for the right height and shape. If you use a 9×5-inch pan, your loaf will be slightly shorter but will bake a bit faster. You can also bake this as rolls in a muffin tin—just reduce the baking time to about 20-25 minutes.
**Does the batter really look this thick?**
Yes! Don’t panic. The batter for this **Easy Homemade Gluten-Free Teff Flour Bread** is much thicker than traditional yeast bread dough. It should be a scoopable, almost dough-like batter. This is normal and correct. It’s what helps create that tight, moist crumb structure we’re after.
Ready to get baking? Your kitchen is about to smell incredible. For more inspiration and to see how others are enjoying their loaves, check out this collection of ideas on Pinterest. And for the full, printable recipe, head straight to this link. Happy baking
Easy Homemade Gluten-Free Teff Flour Bread
Ingredients
Ingredients
- 1.5 cups teff flour packed
- 0.5 cups tapioca starch or arrowroot starch
- 2 tsp baking powder
- 1 tsp baking soda
- 1 tsp salt
- 2 large eggs room temperature
- 1 cup buttermilk or 1 cup milk + 1 tbsp vinegar, room temperature
- 0.25 cup honey or maple syrup
- 0.25 cup vegetable oil or melted coconut oil