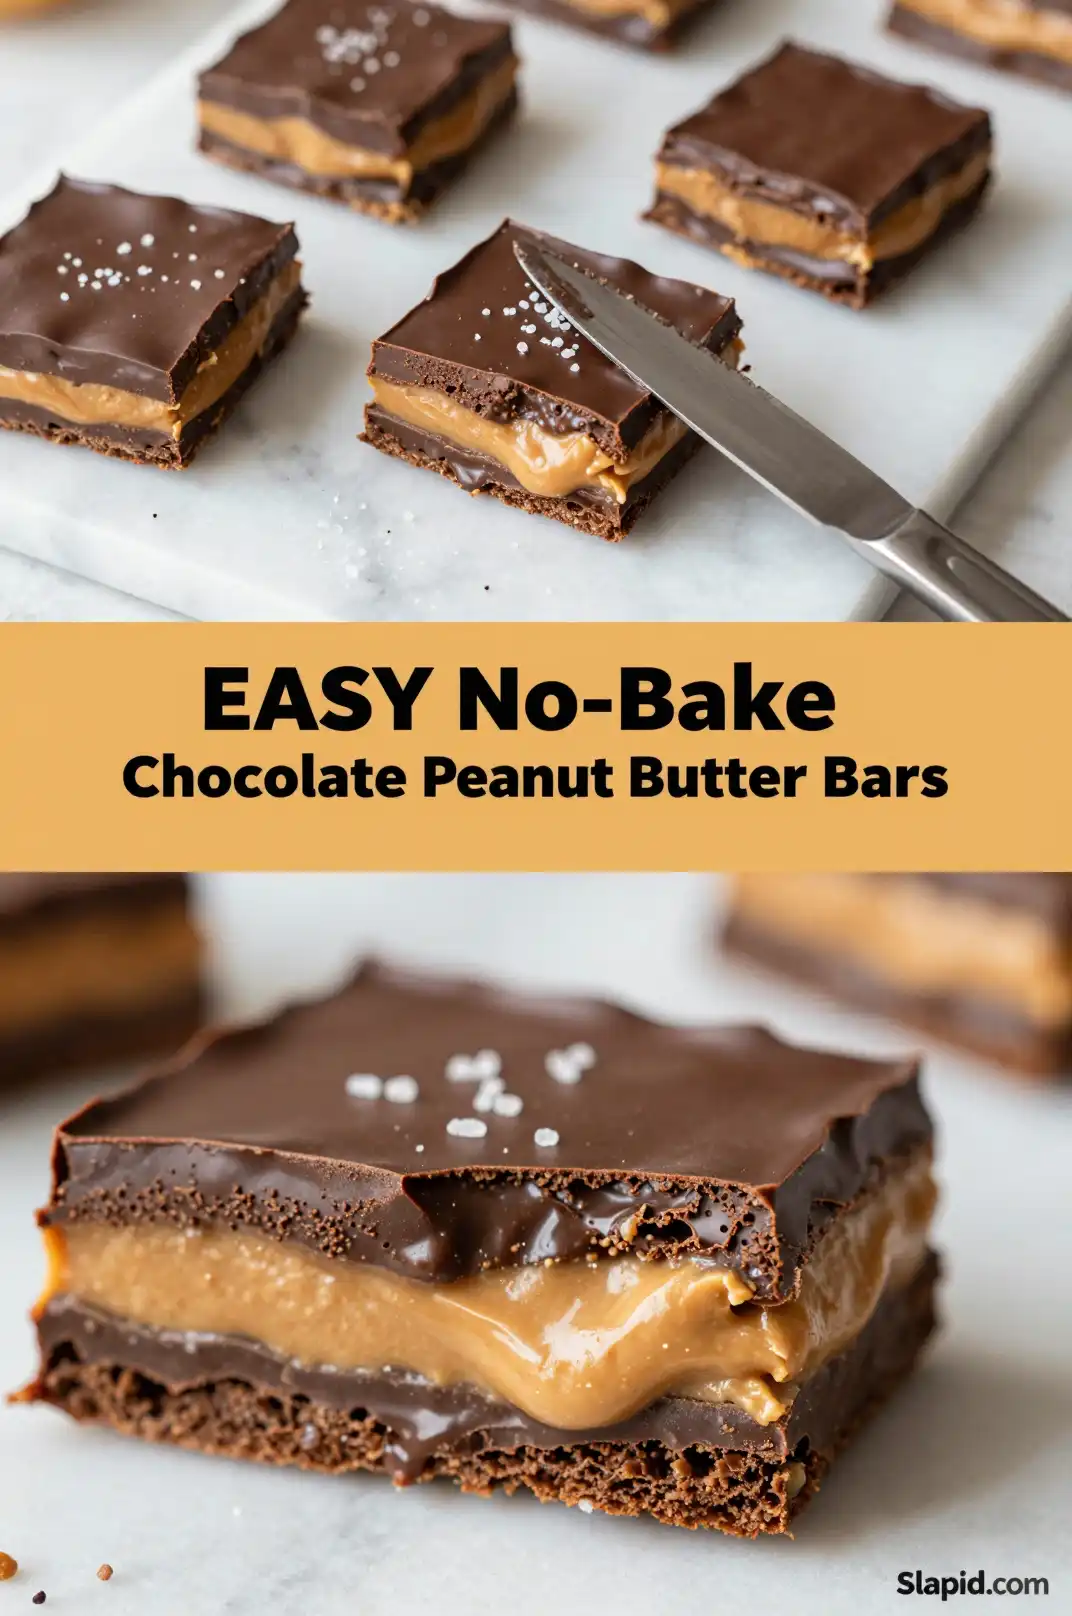
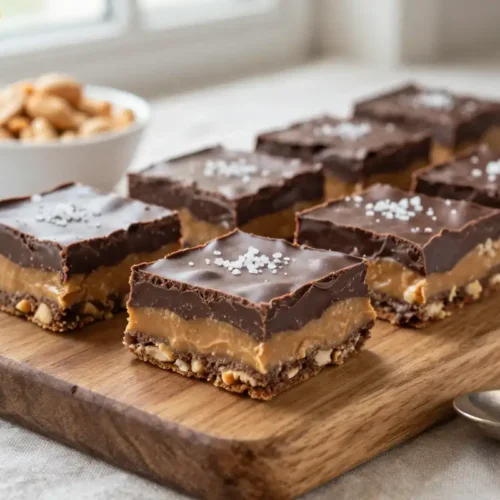
Chocolate Peanut Butter Bars
If you’ve ever dreamed of creating homemade peanut butter cups but thought it would be too complicated, these Easy No-Bake Chocolate Peanut Butter Bars are about to become your new favorite dessert. Imagine the perfect marriage of creamy peanut butter and rich chocolate, transformed into decadent squares that literally melt in your mouth. The best part? You don’t even need to turn on your oven! These bars capture all the beloved flavors of store-bought peanut butter cups but with a homemade touch that makes them even more special.
Quick Facts
| Prep Time: | 15 minutes |
| Chill Time: | 2 hours |
| Total Time: | 2 hours 15 minutes |
| Difficulty: | Easy |
| Servings: | 16 bars |
Why You’ll Love This Recipe
- No Baking Required: Perfect for hot summer days or when you don’t want to use the oven
- Simple Ingredients: Uses pantry staples you likely already have on hand
- Make-Ahead Friendly: Can be prepared days in advance and stored in the refrigerator
- Crowd Pleaser: Both kids and adults go crazy for these bars
- Customizable: Easy to adapt with different chocolate types or add-ins
Key Ingredients & Notes
The magic of these Easy No-Bake Chocolate Peanut Butter Bars lies in the quality of your ingredients. For the peanut butter, opt for a creamy, commercial brand like Jif or Skippy – natural peanut butter can be too oily and may affect the texture. The powdered sugar acts as both sweetener and binder, creating that perfect fudgy consistency.
Recommended Product
 -40%
-40%
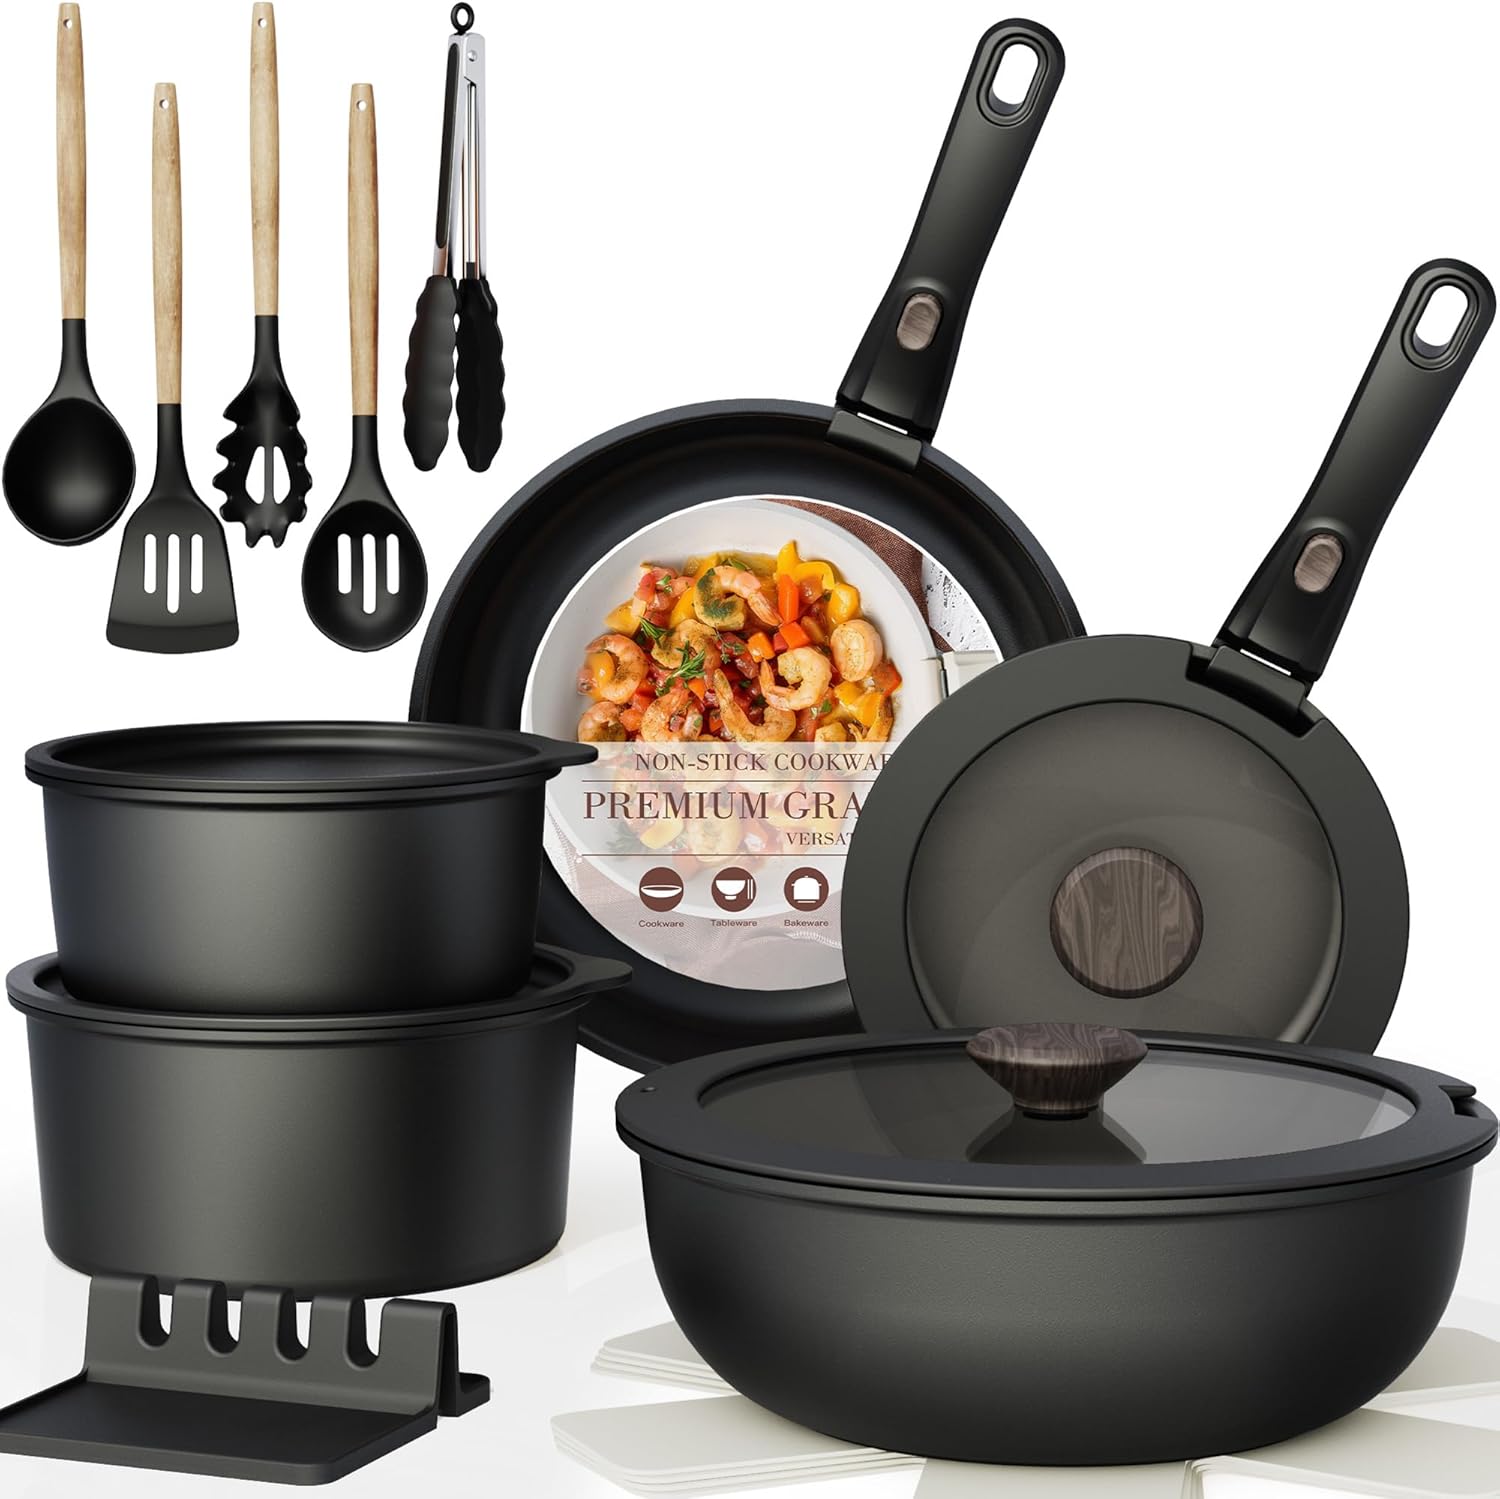
Astercook 21‑Piece Non‑Stick Cookware Set with Detachable/Removable Handles
- Pieces Included →: 21‑piece set with multiple pots, pans, and accessories
- Non‑Stick Coating →: Premium ceramic non‑stick free of harmful PFOA chemicals for healthier cooking
- Cleanup →: Easy to clean thanks to non‑stick surface and detachable handles
- Compatibility →: Works on induction, gas, electric, and ceramic stovetops; oven safe with handles removed
When it comes to chocolate, semi-sweet chocolate chips provide the ideal balance, but you can use milk chocolate for a sweeter taste or dark chocolate for a more sophisticated flavor. Graham cracker crumbs add structure and a subtle honey-wheat flavor that complements the peanut butter perfectly. A touch of vanilla extract enhances all the flavors, while a pinch of salt balances the sweetness.
🍳 Used in this recipe
Get It on Amazon Basics✔ Free Delivery | ✔ Top Rated | ✔ Budget-FriendlyStep-by-Step Overview
Creating these delectable bars is surprisingly simple. We start by combining the peanut butter mixture, which forms our base layer. Once pressed into the pan, it needs a brief chill to set. Meanwhile, we prepare the chocolate topping by melting chocolate with a touch of peanut butter for shine and stability. After spreading the chocolate layer, another chill sets everything perfectly.
The entire process takes just minutes of active time, though you’ll need patience during the chilling phases. The result is a professional-looking dessert that rivals any store-bought treat.
Expert Tips for Success
Temperature Matters: Always start with room temperature peanut butter for the smoothest mixing. When melting chocolate, use low heat and stir frequently to prevent scorching.
🍳 Used in this recipe
Get It on Amazon Basics✔ Free Delivery | ✔ Top Rated | ✔ Budget-FriendlyFor Perfect Cuts: Use a sharp knife warmed under hot water and wiped dry between cuts. This ensures clean, professional-looking squares.
Common Mistakes to Avoid:
- Don’t skip lining the pan with parchment paper – it makes removal so much easier
- Avoid using natural peanut butter as it can separate and affect texture
- Don’t rush the chilling process – proper setting prevents layers from separating
Serving Suggestions & Pairings
These Easy No-Bake Chocolate Peanut Butter Bars are perfect on their own, but they truly shine when paired with the right accompaniments. Serve with a cold glass of milk or hot coffee for the ultimate treat. For an elevated dessert presentation, try garnishing with:
🍳 Used in this recipe
Get It on Amazon Basics✔ Free Delivery | ✔ Top Rated | ✔ Budget-Friendly- A light dusting of sea salt
- Crushed peanuts
- A drizzle of melted peanut butter
- Whipped cream and chocolate shavings
Storage, Freezing & Reheating
Storage: Keep bars in an airtight container in the refrigerator for up to 1 week. Layer them with parchment paper to prevent sticking.
Freezing: These bars freeze beautifully for up to 3 months. Wrap individual pieces in plastic wrap, then store in a freezer bag. Thaw in the refrigerator overnight.
Room Temperature Serving: For the best texture, let chilled bars sit at room temperature for 10-15 minutes before serving.
🍳 Used in this recipe
Get It on Amazon Basics✔ Free Delivery | ✔ Top Rated | ✔ Budget-FriendlyFAQ
Can I make these bars gluten-free?
Yes! Simply substitute the graham crackers with gluten-free graham crackers or crushed gluten-free cookies.
Why did my chocolate layer crack when cutting?
This typically happens when the bars are too cold. Let them sit at room temperature for 10-15 minutes before cutting.
Can I use crunchy peanut butter instead of smooth?
While possible, crunchy peanut butter will create a different texture and may make the bars harder to cut cleanly.
🍳 Used in this recipe
Get It on Amazon Basics✔ Free Delivery | ✔ Top Rated | ✔ Budget-FriendlyConclusion
These Easy No-Bake Chocolate Peanut Butter Bars are the perfect combination of simple preparation and impressive results. Whether you’re an experienced baker or just starting out, this recipe promises success and satisfaction. Give them a try – your family and friends will thank you!
Recommended Product
 -33%
-33%
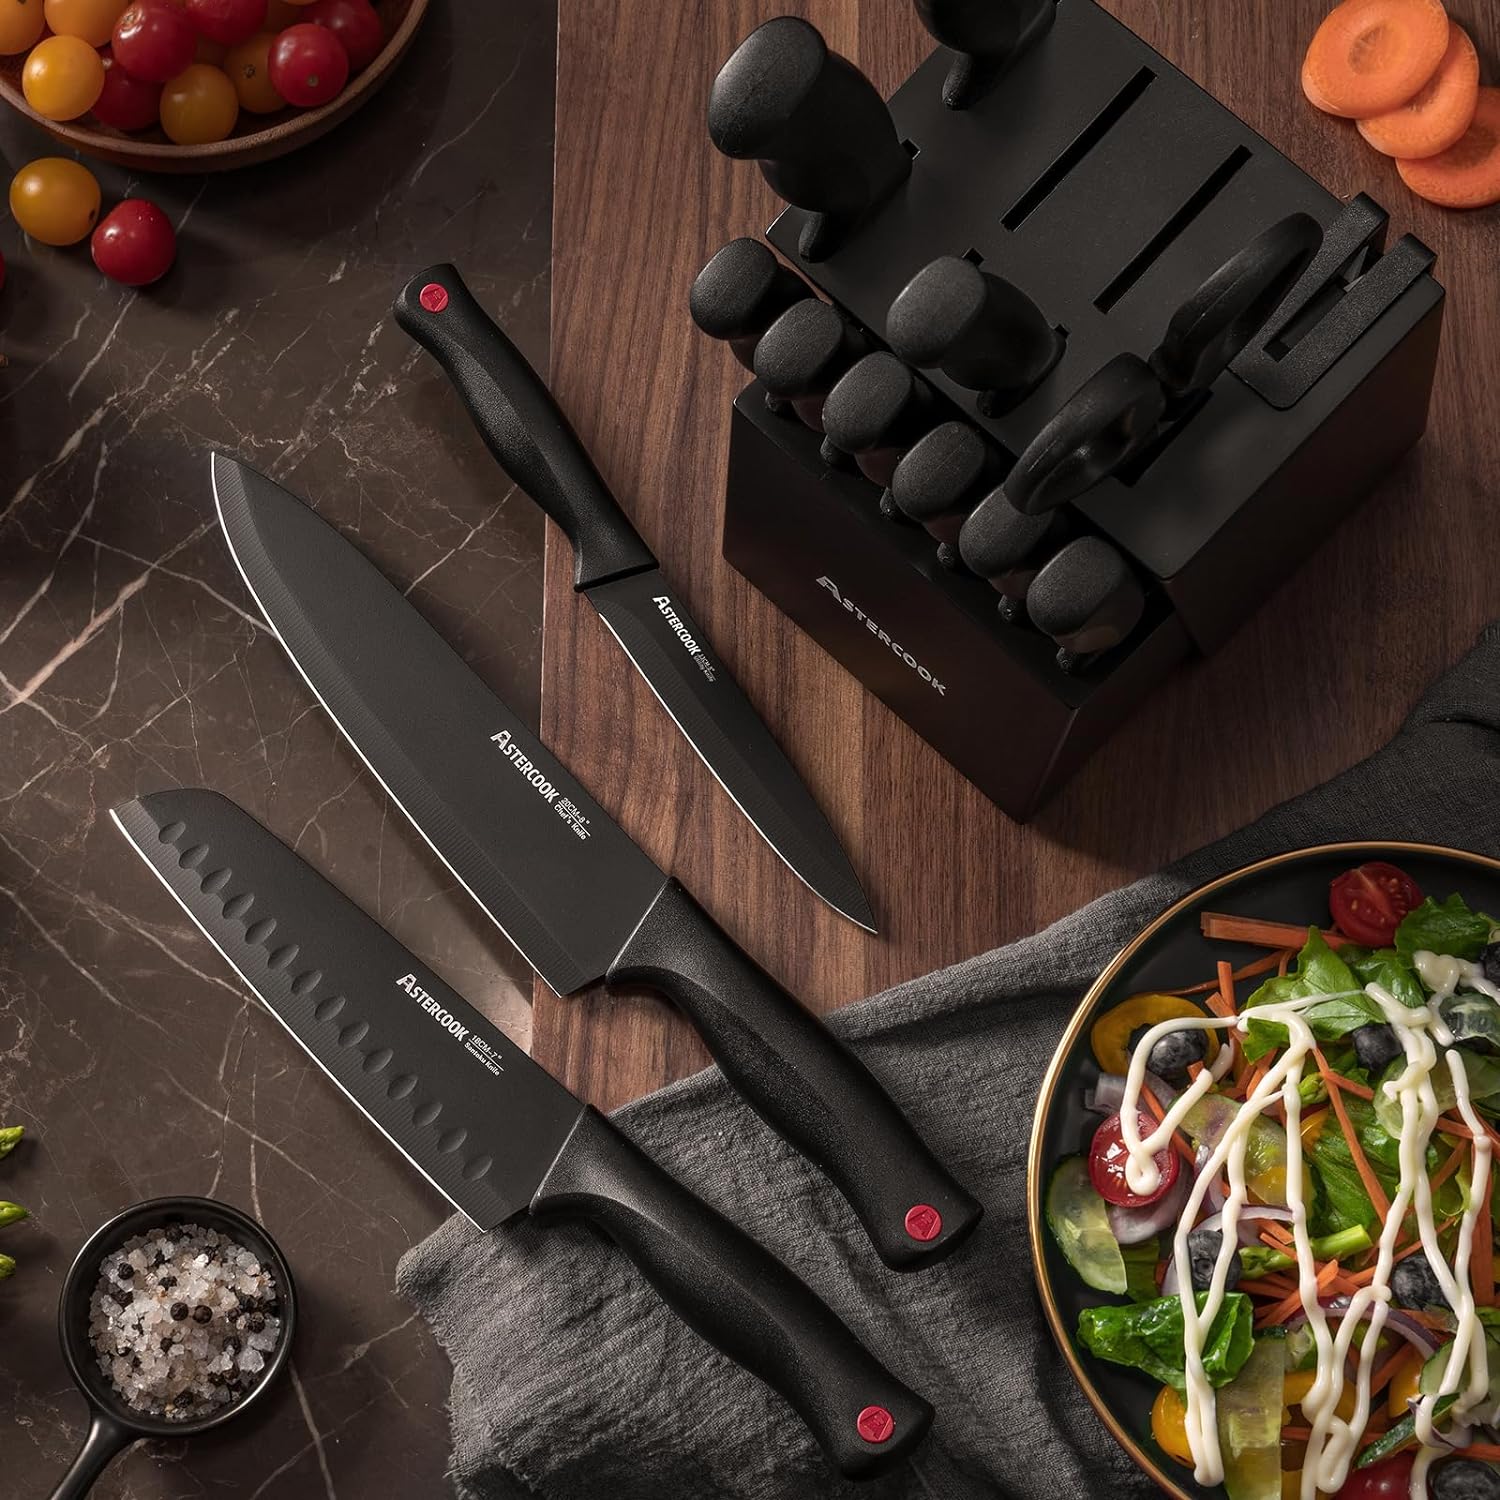
Astercook 15‑Piece Kitchen Knife Set with Built‑In Sharpener Block
- Built‑In Sharpener →: Integrated sharpener in block for easy maintenance
- Material →: High‑carbon German stainless steel blades (rust‑resistant, durable)
- Dishwasher Safe →: Yes (but hand washing recommended to preserve sharpness)
Easy No-Bake Chocolate Peanut Butter Bars
Ingredients
Ingredients
- 1.5 cups graham cracker crumbs
- 1.75 cups powdered sugar
- 1 cup creamy peanut butter
- 0.75 cup unsalted butter melted
- 1.5 cups semi-sweet chocolate chips
- 2 tablespoons coconut oil
Recommended Product
 -11%
-11%
8‑Piece Deep Glass Baking Dish Set with Plastic Lids (Rectangular Bakeware)
- Material: Oven, freezer & microwave safe borosilicate glass (goes from fridge/oven without cracking)
- Pieces →: 4 rectangular dishes + 4 tight‑fitting plastic lids (stackable)
- Easy Care →: Dishwasher safe glass & lids