The 3 PM Siren Call (And My Deliciously Simple Answer)
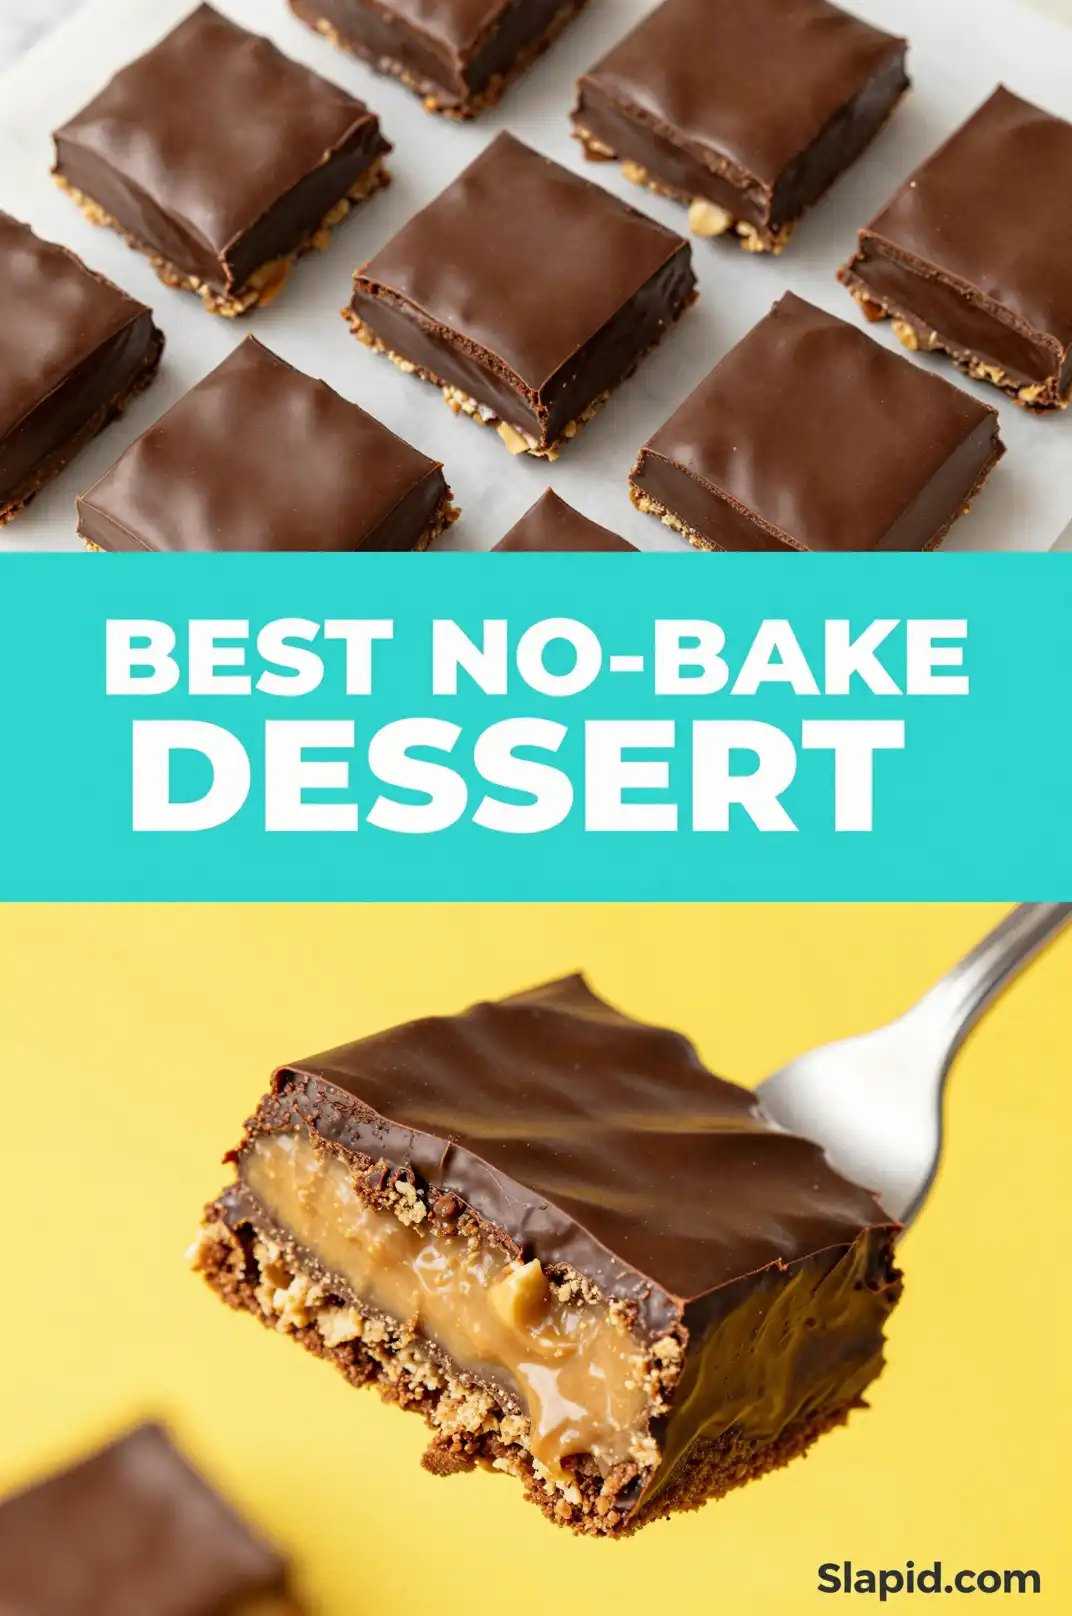
The clock strikes three. You know the feeling. That mid-afternoon slump where your brain whispers, “You deserve something sweet.” It’s not a craving, it’s a demand. You could bake, but the oven feels like a betrayal on a warm day. You could settle for a cookie, but that’s… fine. It’s fine. But what if you could answer that siren call with something that’s **creamy, crunchy, and coolly decadent**? Something that requires no flour-dusted counters and no frantic timer-watching? That’s where these legendary Easy No-Bake Chocolate Peanut Butter Bars waltz in. They are the antidote to boring desserts and oven-induced sweat.
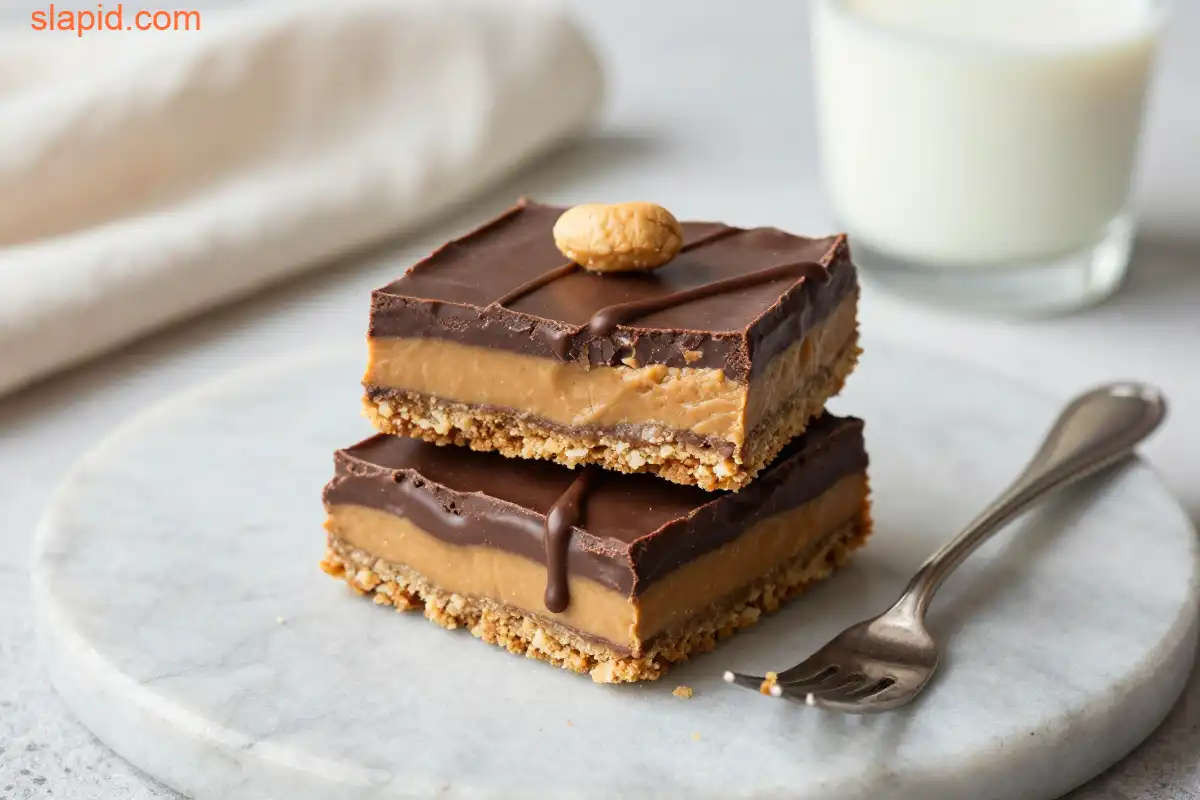
This isn’t just a recipe; it’s a five-minute power move. You’re essentially layering two of the universe’s greatest flavors—peanut butter and chocolate—into a bar that chills into a firm, yet impossibly soft, slice of joy. It’s the dessert you make when company’s coming in an hour. It’s the treat you stash in the freezer for emergency snacking. It’s the recipe you’ll memorize because the effort-to-reward ratio is off the charts.
Recommended Product
 -40%
-40%
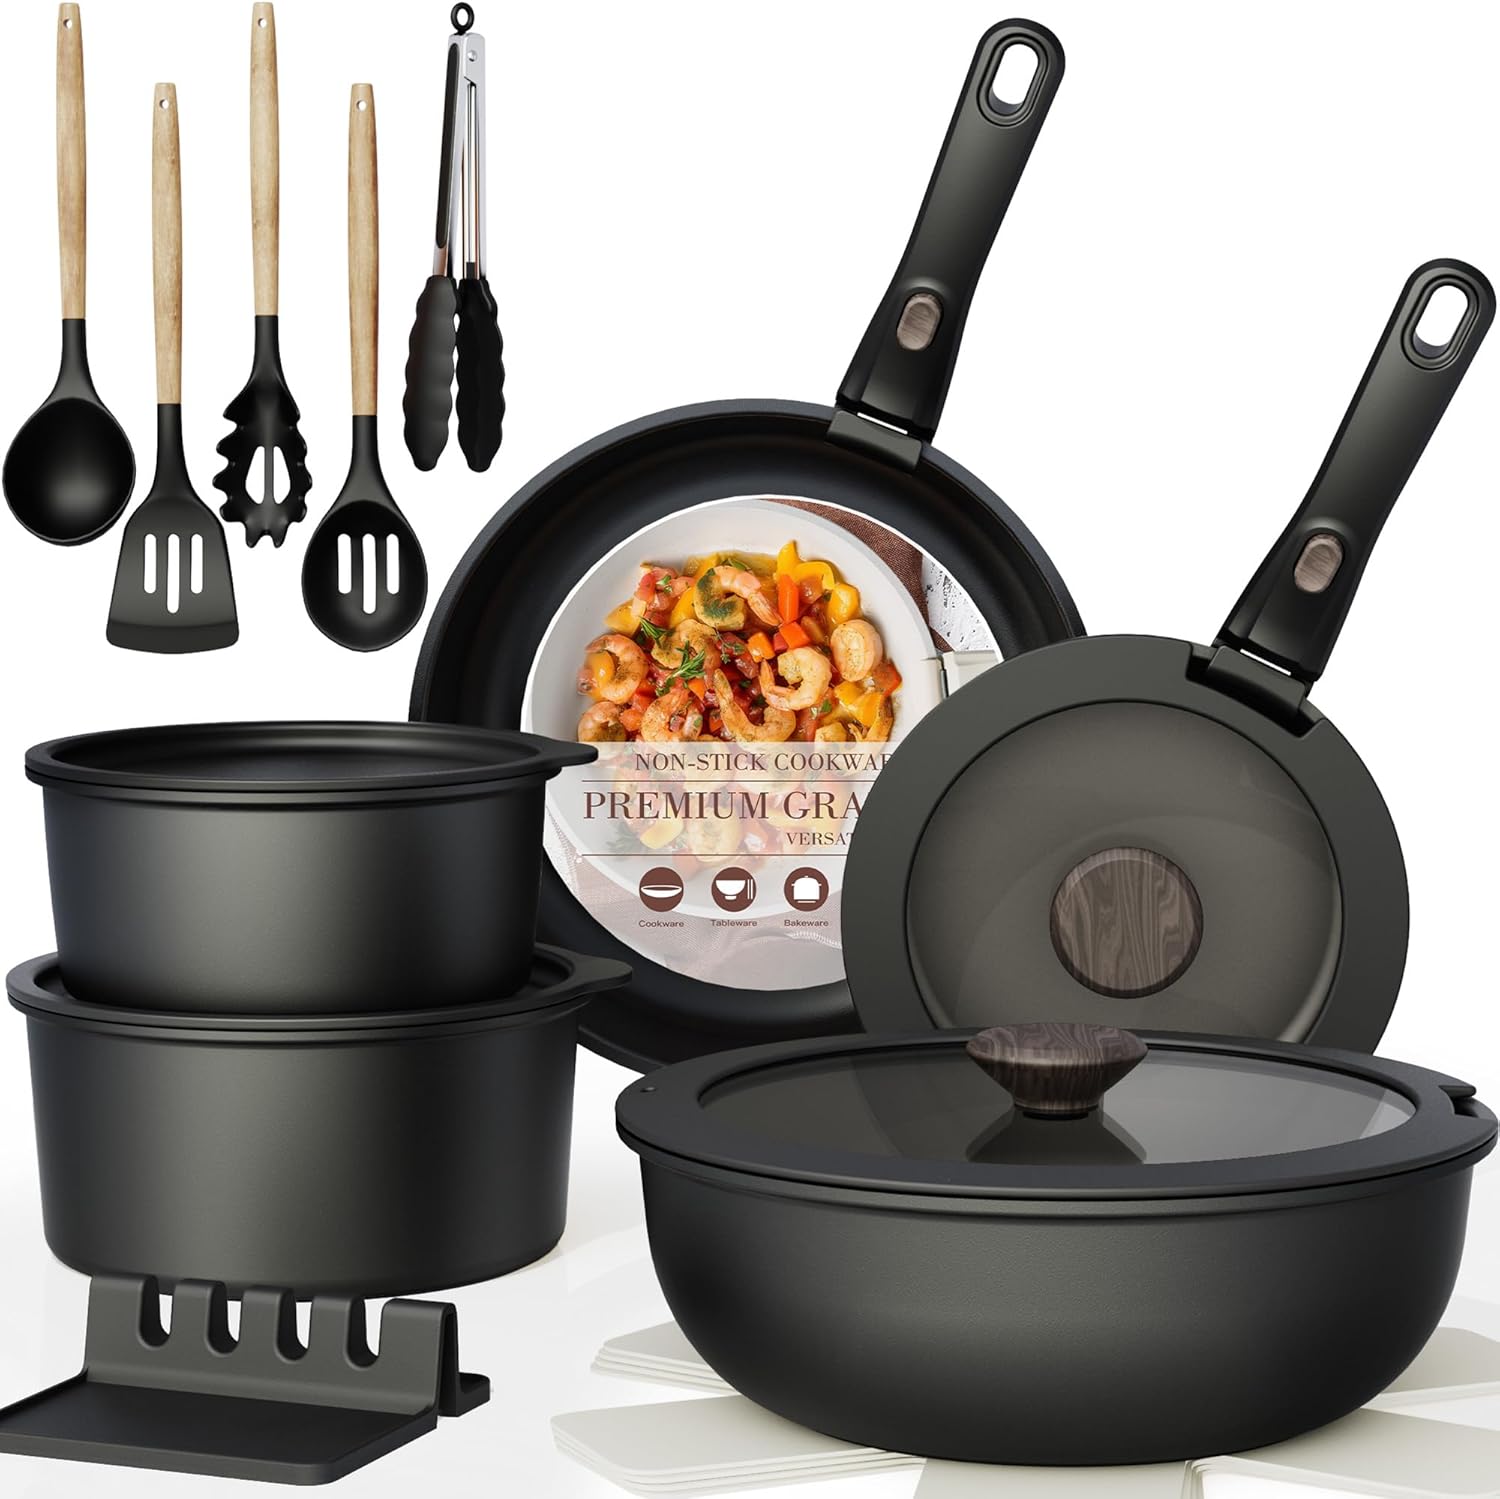
Astercook 21‑Piece Non‑Stick Cookware Set with Detachable/Removable Handles
- Pieces Included →: 21‑piece set with multiple pots, pans, and accessories
- Non‑Stick Coating →: Premium ceramic non‑stick free of harmful PFOA chemicals for healthier cooking
- Cleanup →: Easy to clean thanks to non‑stick surface and detachable handles
- Compatibility →: Works on induction, gas, electric, and ceramic stovetops; oven safe with handles removed
Why These Bars Will Become Your Secret Weapon
Let’s be real. Most “easy” recipes still have a hidden cost. They dirty five bowls. They require a stand mixer. They demand you wait for butter to soften. This recipe scoffs at those complications. The magic lies in its beautiful simplicity. The base is a buttery, sandy crust that comes together in a single bowl, no electric mixer required. It’s the kind of texture that reminds you of a perfect shortbread cookie—crumbly, rich, and just sturdy enough.
🍳 Used in this recipe
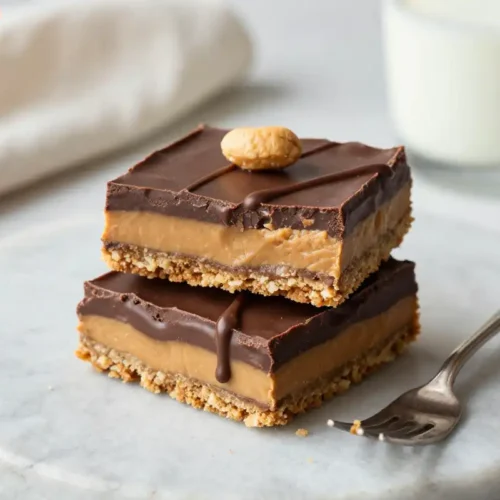
Get It on Amazon Basics✔ Free Delivery | ✔ Top Rated | ✔ Budget-FriendlyThen comes the peanut butter layer. This isn’t a thin, sad smear. It’s a thick, velvety blanket of pure, unadulterated peanut butter bliss, sweetened just enough to let the nutty flavor sing. The final act? A glossy, snap-able chocolate topping that melts the second it hits your tongue. It’s a study in contrasts: the **crunch of the base**, the **creamy dream of the middle**, and the **smooth, cool finish of the chocolate**. No oven. No fuss. Just pure, unapologetic indulgence. For more inspiration on no-bake wonders, I often scour Pinterest for ideas, and you can too (find your next fix here).
The Peanut Butter Paradox: How To Pick The Perfect Jar
Here’s a secret that will change your no-bake game forever. Not all peanut butter is created equal, especially for a recipe that relies on it for structure and flavor. You might think “creamy” is the goal, but for these bars, you want **natural-style peanut butter**. You know, the kind where the oil separates and you have to stir it like you’re mixing a potion? That’s the one.
Why? Because it has a purer, more intense peanut flavor and a smoother, less waxy texture when chilled. The stabilizers in conventional creamy peanut butters can sometimes make the final layer a bit too firm or, conversely, a bit greasy. When you use natural peanut butter, you’re getting the true essence of the legume. The salt content is usually better, too. If you only have conventional peanut butter, don’t panic! Your bars will still be delicious. Just give it a good stir before measuring, and maybe add a tiny pinch of sea salt to the layer to wake up the flavors. The choice is yours, but the natural stuff is where the real magic hides.
🍳 Used in this recipe
Get It on Amazon Basics✔ Free Delivery | ✔ Top Rated | ✔ Budget-FriendlyCommon Pitfalls: A Guide to No-Bake Nirvana
Even the simplest recipes can go sideways with a single misstep. Consider this your friendly neighborhood guide to avoiding dessert heartbreak.
The Melted Chocolate Disaster
When melting the chocolate for the topping, low and slow is the mantra. Whether you’re using a microwave (in 20-second bursts, stirring each time) or a double boiler, overheating chocolate is a one-way ticket to a grainy, seized mess. The goal is a smooth, liquid silk. If you see a single lump, stop! Take it off the heat and stir in a teaspoon of coconut oil or a tiny bit of butter to bring it back to life. Patience is a virtue here.
The Soggy Base Blues
Your crust should be compact, not crumbly. If it’s too dry, it won’t hold together. If it’s too wet, it will be a mess to cut. The perfect consistency is like wet sand—when you squeeze a handful, it holds its shape. If your graham cracker crumbs are super dry, you might need an extra tablespoon of melted butter. Conversely, if your crumbs are fresh and soft, start with the recipe’s amount and add more only if needed. Press it firmly into the pan with the bottom of a glass or measuring cup. This isn’t just for looks; it creates a solid foundation.
🍳 Used in this recipe
Get It on Amazon Basics✔ Free Delivery | ✔ Top Rated | ✔ Budget-FriendlyThe Impatience Factor
I get it. You want to taste it now. But slicing into these bars before they’re fully set is like trying to cut a cloud—it will collapse into a delicious but un-sliceable puddle. The freezer is your best friend. A solid 2-3 hours is the minimum for clean, sharp slices. Overnight is even better. The wait is the hardest part, but the reward is a perfect, photogenic bar that doesn’t crumble on your plate.
Serving Up Vibe After Vibe
These bars are social chameleons. They adapt to any occasion with effortless cool.
**The Rainy Day Comfort:** There’s something profoundly healing about a cold, rich bar on a gray day. Pair it with a steaming mug of black coffee or a strong, milky tea. The bitter notes of the drink cut through the sweetness, creating a perfect balance. It’s a quiet, solo indulgence that feels like a warm hug from the inside.
🍳 Used in this recipe
Get It on Amazon Basics✔ Free Delivery | ✔ Top Rated | ✔ Budget-Friendly**The Party Showstopper:** Elevate your dessert table. Cut these into smaller, bite-sized squares. Dust the top with a pinch of flaky sea salt right before serving. The salt crystals catch the light and elevate the flavor from great to sublime. They travel beautifully to potlucks and are always the first dessert to disappear. For a more elegant touch, garnish each piece with a single, perfect roasted peanut or a curl of chocolate.
**The Midnight Snack:** Let’s be honest, sometimes you just need a square straight from the freezer at 11 PM. That deep, fudgy texture when it’s ice-cold is an experience all its own. It’s quiet, it’s satisfying, and it requires zero plates or ceremony.
Leftovers? Here’s the Plan (AKA Storage Secrets)
You’ve made a batch. There might be leftovers. (There might not.) Here’s how to keep them perfect.
🍳 Used in this recipe
Get It on Amazon Basics✔ Free Delivery | ✔ Top Rated | ✔ Budget-Friendly**In the Fridge:** Store your bars in an airtight container, with parchment paper between layers to prevent sticking. They’ll keep beautifully for up to a week. The texture is slightly softer than when frozen, making them incredibly easy to bite into.
**In the Freezer (The Long Game):** This is where they truly shine for meal prep. Wrap individual bars tightly in plastic wrap, then place them in a freezer bag or airtight container. They’ll last for up to 3 months. **To freeze Easy No-Bake Chocolate Peanut Butter Bars effectively**, the individual wrapping is key—it prevents freezer burn and lets you grab one at a time. Thaw on the counter for 10-15 minutes before eating for that perfect, slightly-fudgy texture.
FAQ: Your Burning Questions, Answered
**Q: Can I use a different nut butter?**
A: Absolutely! Almond butter works wonderfully, though it has a slightly milder flavor. Cashew butter is incredibly creamy but might need a bit more chilling time to set firmly. Sunflower seed butter is a great peanut-free alternative. Just ensure it’s a natural-style butter for the best results.
🍳 Used in this recipe
Get It on Amazon Basics✔ Free Delivery | ✔ Top Rated | ✔ Budget-FriendlyRecommended Product
 -33%
-33%
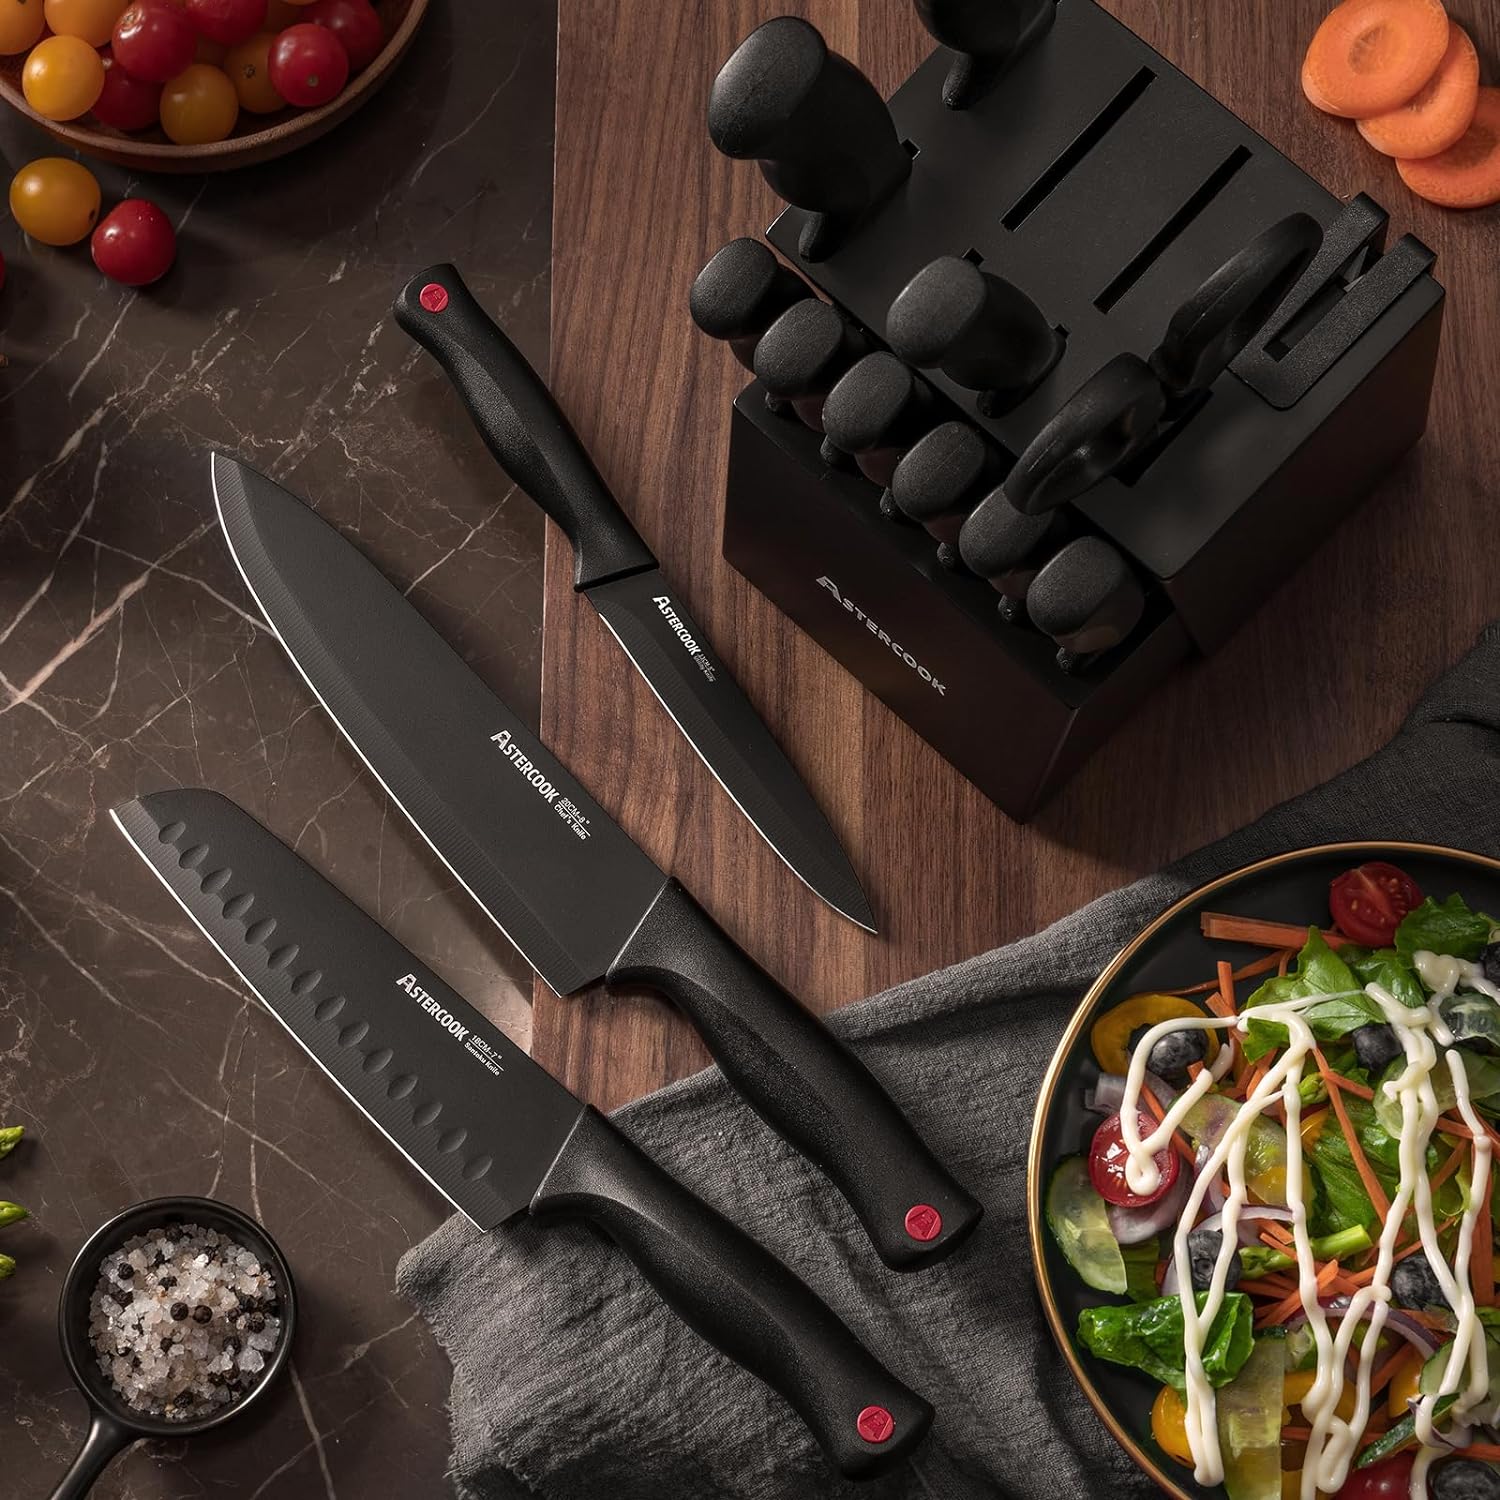
Astercook 15‑Piece Kitchen Knife Set with Built‑In Sharpener Block
- Built‑In Sharpener →: Integrated sharpener in block for easy maintenance
- Material →: High‑carbon German stainless steel blades (rust‑resistant, durable)
- Dishwasher Safe →: Yes (but hand washing recommended to preserve sharpness)
**Q: How many calories are in an Easy No-Bake Chocolate Peanut Butter Bar?**
A: This will vary based on your specific brands and the size of your cuts. A rough estimate for a standard 2-inch square is around **220-250 calories**. It’s a rich, decadent treat, so savor each bite! For precise tracking, I recommend plugging your exact ingredients into a calculator like the one on MyFitnessPal.
**Q: My chocolate topping won’t set. What went wrong?**
A: Two likely culprits: The chocolate layer was applied to a warm base, or the chocolate itself was overheated. Ensure your peanut butter layer is completely cool before adding the melted chocolate. If you’ve used a chocolate bar with a high oil content, it might be softer. A quick trip to the freezer will always help it firm up.
**Q: Can I make this gluten-free?**
A: Yes! Simply swap the graham crackers for your favorite gluten-free graham crackers or gluten-free vanilla cookies. The rest of the recipe is naturally gluten-free. Just double-check your chocolate label to be safe.
🍳 Used in this recipe
Get It on Amazon Basics✔ Free Delivery | ✔ Top Rated | ✔ Budget-Friendly**Q: Why are my bars too soft?**
A: This usually happens if the peanut butter layer is too warm, or if you didn’t chill it long enough before adding the chocolate. The key is patience. Let each layer set in the fridge for at least 20-30 minutes before moving on. And don’t skip the final 2-3 hour chill (or freeze) before slicing!
Ready to make your kitchen smell like a candy shop? Here’s the recipe that started it all. You can also find this exact recipe on my site here: Easy No-Bake Chocolate Peanut Butter Bars.
What You Need to Raid the Pantry
**For the Crust:**
* 1 ½ cups graham cracker crumbs
* ½ cup unsalted butter, melted
* ⅓ cup powdered sugar
🍳 Used in this recipe
Get It on Amazon Basics✔ Free Delivery | ✔ Top Rated | ✔ Budget-Friendly**For the Peanut Butter Layer:**
* 1 cup natural creamy peanut butter
* ½ cup powdered sugar
* 1 teaspoon vanilla extract
**For the Chocolate Topping:**
* 1 ½ cups semi-sweet chocolate chips
* 1 tablespoon coconut oil (or unsalted butter)
* Flaky sea salt for garnish (optional)
Recommended Product
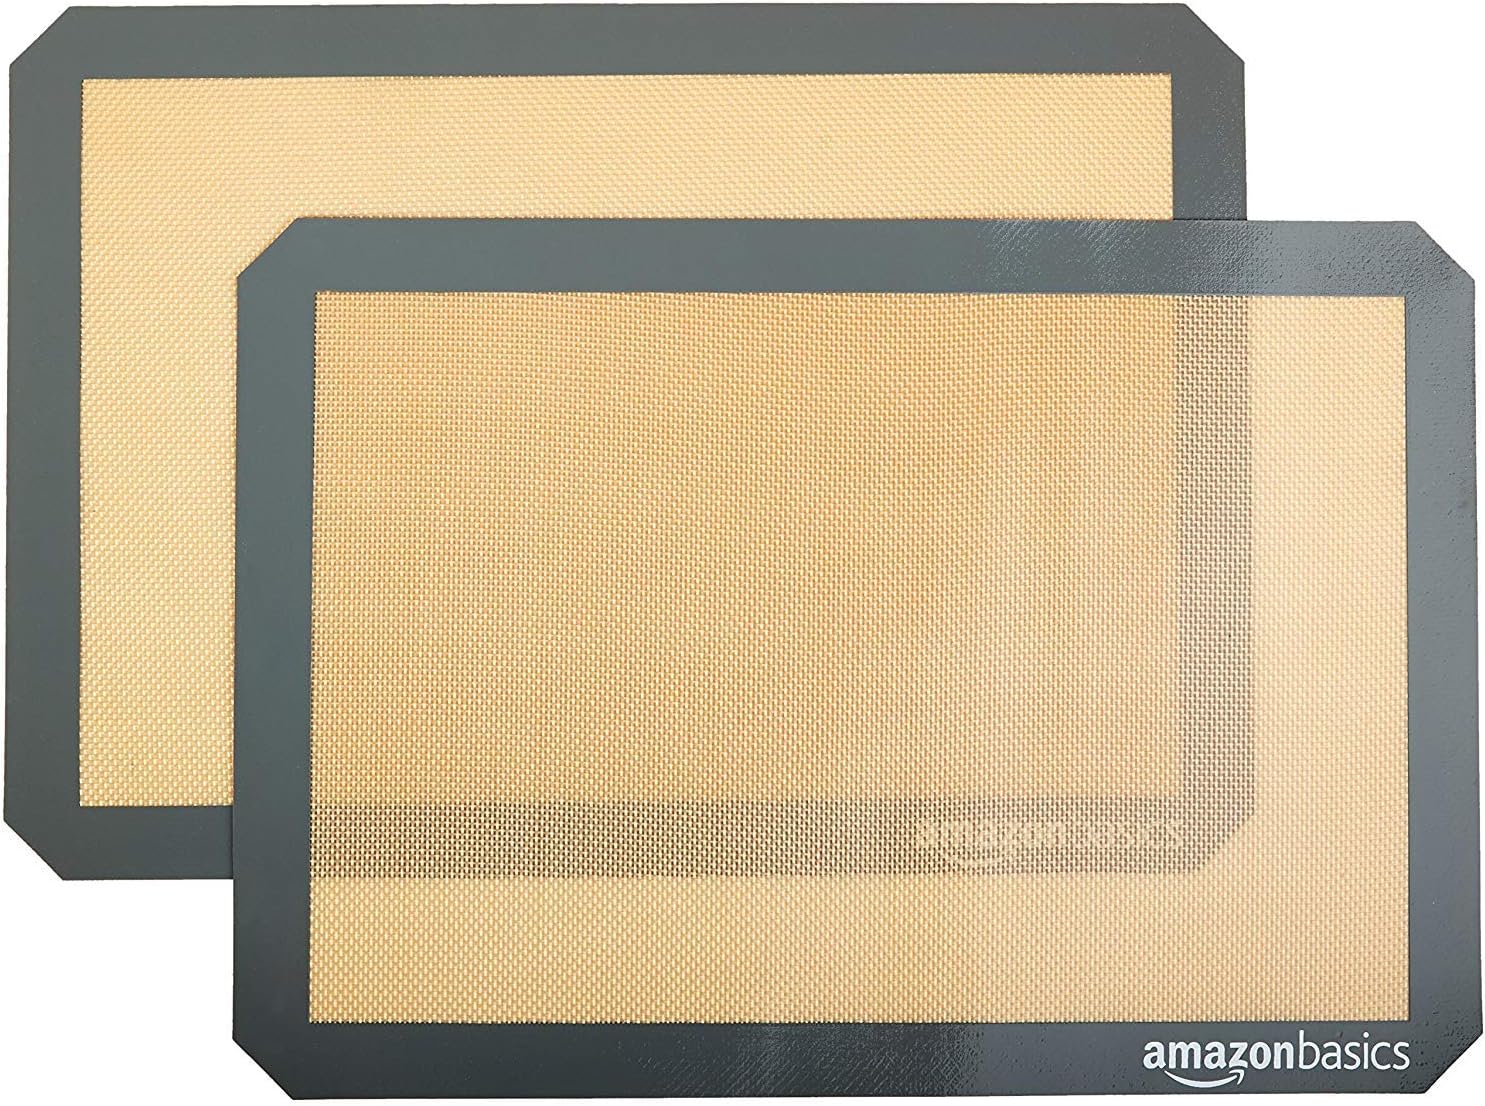
Amazon Basics Silicone Baking Mat (2-Pack Non-Stick Oven Liners)
- Material →: Food-safe silicone, reusable thousands of times
- Non-Stick →: No butter, oil, or parchment needed
Let’s Get Cooking: The Step-by-Step
1. **Make the Base:** In a medium bowl, stir together the graham cracker crumbs, melted butter, and powdered sugar until it resembles wet sand. Press this mixture firmly and evenly into the bottom of an 8×8 inch pan lined with parchment paper. Use the bottom of a glass to compact it. Chill in the refrigerator while you make the next layer.
2. **Whip Up the Peanut Butter Layer:** In the same bowl (no need to wash it!), combine the peanut butter, powdered sugar, and vanilla extract. Stir until completely smooth and no sugar lumps remain. Spread this mixture evenly over the chilled crust. Return the pan to the fridge for at least 30 minutes.
3. **Create the Chocolate Shell:** Place the chocolate chips and coconut oil in a microwave-safe bowl. Microwave in 30-second intervals, stirring well after each, until smooth and fully melted.
4. **Assemble & Set:** Pour the melted chocolate over the peanut butter layer and tilt the pan to spread it into an even layer. If using, sprinkle with flaky sea salt immediately. Place the pan in the freezer for 2-3 hours, or until the chocolate is completely firm.
5. **Slice & Serve:** Using the parchment paper, lift the entire slab out of the pan. Place it on a cutting board and slice into squares with a sharp knife (run the knife under hot water and wipe it dry for cleaner cuts). Enjoy immediately, or store as directed.
Easy No-Bake Chocolate Peanut Butter Bars
Ingredients
Ingredients
- 1 cup creamy peanut butter room temperature
- 1 cup unsalted butter melted
- 3 cups powdered sugar sifted
- 2 cups graham cracker crumbs finely crushed
- 1 tsp vanilla extract pure preferred
- 2 cups semi-sweet chocolate chips high quality
- 2 tbsp creamy peanut butter for topping
Notes
🍳 Used in this recipe
Get It on Amazon Basics✔ Free Delivery | ✔ Top Rated | ✔ Budget-Friendly