The Midnight Craving Cure (That Takes 20 Minutes)
It’s 10 PM. The house is quiet, the day is done, and a specific, undeniable hunger strikes. It’s not for a salad. It’s not for fruit. It’s a deep, primal need for something creamy, salty, and unapologetically sweet. You need a chocolate-and-peanut-butter hug for your soul. The problem? Most recipes require a preheated oven, a dozen dishes, and a patience you simply don’t have right now.
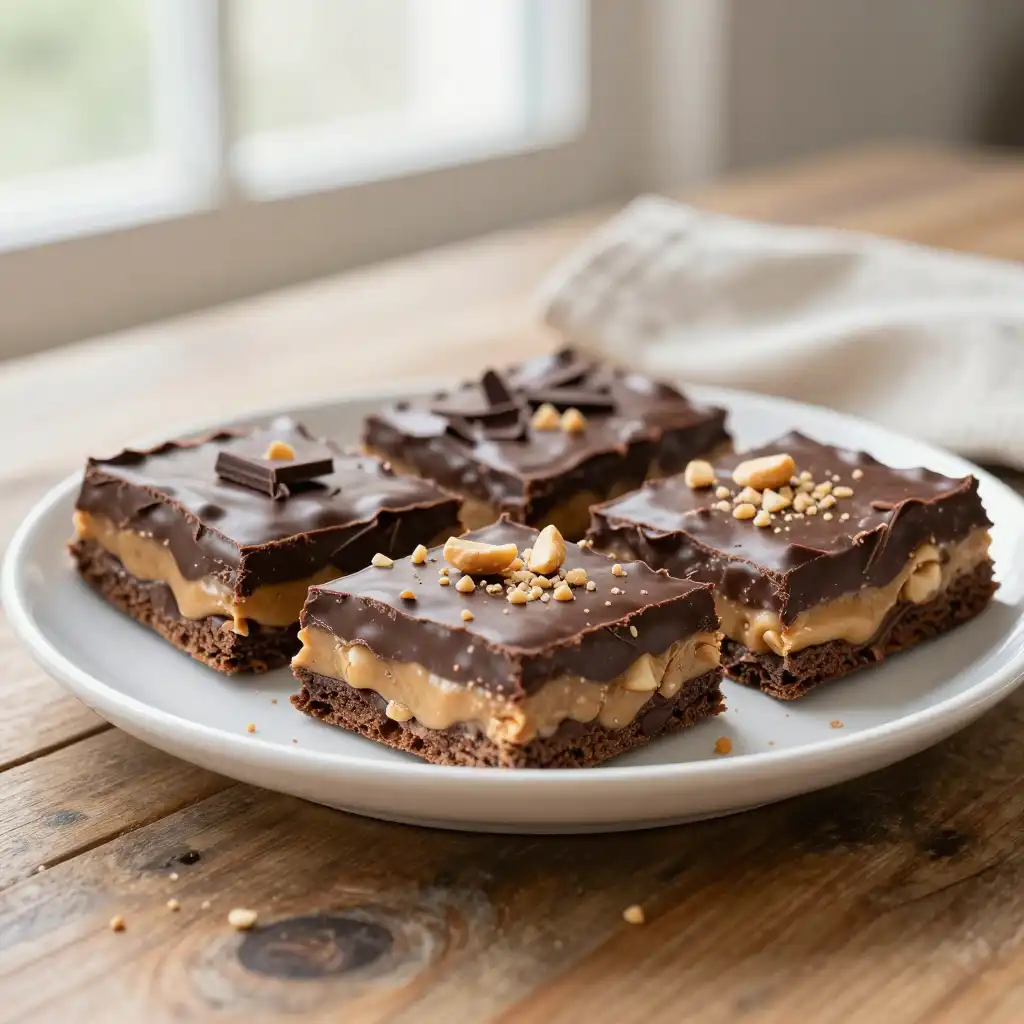
This is where the magic happens. These **Easy No-Bake Peanut Butter Chocolate Bars** are your culinary superhero, swooping in with zero baking required and a prep time that’s faster than waiting for your streaming service to load. Imagine a buttery, crumbly base that gives way to a layer of impossibly smooth, melt-in-your-mouth peanut butter filling, all crowned with a glossy, crackly chocolate shell. It’s a texture party in every bite. Ready to make your future self incredibly happy? Let’s raid the pantry.
Recommended Product
 -33%
-33%
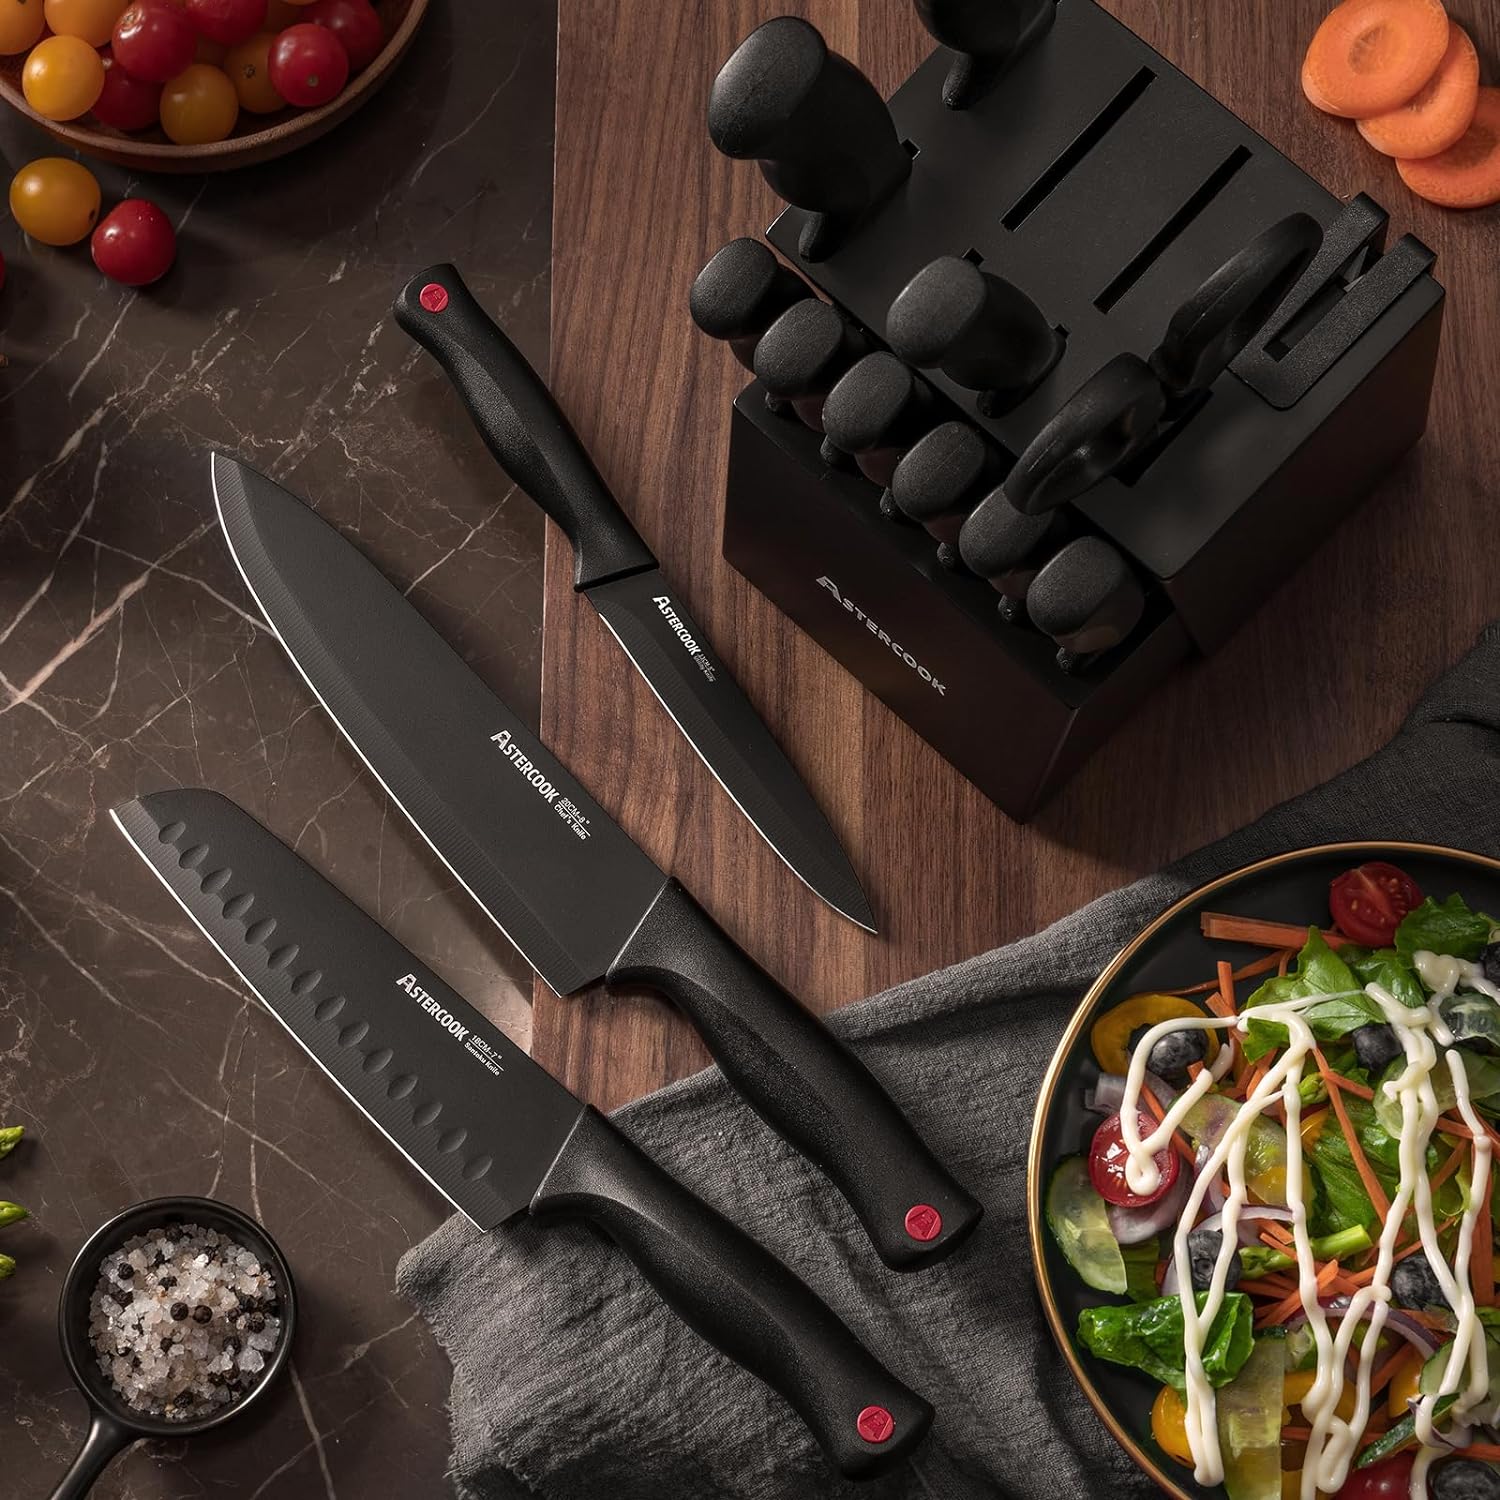
Astercook 15‑Piece Kitchen Knife Set with Built‑In Sharpener Block
- Built‑In Sharpener →: Integrated sharpener in block for easy maintenance
- Material →: High‑carbon German stainless steel blades (rust‑resistant, durable)
- Dishwasher Safe →: Yes (but hand washing recommended to preserve sharpness)
The Flavor Arsenal: What You Need to Raid From the Pantry
The beauty of this recipe is its simplicity. You’re building layers of flavor with just a handful of everyday staples. No obscure ingredients, no fuss.
🍳 Used in this recipe
Get It on Amazon Basics✔ Free Delivery | ✔ Top Rated | ✔ Budget-FriendlyThe Buttery Foundation
This is your sturdy, slightly salty base that holds everything together. You’ll need:
* **Graham Cracker Crumbs:** The classic choice for a reason. They provide the perfect sandy texture and a hint of honey.
* **Unsalted Butter, Melted:** The glue. It binds the crumbs into a packable, flavorful layer.
* **A Pinch of Salt:** To balance the sweetness and make the peanut butter shine.
The Creamy, Dreamy Middle
This is the heart of the bar—the part that makes people close their eyes in bliss.
* **Creamy Peanut Butter:** Use your favorite brand. The oil separation is your friend here; stir it in well for maximum flavor.
* **Powdered Sugar:** It dissolves seamlessly, creating a silky, fudgy texture without any graininess.
* **Unsalted Butter (Softened):** Adds richness and helps the filling set up just enough.
The Grand Chocolate Finish
The final, glossy layer that seals the deal.
* **Semi-Sweet Chocolate Chips:** They melt into a smooth, rich topping.
* **A Splash of Coconut Oil (Optional):** The secret to a beautifully glossy, crack-resistant finish. It helps the chocolate set with a professional sheen.
🍳 Used in this recipe
Get It on Amazon Basics✔ Free Delivery | ✔ Top Rated | ✔ Budget-Friendly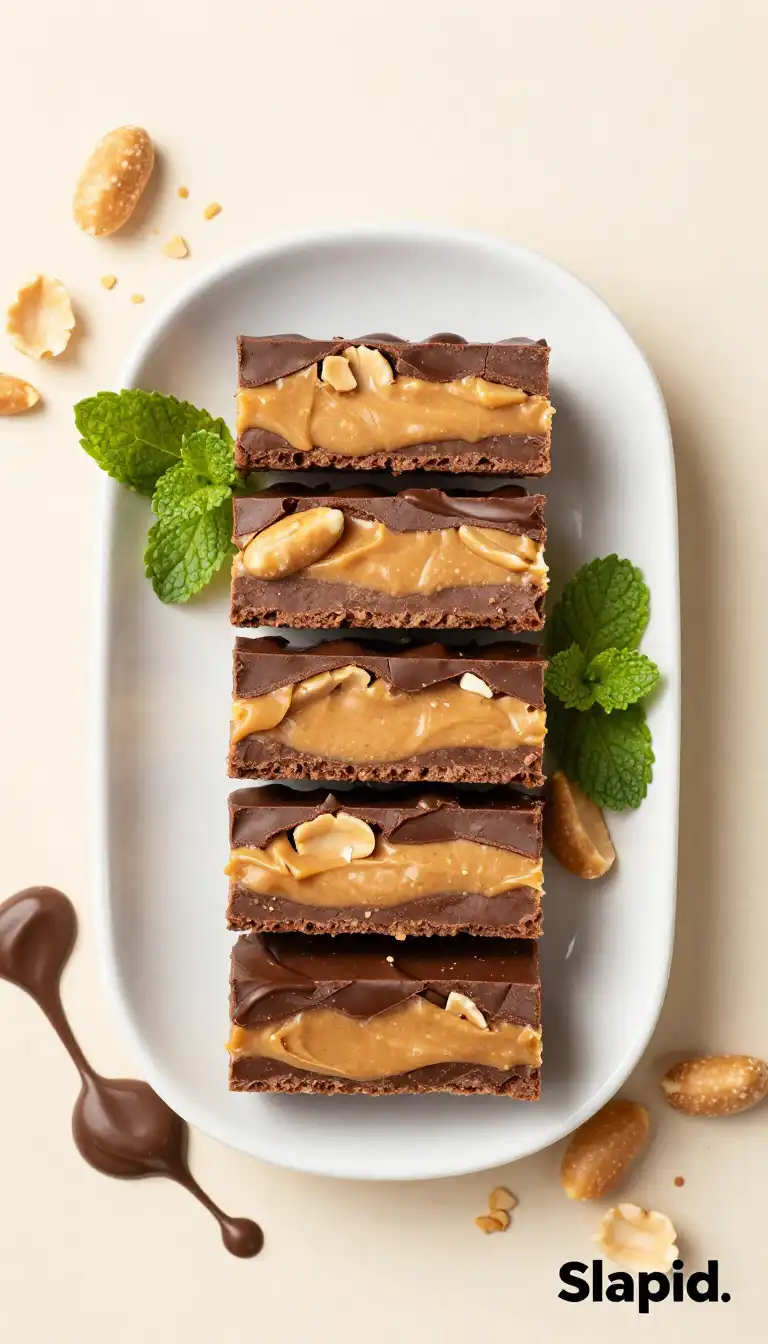
The Science of the Swirl: Why This Recipe Just Works
Ever wonder why some no-bake bars are a crumbly mess while others are a perfect, sliceable square? It’s all about fat crystallization and emulsion. Let’s break it down.
The base relies on **butter’s solid fat network**. When you mix melted butter with graham cracker crumbs, the butter coats every crumb. As it cools in the fridge, the butter solidifies, locking the crumbs into a firm, cohesive layer. It’s a simple, effective structural trick.
The peanut butter filling is an **emulsion**. You’re blending fat (from the peanut butter and butter) with sugar and a tiny bit of water (from the butter). The peanut butter’s natural oils and emulsifiers bind everything into a stable, creamy mixture. The powdered sugar doesn’t just add sweetness; it dissolves and provides structure, preventing the filling from being too runny.
🍳 Used in this recipe
Get It on Amazon Basics✔ Free Delivery | ✔ Top Rated | ✔ Budget-FriendlyFinally, the chocolate topping. We’re tempering it gently. By melting the chocolate with a small amount of coconut oil (which has a high fat content and low melting point), we create a smooth, fluid mixture that cools into a stable, shiny crystal structure. It’s the difference between a matte, streaky finish and a professional-looking snap. This is the same principle behind those gorgeous chocolate-dipped strawberries you see at fancy cafes. Now you’re doing it at home, in minutes.
The “Don’t You Dare” Guide: Common Pitfalls & How to Sidestep Them
We’ve all been there. You follow a recipe to the letter, but something goes sideways. Here’s how to ensure your bars are legendary, not lamentable.
1. The Soggy Base Blues
This happens when the butter-to-crumb ratio is off or it’s not pressed firmly. Your mission: Mix the melted butter and crumbs until every single speck is moistened—it should resemble wet sand. Then, use the bottom of a measuring cup or a flat-bottomed glass to **pack it down with conviction**. You want a dense, even layer, not a loose pile. A loose base means the filling will seep through, creating a weird, mushy layer. No thank you!
🍳 Used in this recipe
Get It on Amazon Basics✔ Free Delivery | ✔ Top Rated | ✔ Budget-Friendly2. The Runny Filling Fiasco
If your peanut butter filling is too soft, it likely means your butter wasn’t soft enough, or you used a natural peanut butter that’s extra oily. **The fix is in the chill.** After mixing the filling, if it feels too loose, pop the bowl in the fridge for 10-15 minutes before spreading it over the base. This firms up the fats, making it infinitely easier to spread and ensuring clean, distinct layers.
3. The Tempered Tantrum (Chocolate Bloom)**
Sometimes, after setting, your chocolate topping can develop a white, chalky streak or a dull finish. This is “bloom”—where fat crystals rise to the surface. It’s purely cosmetic and doesn’t affect taste, but we want that gorgeous shine! **The secret is gentle, even heat.** Melt your chocolate and coconut oil in 30-second bursts in the microwave, stirring vigorously between each interval. Alternatively, use a double boiler. Never let it get too hot, and never let any water splash in. Stir until just smooth and pour immediately.
Serving Vibes: Setting the Scene for Your Bars
These bars are mood-setters. They’re the ultimate comfort food for a rainy, gray day when you need a little internal sunshine. The rich, nutty aroma that fills your kitchen is pure therapy.
🍳 Used in this recipe
Get It on Amazon Basics✔ Free Delivery | ✔ Top Rated | ✔ Budget-FriendlyBut don’t relegate them to solo snacking. This is your secret weapon for any gathering. Pack them for a picnic (they travel like champs, no melting worry if it’s not scorching hot). Bring them to a potluck and watch them vanish before the main course is even served. They’re the perfect “I-forgot-a-dessert” emergency dessert, taking only 20 minutes of active prep. Slice them into neat squares for a fancier affair, or into generous slabs for a backyard barbecue. They’re sophisticated enough for adults but universally loved by kids. It’s a dessert that says, “I put in thought, but I also value my time.”
Recommended Product
 -11%
-11%
8‑Piece Deep Glass Baking Dish Set with Plastic Lids (Rectangular Bakeware)
- Material: Oven, freezer & microwave safe borosilicate glass (goes from fridge/oven without cracking)
- Pieces →: 4 rectangular dishes + 4 tight‑fitting plastic lids (stackable)
- Easy Care →: Dishwasher safe glass & lids
Your No-Bake Bar Questions, Answered
How to freeze Easy No-Bake Peanut Butter Chocolate Bars?
This is a fantastic question because these bars are **perfect for freezing**. The key is proper storage to prevent freezer burn and flavor transfer. Once the bars are fully set and cut, arrange them in a single layer on a baking sheet and freeze for 1-2 hours until solid. This “flash freeze” prevents them from sticking together later. Then, transfer the frozen bars to an airtight container or a heavy-duty freezer bag, placing parchment paper between layers. They’ll keep beautifully for up to 3 months. To thaw, simply place them in the refrigerator overnight or on the counter for about 30-60 minutes. The texture remains almost identical to the fresh batch!
What are the calories in Easy No-Bake Peanut Butter Chocolate Bars?
Let’s be real: these are a decadent treat, not a health food. A typical bar (if you cut the recipe into 16 squares) is likely in the **250-350 calorie range**, depending heavily on the brands of peanut butter and chocolate you use. The majority of the calories come from the fats in the peanut butter, butter, and chocolate. If you’re calorie-conscious, you can make a few swaps: use a powdered peanut butter (reconstituted) for part of the filling to reduce fat, or opt for a dark chocolate with a higher cocoa percentage (which often has less sugar). But honestly? Sometimes a delicious, soul-satisfying treat is worth every single calorie. Enjoy it mindfully and without guilt.
🍳 Used in this recipe
Get It on Amazon Basics✔ Free Delivery | ✔ Top Rated | ✔ Budget-FriendlyCan I use crunchy peanut butter?
Absolutely! Using crunchy peanut butter will add a fantastic texture to the filling, giving you little peanut bits in every bite. It won’t change the structure of the bars at all. The base and topping will remain the same. It’s a great way to add an extra layer of crunch if you love that contrast.
Recommended Product
 -15%
-15%
Silicone Baking Mat with Measurement Guide (Non-Stick Pastry & Cake Mat)
- Material →: Food-grade silicone (safe for baking)
- Surface →: Non-stick (no butter or oil needed)
- Design →: Measurement guide for perfect cake sizes
How long do they last at room temperature?
Because of the butter and chocolate layers, these bars are quite stable. If your kitchen is cool (around 68-70°F / 20-21°C), they will last in an airtight container for **2-3 days**. However, if your kitchen is warm or humid, it’s best to store them in the refrigerator. The butter in the base can soften, and the chocolate topping may lose its snap if left out in a warm room for too long. For the best texture and to prevent any potential melting, the fridge is your safest bet for storage beyond a day.
Ready to create your own batch of no-bake bliss? The full, detailed recipe is waiting for you right here: [Easy No-Bake Peanut Butter Chocolate Bars Recipe](https://slapid.com/recipes/easy-no-bake-peanut-butter-chocolate-bars-recipe/). Happy no-baking

Easy No-Bake Peanut Butter Chocolate Bars
Ingredients
Ingredients
- 1 cup unsalted butter melted
- 1 cup creamy peanut butter divided use
- 2 cup graham cracker crumbs finely crushed
- 2 cup powdered sugar sifted
- 1 cup semi-sweet chocolate chips or chocolate bars chopped
- 1/4 cup vegetable oil optional for smoother topping
Notes
🍳 Used in this recipe
Get It on Amazon Basics✔ Free Delivery | ✔ Top Rated | ✔ Budget-Friendly