Imagine a dessert that doesn’t just sit on the table, but demands a standing ovation.
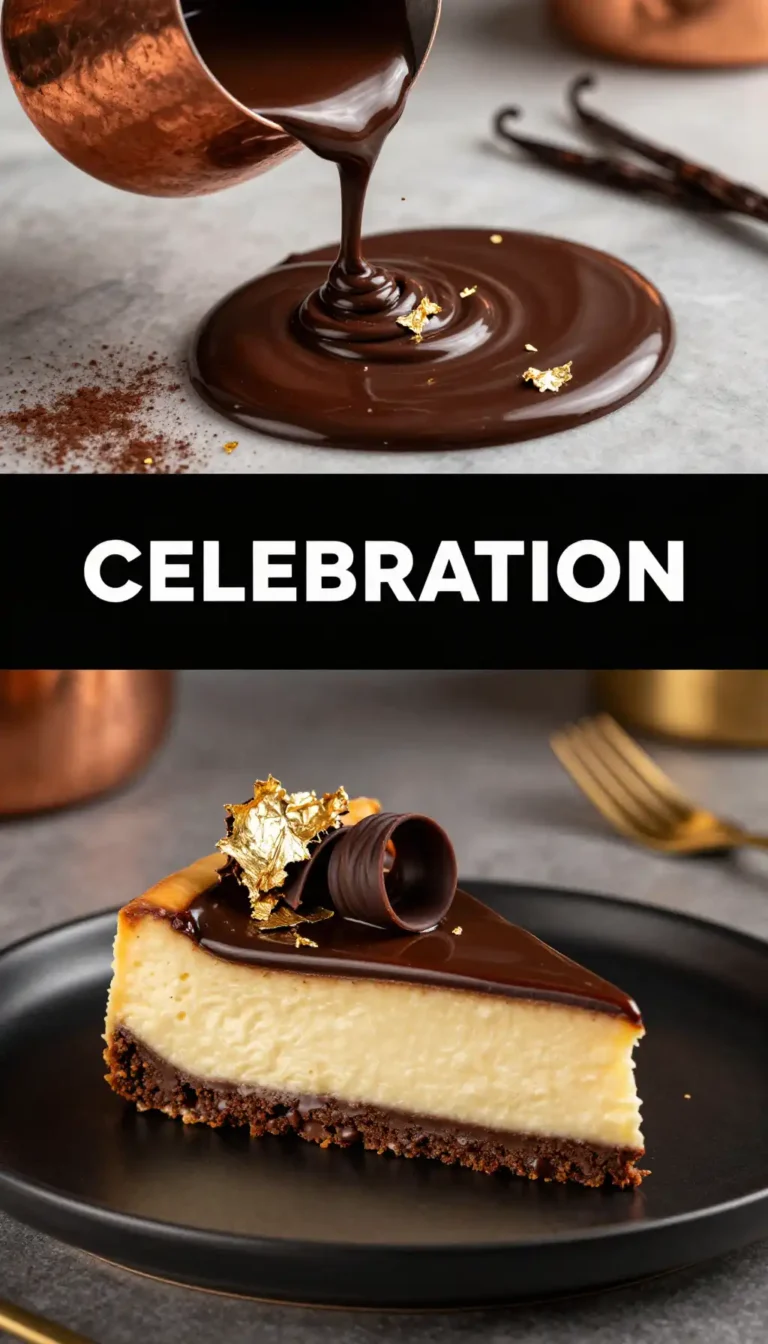
The air is thick with the scent of toasted cocoa and tangy cream cheese. You slide your fork through a cloud-like layer of ivory silk, only to hit a vibrant, ruby-red foundation that tastes like a chocolate-laced dream. It’s rich. It’s velvety. It’s the kind of dessert that makes people stop talking mid-sentence.
Recommended Product
 -34%
-34%
Nonstick Cookware Sets
- Material: White Granite,Aluminum,Glass,Wood,Silicone,Stainless Steel
We aren’t just making a cake here. We are crafting a masterpiece.
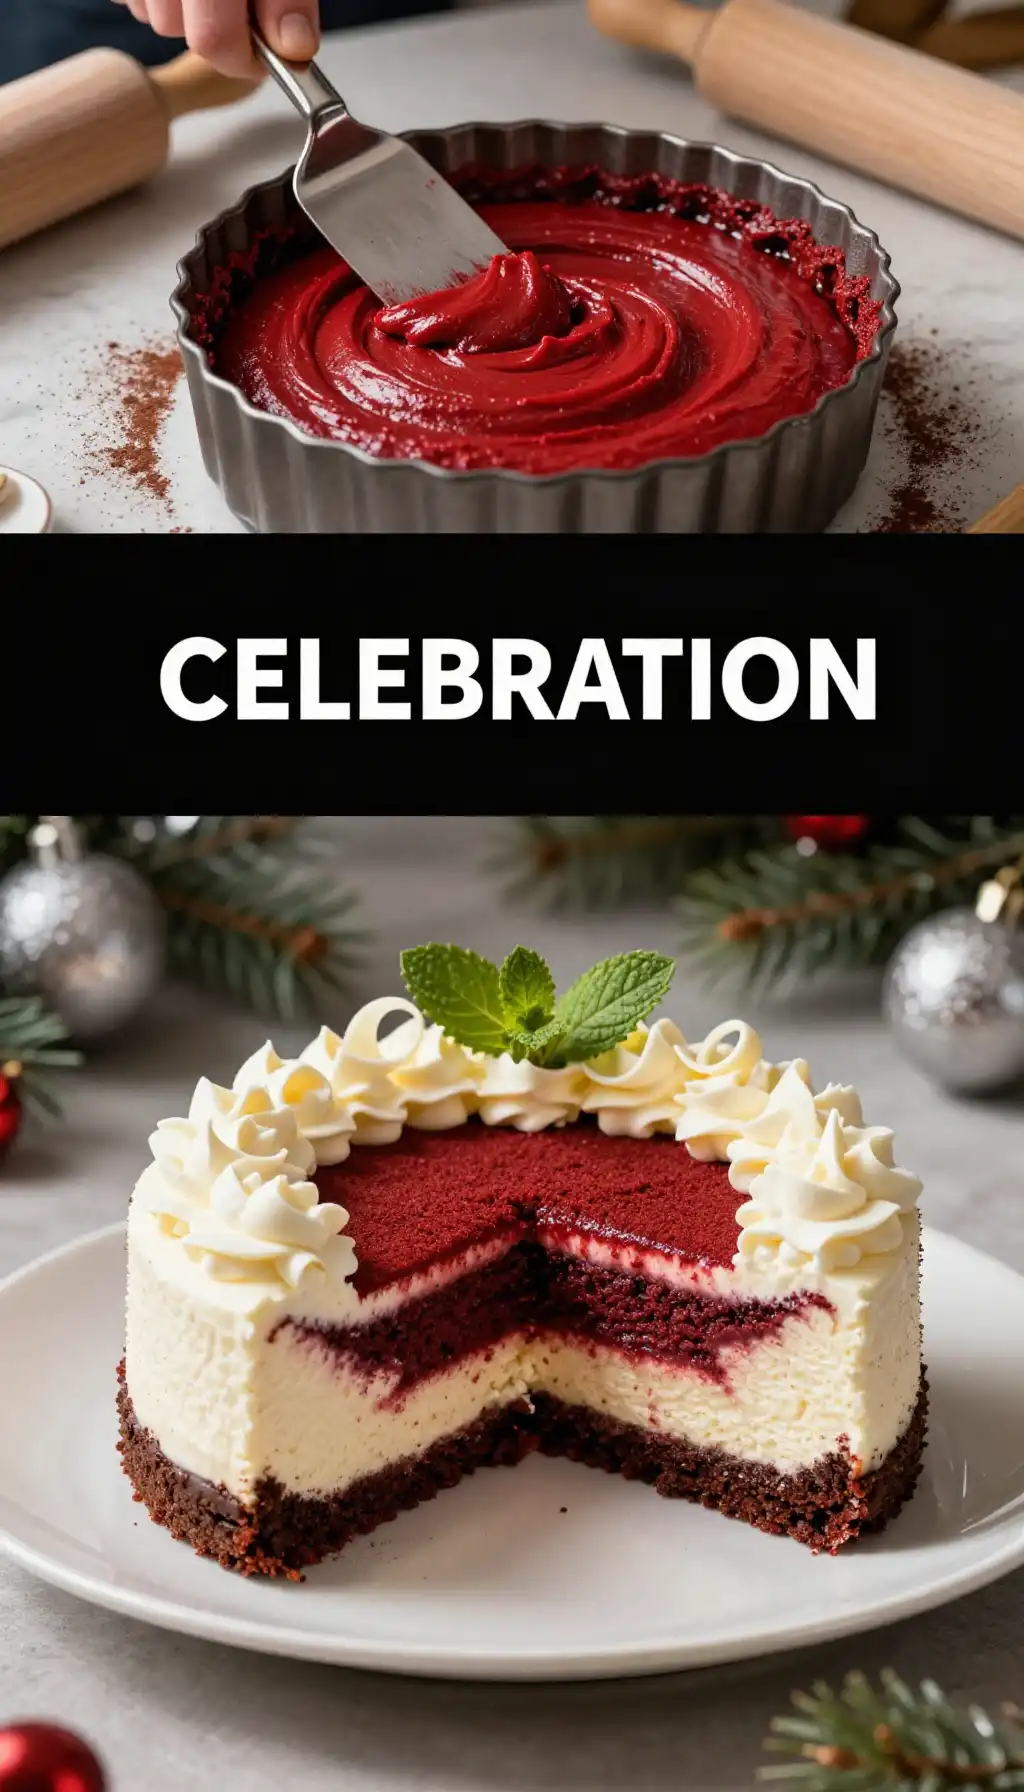
The Crimson Queen of the Dessert Table
Why settle for a plain cheesecake when you can have a Technicolor explosion? This **Festive Red Velvet Cheesecake** is the ultimate “best of both worlds” scenario. It’s the marriage of a decadent, cocoa-kissed cake and a dense, New York-style cheesecake.
But here is the kicker: it’s actually manageable.
Most people see layers and panic. They think they need a pastry degree and a temperamental oven. In reality, learning **how to make Festive Red Velvet Cheesecake** is all about patience and a little bit of flair. It’s the visual contrast that does the heavy lifting, making you look like a gourmet pro while you secretly licked the bowl clean in your pajamas.
Whether it’s a holiday bash or a “just because it’s Tuesday” treat, this recipe delivers a sophisticated flavor profile that isn’t cloyingly sweet. It’s balanced, tangy, and dangerously addictive.
The Magic Behind the Red Mask
What makes red velvet… *red velvet*?
It isn’t just a bottle of food coloring. The soul of this cake lies in the chemistry between **cocoa powder and acidity**. Originally, the “red” came from a reaction between non-alkalized cocoa and buttermilk.
In our modern version, we use a splash of white vinegar and buttermilk to ensure that signature “tang” that offsets the richness of the cream cheese. This acidity also tenderizes the crumb, giving it that “velvet” texture that lives up to its name.
And here is a pro-tip: always use high-quality vanilla bean paste if you can find it. It adds those tiny black flecks and a depth of flavor that makes people wonder what your secret is. If you’re looking for more flavor inspiration, check out our other incredible recipes to round out your menu!
The Flavor Makers: What You’ll Need
Before we dive into the mixing bowl, let’s talk about the heavy hitters. You want your ingredients at **room temperature**. This isn’t a suggestion; it’s a commandment. Cold cream cheese leads to lumpy batter, and nobody wants a “textured” cheesecake.
The Ruby Base
- All-purpose flour: The backbone.
- Unsweetened cocoa powder: Just enough for a hint of chocolate.
- Buttermilk: For that iconic velvet moisture.
- Vegetable oil: Keeps it plush even when chilled.
The Silky Crown
- Full-fat cream cheese: The star of the show.
- Sour cream: Adds a beautiful zing and creaminess.
- Sugar: Just enough to make it sing.
- Fresh lemon juice: A tiny splash to brighten the whole dish.
The Step-by-Step Showdown
Let’s get down to business. Put on your favorite playlist and let’s build this beauty.
1. The Foundation: Whisk your dry ingredients and fold in the wet ones until you have a batter that looks like melted rubies. Pour about two-thirds of this into your springform pan.
2. The Marble Effect: Dollop your cream cheese mixture over the red base. If you’re feeling artistic, take a butter knife and gently swirl the two batters together. Don’t overdo it—we want distinct swirls, not a pink blob.
3. The Low and Slow: We bake this at a lower temperature to prevent cracking. Think of it as a spa day for your cake. Gentle heat equals a smooth, crack-free surface.
4. The Big Chill: This is the hardest part. You must let it cool to room temperature, then stick it in the fridge for at least 6 hours (preferably overnight). The flavors need time to introduce themselves and get cozy.
How NOT to Ruin Your Masterpiece
We’ve all been there. You open the oven and see a giant canyon running through the middle of your cake. Here is how to avoid the heartbreak:
The Water Bath Trap: If you use a water bath, wrap that pan in three layers of heavy-duty foil. Water is sneaky; it will find a way to turn your crust into mush if you aren’t careful.
Over-mixing the Eggs: Once the eggs go into the cheesecake batter, stop being aggressive! Over-mixing incorporates air, and air causes the cake to puff up and then collapse, leading to those dreaded cracks.
The “Is It Done?” Panic: Your cheesecake should still have a slight jiggle in the center when you turn off the oven. It will firm up as it cools. If it looks solid like a brick, you’ve overbaked it.
Setting the Scene: Serving Vibes
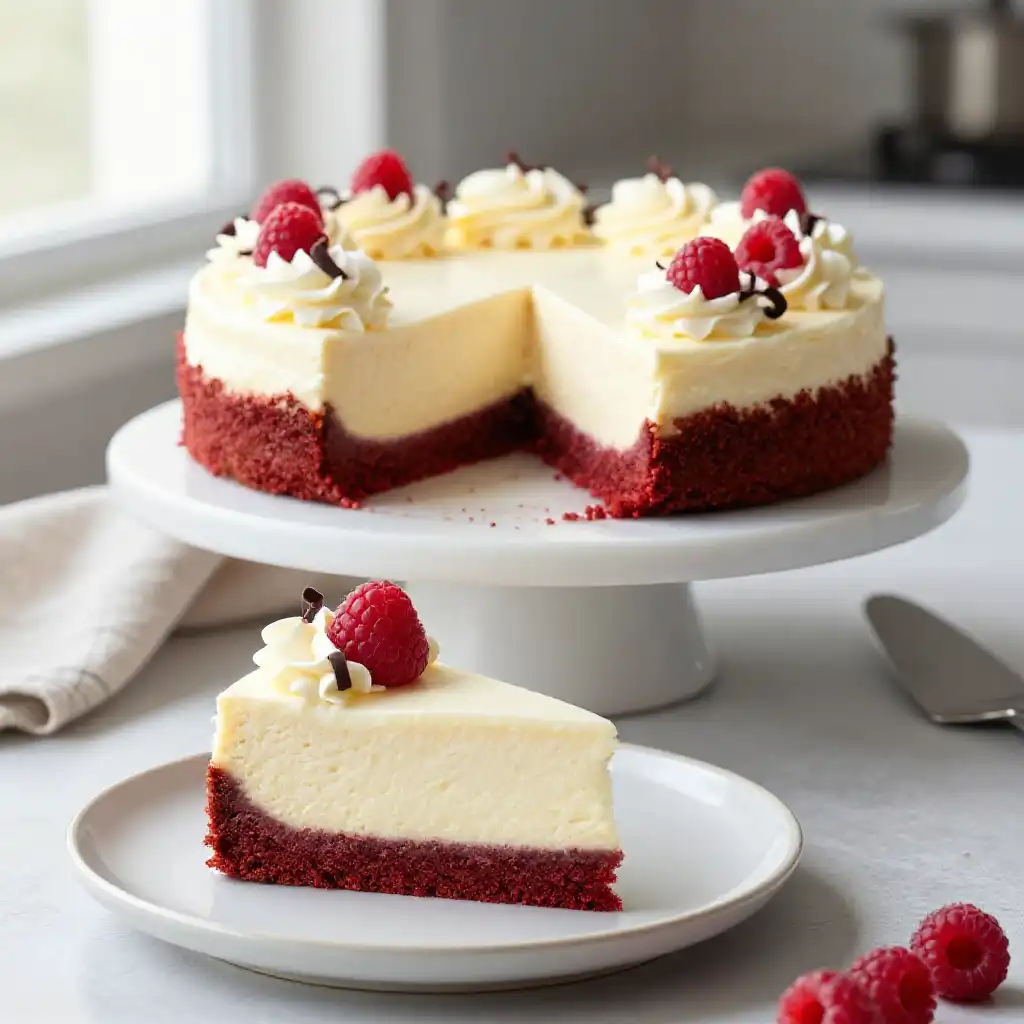
This **easy Festive Red Velvet Cheesecake** is a “Main Event” dessert. Picture this: a cozy winter evening, soft candlelight, and a platter of this cheesecake garnished with fresh raspberries and a dusting of powdered sugar.
It’s the perfect companion to a warm, spiced drink. Speaking of drinks, if you want to pair this with something refreshing, check out these vibrant drink ideas to balance out the richness of the cake.
I like to serve mine with a side of lightly sweetened whipped cream. It adds a light, airy contrast to the dense, fudgy layers of the red velvet.
Your Burning Questions Answered
How to freeze Festive Red Velvet Cheesecake?
Cheesecake freezes beautifully! Once it is completely set and chilled, wrap individual slices (or the whole cake) tightly in plastic wrap, followed by a layer of aluminum foil. It will stay fresh for up to 3 months. To thaw, just pop it in the fridge overnight. Never defrost on the counter, or you’ll lose that silky texture.
What are the calories in Festive Red Velvet Cheesecake?
Let’s be real: this is an indulgence. Depending on the size of your slice, you’re looking at roughly 450-600 calories per serving. But hey, it’s a “festive” cake—memories don’t have calories, right?
Can I make this without a springform pan?
You *can*, but it’s risky business. A springform pan allows you to release the sides without flipping the cake. If you must use a regular pan, line it with parchment paper “slings” so you can lift it out gently once chilled.
Why is my red velvet layer dry?
Usually, this happens because of too much flour. When measuring ingredients, spoon the flour into the cup and level it off. Never scoop directly with the measuring cup, as it packs the flour down and leads to a dry, crumbly cake.
The Final Flourish
There you have it. A dessert that looks like it belongs in a high-end bakery window but was made right in your kitchen. This **Festive Red Velvet Cheesecake** is more than just a recipe; it’s a guaranteed way to win the holidays (and the hearts of your guests).
Now, go grab your whisk, put on an apron, and make some magic happen. Your future self—the one eating a slice of this at midnight—will thank you.
Happy baking!

Festive Red Velvet Cheesecake
Ingredients
Ingredients
- 1.5 cups chocolate graham cracker crumbs finely crushed
- 4 tbsp unsalted butter melted
- 24 oz cream cheese softened to room temperature
- 1 cup granulated sugar
- 3 large eggs room temperature
- 1 cup sour cream full fat
- 2 tbsp unsweetened cocoa powder
- 1 tbsp red food coloring gel preferred for vibrancy
- 2 tsp vanilla extract
- 1 tsp white vinegar to brighten the red hue