Imagine this: You walk into the kitchen, and the air is thick with the scent of melting butter and toasted sugar. It’s that warm, “hug-in-a-pan” aroma that makes you forget your phone is ringing and your inbox is full.
But then, you hear it. The sizzle.
Recommended Product

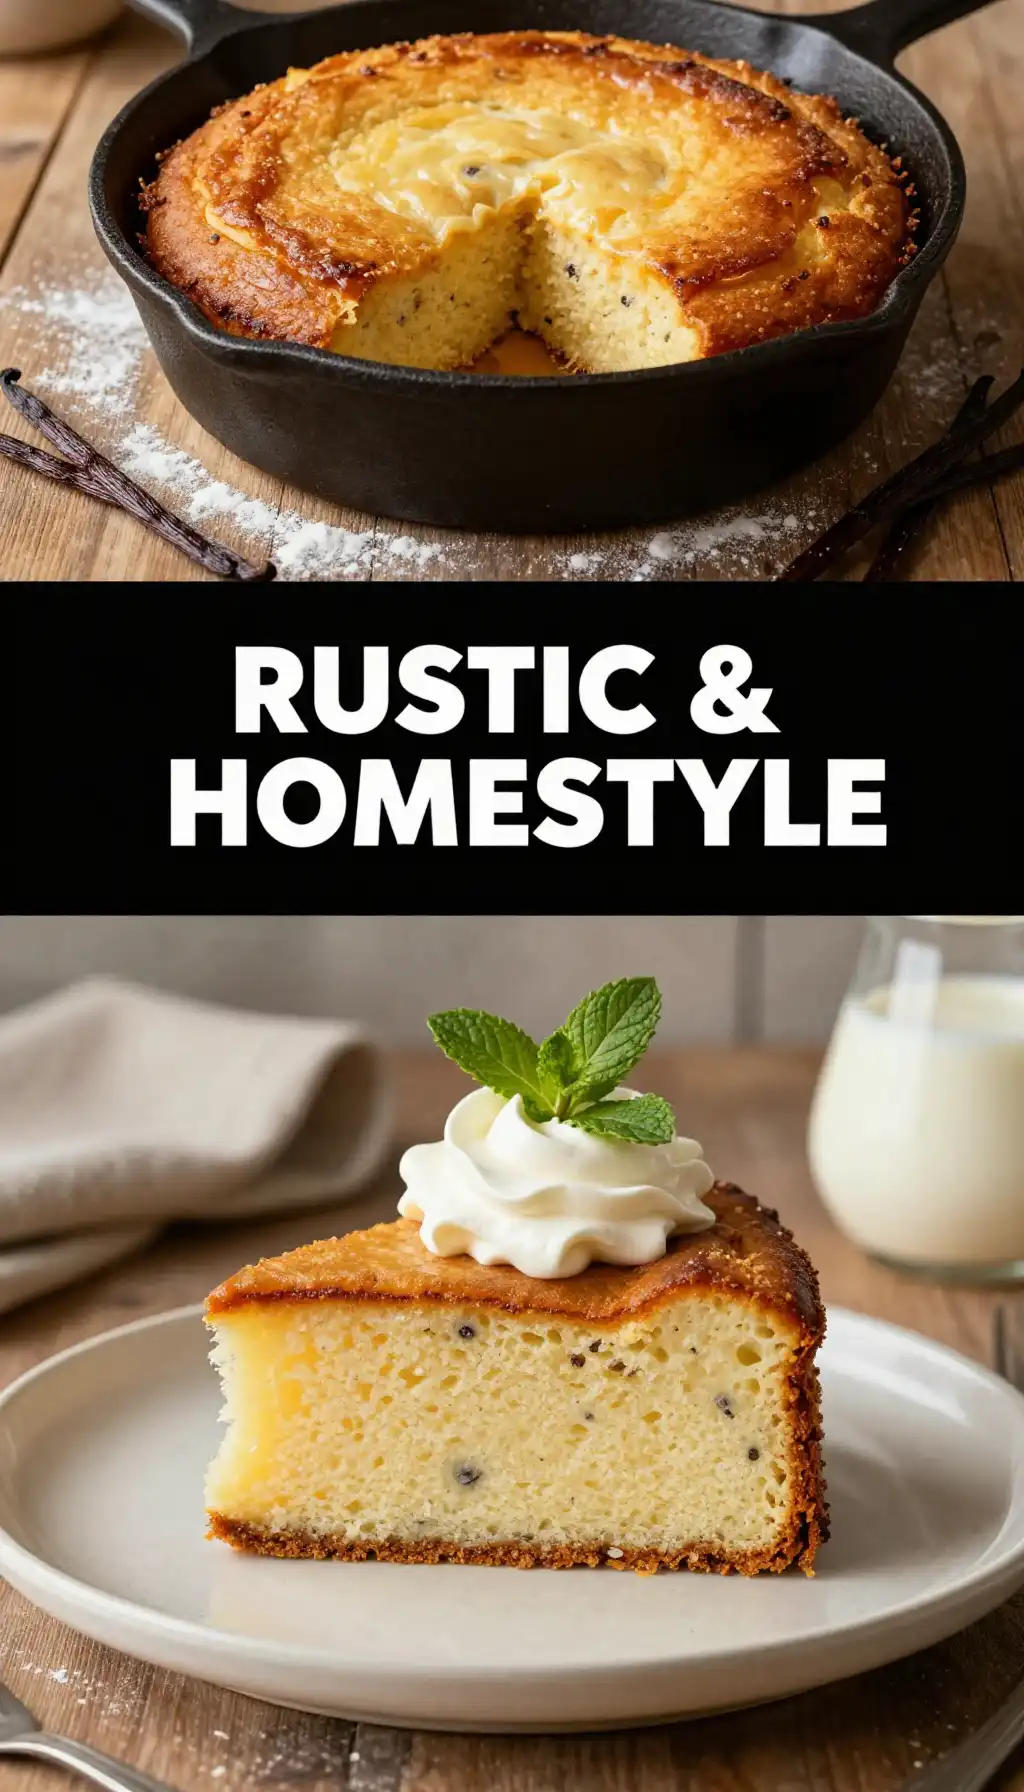
That’s the sound of cake batter hitting a preheated cast iron skillet. It’s a sound usually reserved for searing steaks or frying eggs, but today, it’s the secret to the most incredible vanilla cake you’ve ever laid eyes on. We aren’t talking about a flimsy, store-bought sponge here. We are talking about a rustic masterpiece with a golden-brown, caramelized crust that shatters slightly under your fork, revealing a center so tender it practically melts.
This isn’t just dessert. It’s a sensory experience.

Why Your Regular Cake Pan Is Jealous
Let’s be real: standard cake pans are fine for birthdays, but they lack soul. They’re thin, they’re light, and they don’t hold heat worth a lick.
Enter the cast iron skillet.
This heavy-duty beast is a heat-conducting monster. When you bake a Simple Cast Iron Vanilla Cake, the iron distributes heat with surgical precision. It creates an edge-to-edge perfection that a flimsy aluminum tin simply can’t touch.
The result? A “crust-to-crumb” ratio that is scientifically superior. You get those crispy, buttery edges that taste like a sugar cookie, paired with a fluffy interior that stays moist for days. It’s the ultimate contrast.
Plus, there’s something undeniably cool about bringing a skillet straight from the oven to the table. It says, “I’m a rustic kitchen wizard,” even if you actually spent half the morning in your pajamas.
The Magic of Real Vanilla and Heavy Iron
What makes this the best easy Simple Cast Iron Vanilla Cake you’ll ever bake? It’s all in the chemistry of the skillet.
Because cast iron holds so much thermal energy, it starts cooking the bottom and sides of your cake the second the batter hits the pan. This “jumpstarts” the rise, creating a crumb that is light but sturdy enough to support a dollop of whipped cream or a drizzle of honey.
And let’s talk about the vanilla. Since this recipe has a short ingredient list, the quality of your vanilla matters. Don’t settle for the imitation stuff that smells like a chemistry lab. Use a high-quality vanilla bean paste or extract.
The tiny black specks of vanilla bean floating in that golden batter aren’t just for show—they provide a deep, floral complexity that balances the richness of the butter. If you’re looking for more flavor inspiration to pair with your baking, check out some refreshing ideas over at Indixer.
The Flavor Makers (What to Raid From Your Pantry)
You probably have everything you need for this Simple Cast Iron Vanilla Cake sitting in your cupboard right now. No fancy trips to the specialty grocer required.
- Unsalted Butter: We’re using a generous amount because flavor is a priority.
- Granulated Sugar: This creates that iconic crystalline crust.
- All-Purpose Flour: The backbone of our tender crumb.
- Whole Milk: For richness and moisture.
- The Eggs: They provide the lift and the velvety texture.
- Vanilla Bean Paste: The star of the show.
Looking for more ways to use these pantry staples? Explore our collection of easy home-cooked recipes to keep the kitchen vibes going.
Let’s Get Baking: The Step-by-Step
Follow these steps, and you’ll have a masterpiece on your counter in under an hour.
Step 1: The Skillet Prep
Place your 10-inch cast iron skillet in the oven and preheat it to 350°F (175°C). Yes, we are heating the pan first! This ensures that the batter sears slightly when it touches the iron, creating that legendary crust.
Recommended Product
 -34%
-34%
Nonstick Cookware Sets
- Material: White Granite,Aluminum,Glass,Wood,Silicone,Stainless Steel
Step 2: Creaming the Dream
In a large bowl, cream together your softened butter and sugar until the mixture is pale and fluffy. Don’t rush this. You’re incorporating air, which helps the cake stay light.
Step 3: The Wet Meets the Dry
Beat in the eggs one at a time, followed by a massive splash of vanilla. Gradually fold in your flour, baking powder, and salt, alternating with the milk. Stir until just combined—overmixing is the enemy of fluffiness!
Step 4: The Sizzle Factor
Carefully remove the hot skillet from the oven. Toss in a tablespoon of butter and swirl it around until the bottom and sides are coated. Pour the batter in—listen for that beautiful sizzle—and smooth the top.
Step 5: The Golden Bake
Slide it back into the oven for 30–35 minutes. You’re looking for a deep golden hue and a toothpick that comes out clean.
How NOT to Mess This Up (Common Pitfalls)
Baking in cast iron is easy, but it’s not foolproof. Here is how to keep your cake from becoming a kitchen disaster:
1. The Cold Start Sin: If you don’t preheat the skillet, you lose the “crust factor.” Don’t skip the preheat.
2. The Over-Mixing Meltdown: If you beat the batter like it owes you money, you’ll develop too much gluten. That leads to a rubbery cake. Mix until the flour *just* disappears.
3. The “Is it Done?” Guessing Game: Because cast iron retains heat, the cake will continue to cook for a few minutes after you take it out. Pull it when it’s just barely set in the middle.
4. The Rusty Skillet Mistake: Make sure your skillet is well-seasoned. If it’s dry and “thirsty,” the cake might stick. A quick rub of vegetable oil before heating does wonders.
Serving Vibes: When to Eat This
This Simple Cast Iron Vanilla Cake is the ultimate “anytime” dessert.
It’s perfect for a lazy Sunday afternoon when the rain is hitting the windowpane and you have a fresh pot of coffee brewing. It’s also rugged enough for a backyard BBQ or a camping trip (yes, you can bake this over a bed of coals!).
I love serving it warm, right out of the pan, with a massive scoop of cold vanilla bean ice cream. The way the ice cream melts into the warm, buttery crannies of the cake is enough to make a grown adult weep with joy.
Your Burning Questions Answered (FAQ)
How to freeze Simple Cast Iron Vanilla Cake?
If you somehow have leftovers, you can absolutely freeze them. Slice the cake into wedges and wrap each piece tightly in plastic wrap, followed by a layer of aluminum foil. It stays fresh for up to 3 months. When the craving hits, just thaw a slice at room temperature or give it a quick 15-second zap in the microwave.
How many calories in Simple Cast Iron Vanilla Cake?
While this varies based on your specific ingredients, a standard slice (1/8th of the cake) typically contains between 320 and 380 calories. It’s a rich, buttery treat, so every calorie is worth it for that caramelized crust!
Can I make this in a regular round pan?
You *can*, but it won’t be the same. The easy Simple Cast Iron Vanilla Cake relies on the heat retention of the iron for its texture. If you use a regular pan, you’ll lose that crispy edge, and the baking time will likely be 5–10 minutes shorter.
Can I add fruit to this recipe?
Absolutely! Pressing a handful of fresh raspberries or sliced peaches into the top of the batter before baking is a pro move. The fruit jams up and gets slightly jammy in the oven, which pairs beautifully with the vanilla.
How do I store the leftovers?
Keep the cake in the skillet (covered with a damp cloth or foil) for up to 24 hours at room temperature. For longer storage, move the slices to an airtight container. Cast iron can sometimes transfer a metallic taste if the cake sits in it for days, so don’t leave it in the pan forever!
Now, what are you waiting for? Grab that skillet, preheat that oven, and show the world how to make Simple Cast Iron Vanilla Cake like a pro!

Simple Cast Iron Vanilla Cake
Ingredients
Ingredients
- 0.5 cup unsalted butter softened to room temperature
- 1 cup granulated sugar
- 2 large eggs room temperature
- 1 tbsp vanilla extract use high quality for best flavor
- 1.5 cups all-purpose flour sifted
- 1.5 tsp baking powder
- 0.5 tsp kosher salt
- 0.5 cup whole milk room temperature
- 1 tbsp butter for greasing the skillet