Close your eyes for a second. Imagine you’re walking into a high-end patisserie in the heart of a bustling city. The air is thick—not with humidity, but with the heavy, intoxicating scent of roasting nuts and blooming cocoa. You see it behind the glass: a towering masterpiece of deep, velvet-dark sponge and a frosting so light it looks like it was harvested from a sugary cloud.
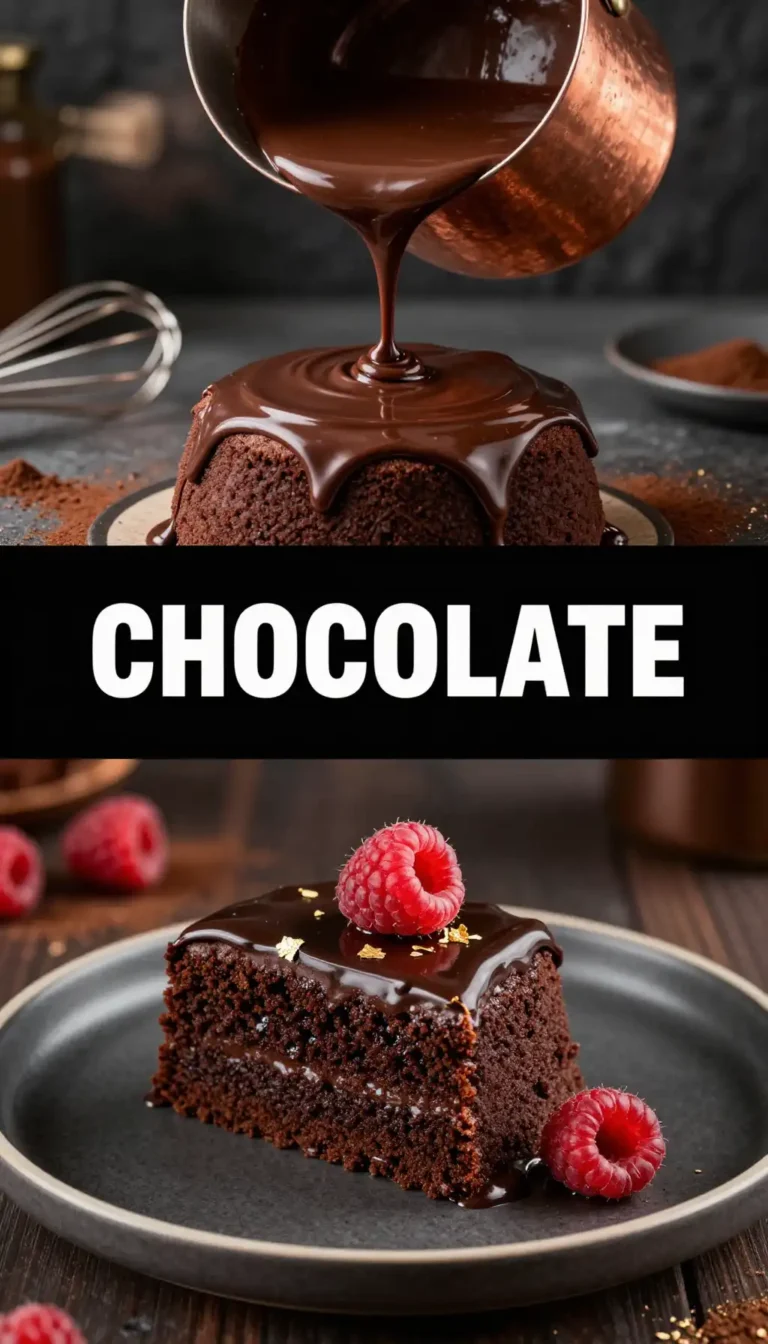
That, my friends, is the magic we are bringing into your kitchen today. We aren’t just baking a cake; we are constructing a monument to indulgence. The Whipped Chocolate Hazelnut Layer Cake is the kind of dessert that makes conversation stop, forks clink rhythmically, and diets politely excuse themselves from the room.
I’ve spent years chasing the perfect balance between “rich enough to satisfy” and “light enough to have a second slice.” Most chocolate cakes are either too dry or so heavy they feel like a lead weight in your stomach. But this? This is the goldilocks of desserts. It’s sophisticated, it’s nutty, and it’s about to become your new personality trait.

The Anatomy of a Showstopper
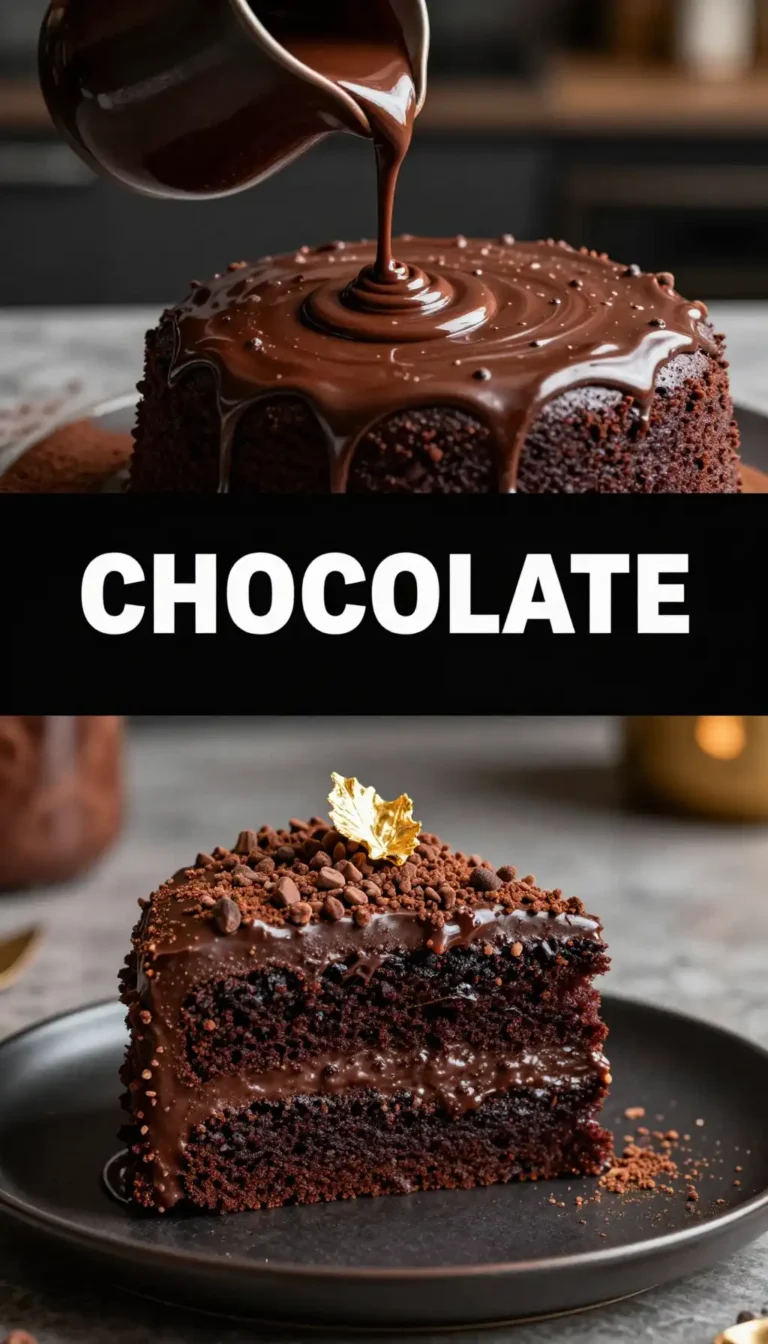
What makes this specific Whipped Chocolate Hazelnut Layer Cake the king of the dessert table? It’s all about the layers of texture. We start with a base that is aggressively chocolatey. We aren’t playing around with weak cocoa powder; we’re using a high-fat Dutch-processed cocoa that gives the crumb a color so dark it’s almost midnight-blue.
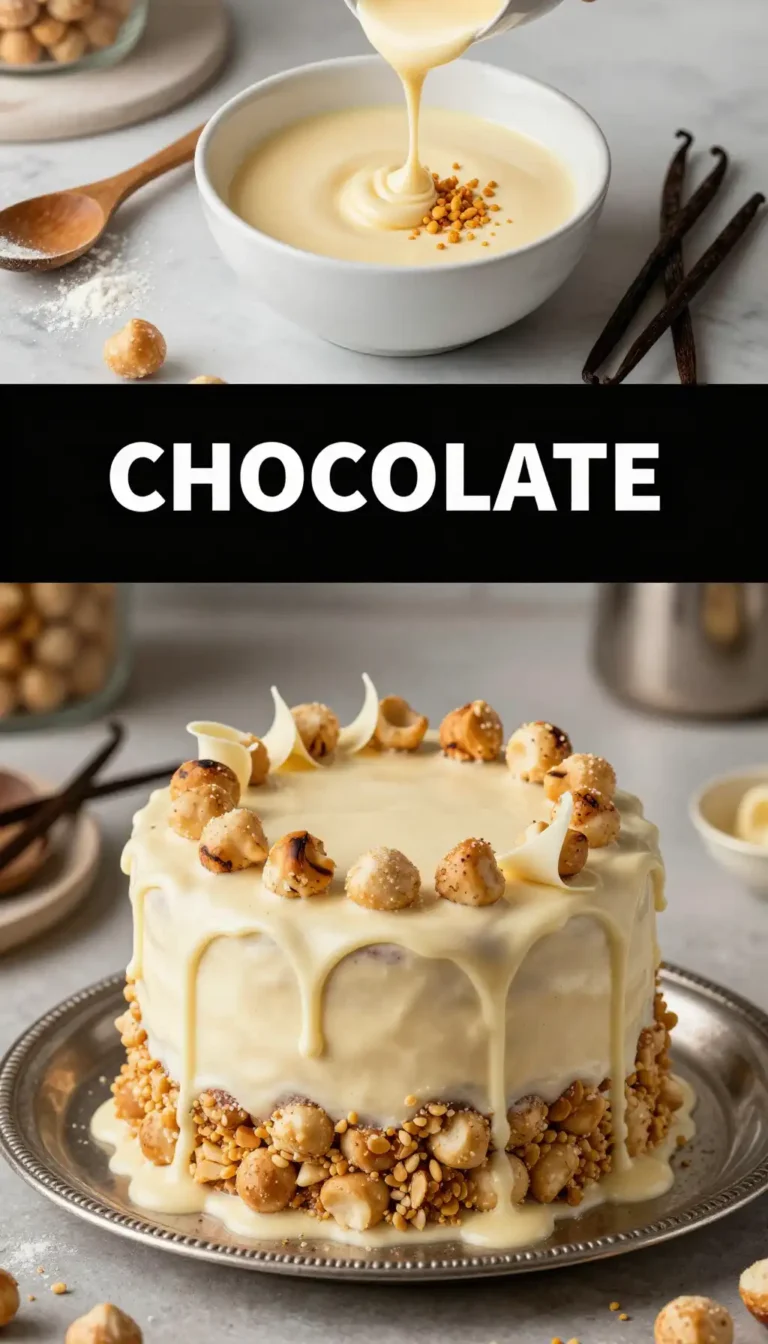
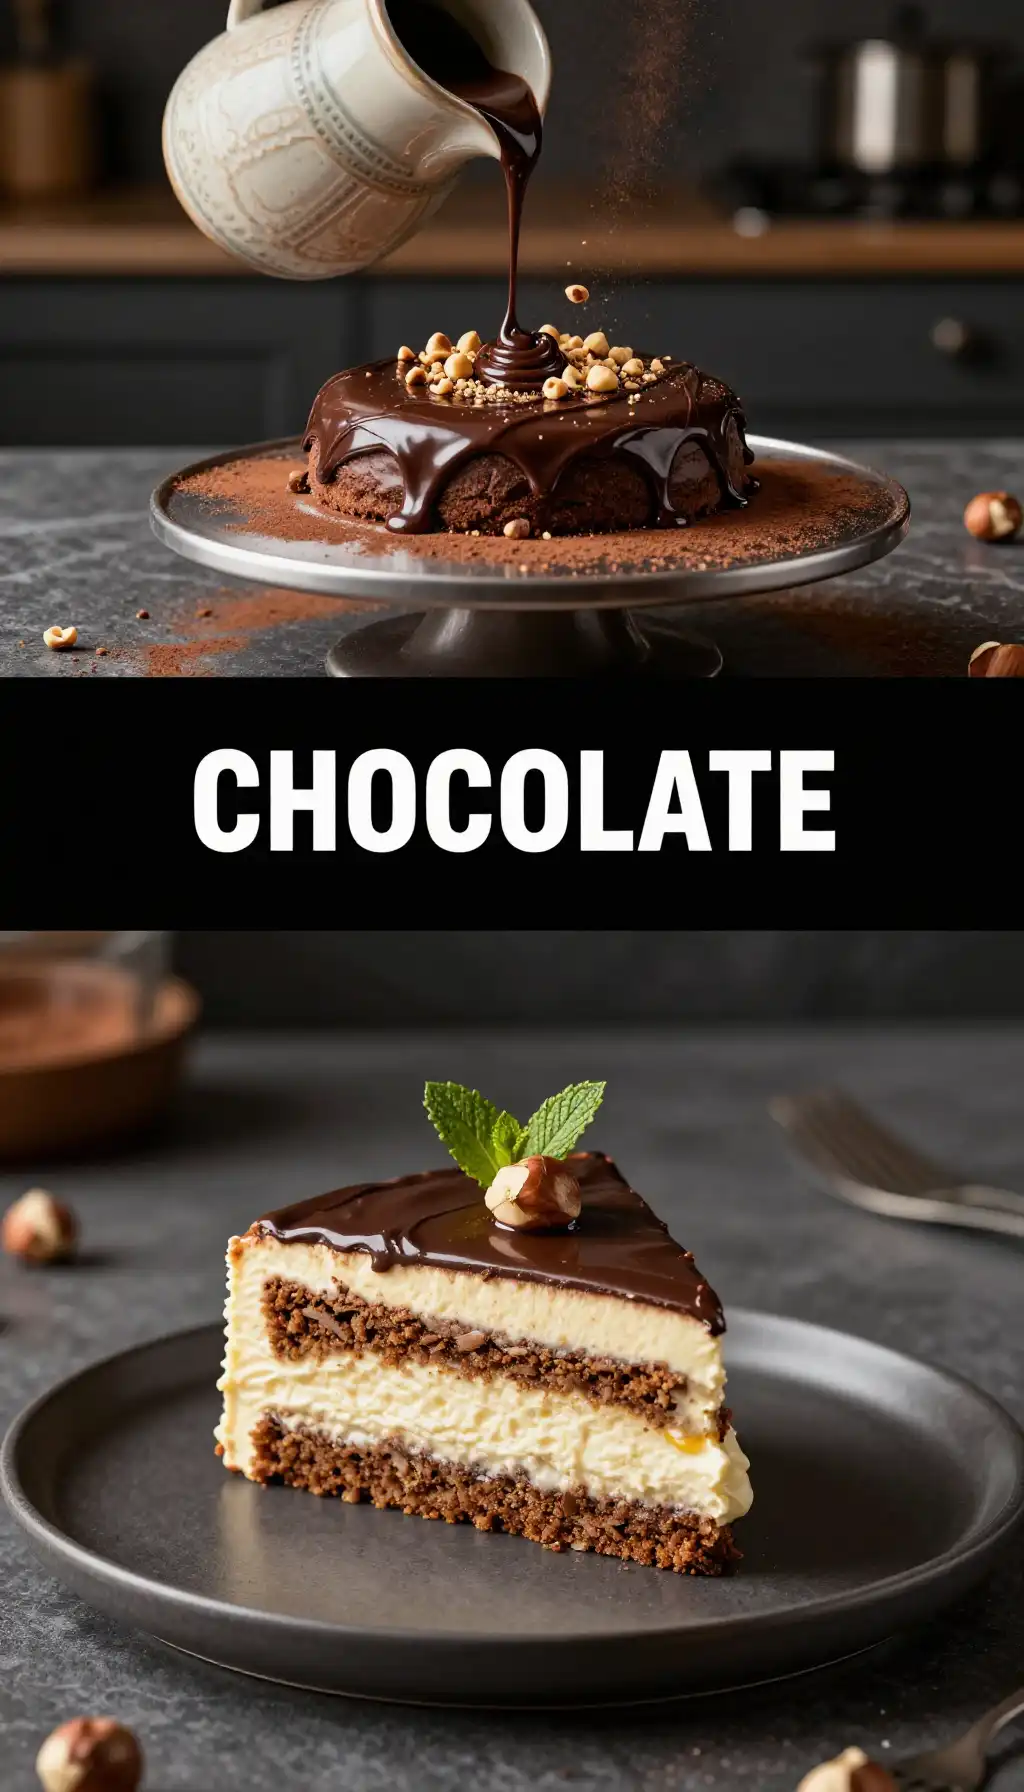
Then comes the whipped hazelnut praline frosting. Imagine the flavor of your favorite hazelnut spread, but whipped with heavy cream and mascarpone until it defies gravity. It’s silky, it’s nutty, and it provides a cooling contrast to the dense chocolate sponge.
But the real secret? The crunch. Between those layers, we’re tucking in crushed roasted hazelnuts. It’s that unexpected “snap” that keeps your palate awake and prevents the sweetness from becoming one-note. If you’re looking for more inspiration on how to pair nutty flavors with refreshing beverages, check out some incredible ideas over at Indixer’s drink collections.
The Science of the Perfect Crumb
Ever wonder why some cakes have the texture of a kitchen sponge while others melt on your tongue? It comes down to the “bloom.” In this easy Whipped Chocolate Hazelnut Layer Cake, we pour boiling hot coffee directly over our cocoa powder.
Don’t worry, it won’t taste like a latte. The hot liquid dissolves the cocoa clusters and “blooms” the flavor, releasing those deep, earthy aromatic oils that stay dormant in cold batter. This process also breaks down the flour’s gluten structure just enough to ensure a tender, moist crumb that stays fresh for days.
Adding a touch of acidity—usually from buttermilk—reacts with the baking soda to create tiny bubbles. These bubbles are the architects of your cake’s height. Without them, you’re baking a brownie; with them, you’re baking a cloud.
What You Need to Raid From the Pantry
Before you preheat that oven, make sure your arsenal is ready. For the best Whipped Chocolate Hazelnut Layer Cake, quality matters. If your hazelnut spread has been sitting in the back of the cupboard since the last leap year, go get a fresh jar.
The Sponge Essentials
- All-Purpose Flour: The backbone of our operation.
- Dutch-Process Cocoa: For that “dark as the abyss” color and flavor.
- Espresso Powder: It doesn’t make it taste like coffee; it just makes the chocolate taste more like… chocolate.
- Buttermilk: The secret to moisture and a soft tang.
The Frosting & Fillings
- Heavy Whipping Cream: Must be ice-cold. No exceptions!
- Mascarpone Cheese: This adds stability and a velvety mouthfeel that butter alone can’t achieve.
- Hazelnut Spread: The star of the show.
- Whole Hazelnuts: We’re going to roast these until they scream with flavor.
Looking for more dessert inspiration? You can find a treasure trove of sweet treats over at Slapid Recipes.
Let’s Get Cooking: The Step-by-Step
Step 1: The Toasting. Throw your raw hazelnuts into a 350°F (175°C) oven for about 8-10 minutes. When the skins start to crack and the smell makes you want to move into the oven, they’re ready. Rub them in a kitchen towel to remove the skins, then chop them roughly.
Step 2: The Batter. Whisk your dry ingredients in one bowl. In another, cream your sugar and oil (we use oil for maximum moisture). Slowly incorporate the buttermilk and eggs. Finally, stream in that hot coffee/cocoa mixture. The batter will be thin—don’t panic! That’s exactly what we want.
Step 3: The Bake. Divide the liquid gold into three 8-inch pans. Bake until a toothpick comes out with just a few moist crumbs clinging to it. Let them cool completely. I mean it. If you frost a warm cake, you’ll end up with a chocolate puddle.
Step 4: The Whipped Glory. Beat the cold mascarpone and hazelnut spread until smooth. In a separate bowl, whip the heavy cream to stiff peaks. Fold them together gently. You’re looking for a texture that resembles a stiff mousse.
Step 5: The Assembly. Layer cake, a generous thicket of frosting, a sprinkle of hazelnuts. Repeat. Coat the outside in a “naked” style or go full-coverage. There are no rules in the pursuit of greatness.
How NOT to Mess This Up (The Pitfalls)
Even the best bakers fall into traps. Here is how to ensure your Whipped Chocolate Hazelnut Layer Cake doesn’t end up on a “fail” compilation video:
1. The “I Can’t Wait” Syndrome: Frosting a cake that is even slightly warm is the number one cause of cake-tastrophes. The fat in the whipped cream will melt, and your layers will slide off each other like a slow-motion car crash.
2. Over-mixing the Batter: Once you add the flour, stop pretending you’re a heavy-duty industrial mixer. Mix until just combined. Over-mixing develops gluten, which turns your light cake into a loaf of chocolate bread. Nobody wants that.
3. Using Room Temp Cream: Your heavy cream needs to be cold—straight-from-the-fridge cold. Warm cream won’t trap air, meaning your frosting will be a sad, liquid mess instead of a fluffy cloud.
Setting the Scene: Serving Vibes
This isn’t a “grab a slice and run” kind of cake. This is an event. This is the cake you bring out when you’ve successfully hosted a dinner party and want to drive the point home that you are the superior host.
Serve it on a dark slate platter or a vintage glass cake stand. Pair it with a steaming cup of dark roast coffee or a cold glass of almond milk. It’s perfect for birthdays, anniversaries, or “I survived Tuesday” celebrations. The deep browns of the cake and the creamy tan of the frosting make it a visual masterpiece before the first bite is even taken.
Frequently Asked Questions
How to freeze Whipped Chocolate Hazelnut Layer Cake?
To freeze this cake, it’s best to freeze individual slices. Wrap each slice tightly in plastic wrap, then a layer of aluminum foil. It will stay delicious for up to 3 months. To eat, thaw in the fridge overnight. Avoid freezing the whole assembled cake if possible, as the whipped frosting can change texture slightly upon thawing.
How many Calories in Whipped Chocolate Hazelnut Layer Cake?
While this varies based on your slice size (and your level of generosity), a standard slice of this indulgent cake typically contains between 550 and 700 calories. It’s a treat meant for savoring, so make every calorie count!
Can I make this cake in advance?
Absolutely! In fact, the flavor of the chocolate sponge actually improves after 24 hours. You can bake the layers a day early, wrap them in plastic, and store them at room temperature. Whip the frosting and assemble the cake on the day you plan to serve it for the best texture.
What is the best way to cut clean slices?
To get those perfect, professional-looking layers, use a long, thin knife dipped in hot water. Wipe the knife clean between every single cut. This prevents the frosting from dragging into the dark cake layers, keeping your presentation sharp.
Leftovers? Here’s the Plan
If you somehow find yourself with leftovers (a rare phenomenon), store them in an airtight container in the refrigerator. Because of the mascarpone and whipped cream in the frosting, this cake needs to stay chilled.
The layers will stay moist for about 3-4 days. Pro tip: let a slice sit at room temperature for about 15 minutes before eating. This allows the fats in the chocolate to soften slightly, giving you that melt-in-the-mouth experience all over again.
Now, go forth and bake. Your kitchen is about to smell like a dream, and your friends are about to be very, very impressed. Don’t forget to tag me in your photos—I want to see those sky-high layers!

Whipped Chocolate Hazelnut Layer Cake
Ingredients
Ingredients
- 1.75 cup all-purpose flour sifted
- 2 cup granulated sugar
- 0.75 cup unsweetened cocoa powder high-quality Dutch-processed
- 1.5 tsp baking powder
- 1.5 tsp baking soda
- 2 large eggs room temperature
- 1 cup whole milk
- 0.5 cup vegetable oil
- 1 cup boiling water steaming hot to bloom the cocoa
- 13 oz chocolate hazelnut spread such as Nutella
- 2 cup heavy whipping cream chilled
- 0.5 cup roasted hazelnuts crushed for garnish