Imagine this. You walk into the kitchen and the air is thick—not with humidity, but with the intoxicating, velvety scent of melting chocolate and toasted sugar. It’s that smell that makes you close your eyes, take a deep breath, and suddenly forget that you had a “to-do” list. We are talking about that legendary, edge-to-edge chocolate experience.
The kind of brownie that doesn’t just crumble away into sadness. No, we are chasing the dragon of the **Classic Fudge Brownies**. We want that paper-thin, crackly top that shatters like fine glass under your teeth, followed immediately by a center so dense and fudgy it practically puts your jaw to work.
Recommended Product
 -15%
-15%
Silicone Baking Mat with Measurement Guide (Non-Stick Pastry & Cake Mat)
- Material →: Food-grade silicone (safe for baking)
- Surface →: Non-stick (no butter or oil needed)
- Design →: Measurement guide for perfect cake sizes
If you’ve been hurt by cakey, dry, soul-less brownies in the past, consider this your chocolatey redemption arc. We aren’t here for “light and fluffy.” We are here for the heavy hitters.
🍳 Used in this recipe
Get It on Amazon Basics✔ Free Delivery | ✔ Top Rated | ✔ Budget-Friendly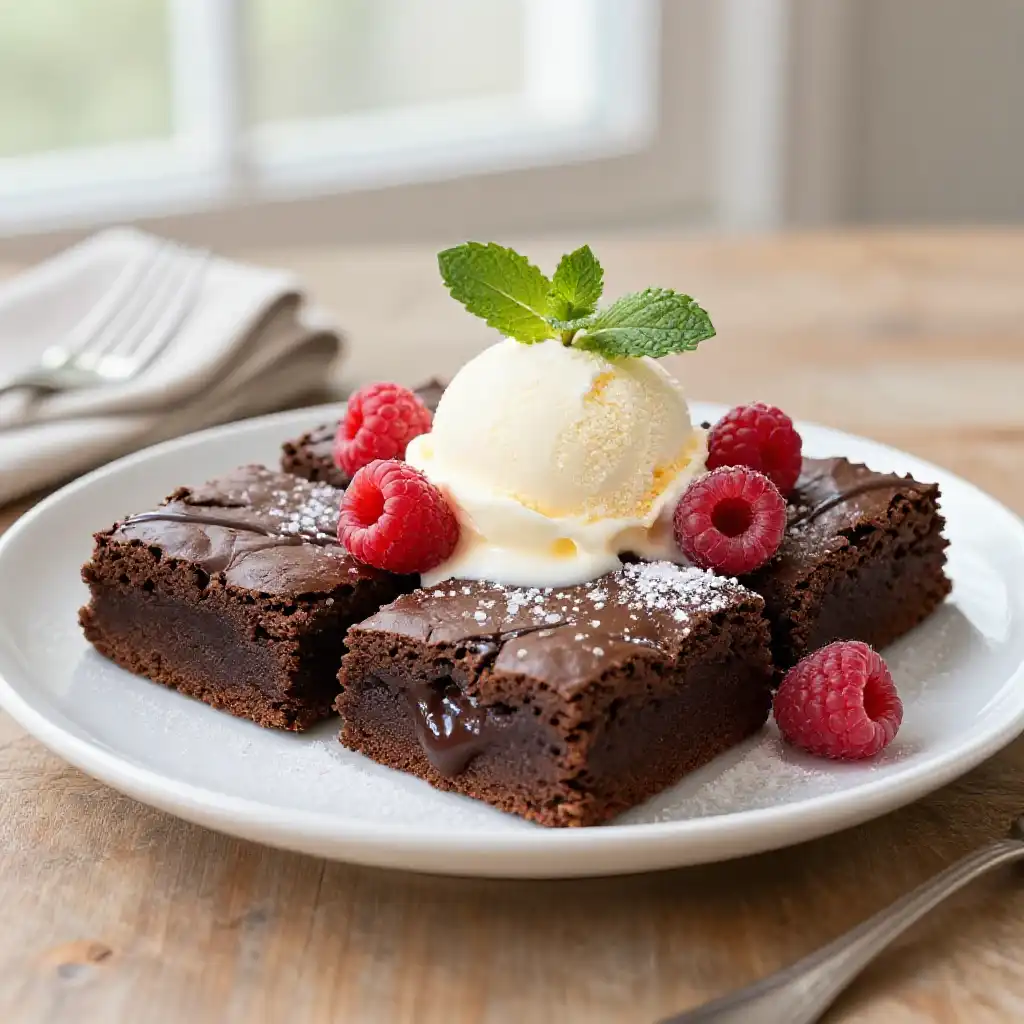
The Anatomy of the Perfect Square
Why does this specific recipe win the gold medal? Simple. It’s all about the texture-to-flavor ratio. Most recipes rely on too much flour, which turns your treat into a chocolate-flavored sponge. Not here.
We are maximizing the fats and the sugars to create a decadent emulsion. This is how to make **Classic Fudge Brownies** that actually earn their name. We use a high cocoa-to-flour ratio to ensure that every bite feels like a hug for your brain.
But there’s a trick.
🍳 Used in this recipe
Get It on Amazon Basics✔ Free Delivery | ✔ Top Rated | ✔ Budget-FriendlyIt’s the “glossy skin” secret. You know that shimmering, wrinkled top layer? That isn’t magic; it’s chemistry. It comes from dissolving the sugar completely into the eggs and butter before the dry ingredients even touch the bowl. It’s the hallmark of a pro, and today, that pro is you.
The Flavor Makers You Need to Raid From the Pantry
Before you start preheating, let’s talk about the squad. You don’t need a degree in pastry arts, but you do need quality. Since chocolate is the star, don’t go for the cheap stuff hidden in the back of the cabinet since 2019.
The Chocolate Foundation
We use a combination of melted unsalted butter and high-quality cocoa powder. The butter provides that “melt-in-your-mouth” luxury, while the cocoa powder brings the deep, dark intensity. Want to level up? Throw in some bittersweet chocolate chunks.
🍳 Used in this recipe
Get It on Amazon Basics✔ Free Delivery | ✔ Top Rated | ✔ Budget-FriendlyThe Sweet Support
Granulated sugar isn’t just for sweetness; it’s for structure. When it hits those eggs, it creates the meringue-like crust we all crave. A splash of vanilla extract acts like a spotlight, making the chocolate flavor pop even louder.
The Binding Agents
Just enough flour to hold it together, and a pinch of salt. Never skip the salt! Salt is the tether that keeps the sweetness from becoming overwhelming. It rounds out the edges and makes the chocolate taste “more” like chocolate.
The Deep Dive: Why Fat is Your Best Friend
Let’s talk science for a second. In the world of baking, there are two paths: the Cakey Path and the Fudgy Path.
🍳 Used in this recipe
Get It on Amazon Basics✔ Free Delivery | ✔ Top Rated | ✔ Budget-FriendlyThe Cakey Path relies on “creaming” butter and sugar to trap air. We aren’t doing that. We want density. By using melted butter, we keep the air bubbles to a minimum.
This creates a saturated fat structure that keeps the brownie moist for days. This is the secret to **easy Classic Fudge Brownies** that stay delicious even 72 hours later. If they last that long, which—let’s be honest—they won’t.
If you’re looking for something to wash these down with, you might want to check out some refreshing pairings over at Indixer’s drink collection. A cold, creamy drink is the ultimate sidekick to a warm brownie.
🍳 Used in this recipe
Get It on Amazon Basics✔ Free Delivery | ✔ Top Rated | ✔ Budget-Friendly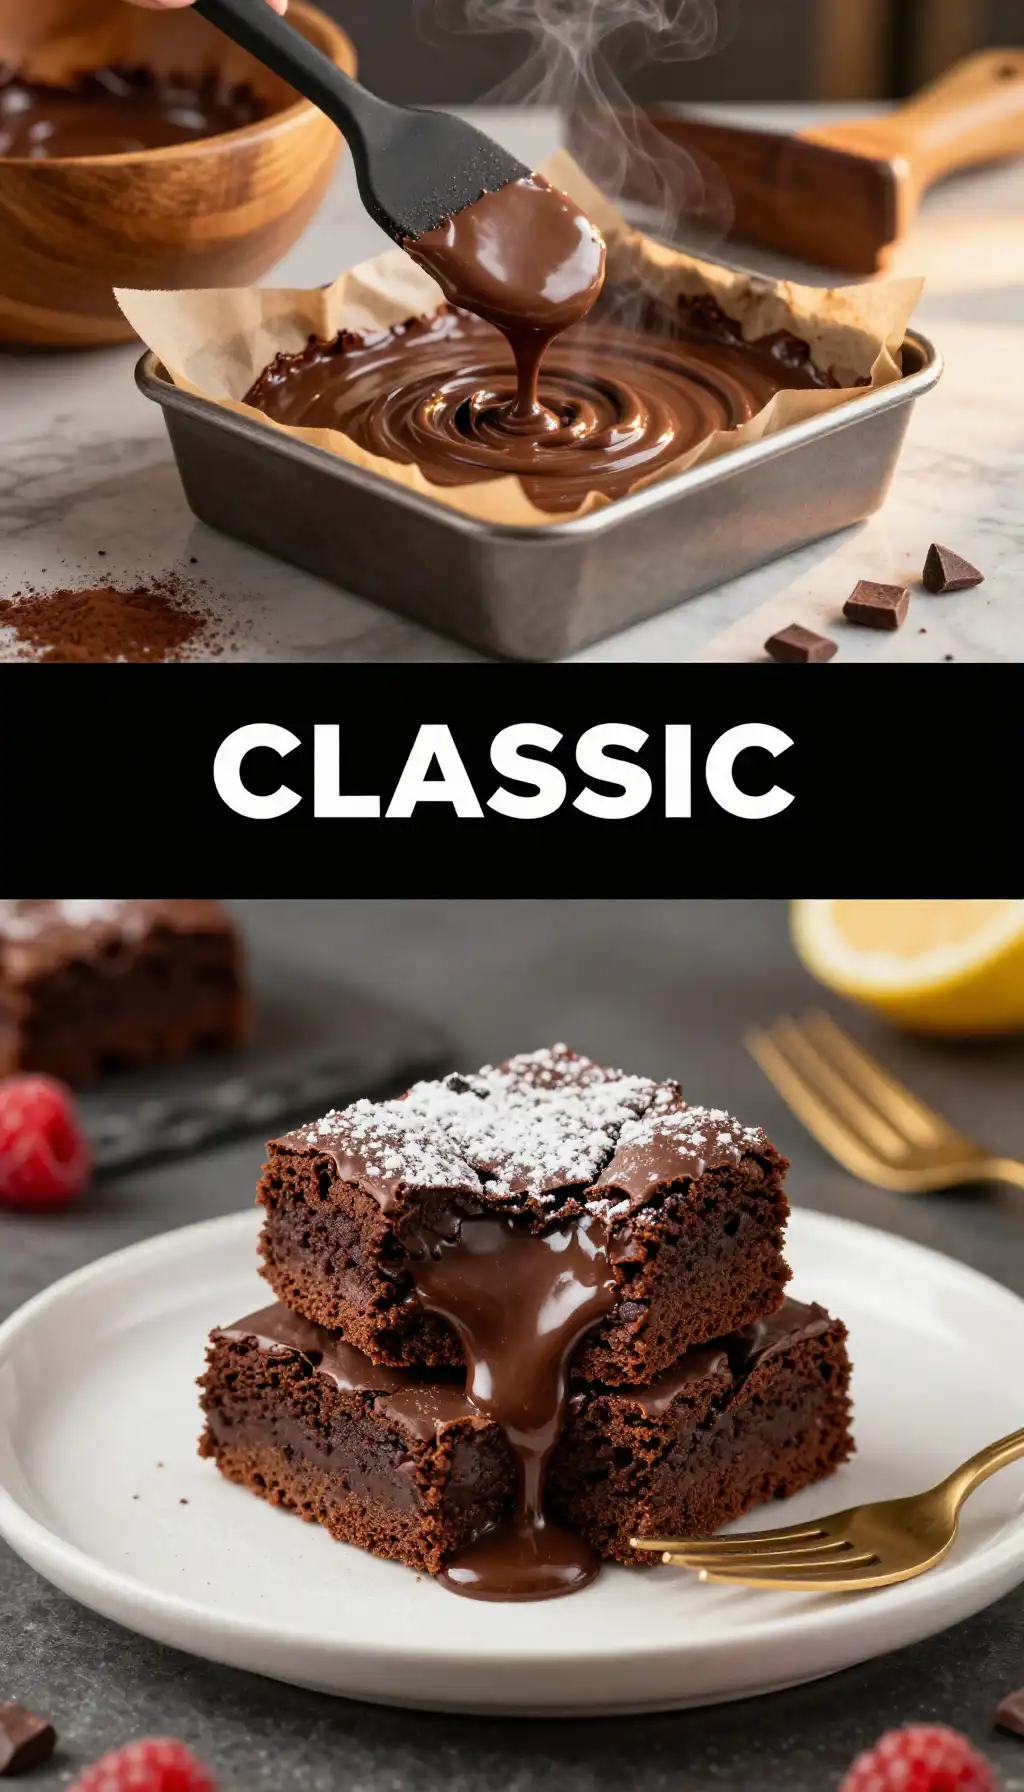
The Step-by-Step: Let’s Get Cooking
Ready to transform your kitchen into a boutique bakery? Follow these steps, and don’t rush the process. Greatness takes at least 25 minutes.
1. **Preparation is Key:** Preheat your oven to 350°F (175°C). Line an 8×8 inch baking pan with parchment paper, leaving a little overhang on the sides. This is your “brownie elevator” to help you lift them out later.
2. **The Melt Down:** Melt your butter in a large microwave-safe bowl. While it’s hot, whisk in your sugar and cocoa powder. It will look grainy and weird. Do not panic. This is the “ugly duckling” phase.
3. **The Emulsion:** Add your eggs one at a time, whisking vigorously after each addition. This is where the magic happens. Whisk until the batter looks shiny and smooth. Add your vanilla.
4. **The Fold:** Gently fold in your flour and salt using a spatula. Stop the moment you see no more white streaks. Over-mixing leads to tough brownies, and we only want “tough” in action movies.
5. **The Bake:** Pour the batter into your prepared pan and smooth the top. Bake for 22–25 minutes.
6. **The Test:** Stick a toothpick in the center. It should come out with a few moist crumbs attached. If it’s clean, you’ve overbaked. If it’s wet batter, give it three more minutes.
Looking for more decadent dessert inspiration? Dive into our full library of treats over at Slapid Recipes.
🍳 Used in this recipe
Get It on Amazon Basics✔ Free Delivery | ✔ Top Rated | ✔ Budget-FriendlyHow NOT to Mess This Up (Common Pitfalls)
Even the best of us can stumble. Here is how to stay on the path of righteousness:
* **Don’t overbake:** This is the cardinal sin. Brownies continue to cook in the pan after you take them out. If they look perfectly “done” in the oven, they will be overdone by the time they cool.
* **Don’t cut them hot:** I know, I know. The smell is killing you. But if you cut them while they are steaming, they will tear and lose that fudgy structure. Wait at least 30 minutes. Your patience will be rewarded with clean, beautiful squares.
* **The Egg Temperature:** Use room temperature eggs. Cold eggs can seize the melted butter and make your batter lumpy. Just pop them in a bowl of warm water for 5 minutes if you forgot to take them out.
Recommended Product
 -11%
-11%
8‑Piece Deep Glass Baking Dish Set with Plastic Lids (Rectangular Bakeware)
- Material: Oven, freezer & microwave safe borosilicate glass (goes from fridge/oven without cracking)
- Pieces →: 4 rectangular dishes + 4 tight‑fitting plastic lids (stackable)
- Easy Care →: Dishwasher safe glass & lids
Serving Vibes: Set the Scene
These **Classic Fudge Brownies** aren’t just food; they are an event.
🍳 Used in this recipe
Get It on Amazon Basics✔ Free Delivery | ✔ Top Rated | ✔ Budget-FriendlyPicture this: It’s a rainy Tuesday night. You’ve got a thick blanket, a favorite movie queued up, and a warm brownie topped with a massive scoop of vanilla bean ice cream. The ice cream starts to melt into the crannies of the brownie, creating a marbled sauce of pure joy.
Or, maybe you’re the hero of the potluck. You show up with a tray of these, sprinkle a little flaky sea salt on top, and suddenly everyone wants to be your best friend. They are versatile, portable, and universally loved.
Everything You Need to Know (FAQ)
How to freeze Classic Fudge Brownies?
To freeze these beauties, let them cool completely first. Wrap individual squares tightly in plastic wrap, then place them in a heavy-duty freezer bag. They will stay fresh for up to 3 months. To eat, just thaw at room temperature or give them a 15-second blast in the microwave for that “just baked” feel.
🍳 Used in this recipe
Get It on Amazon Basics✔ Free Delivery | ✔ Top Rated | ✔ Budget-FriendlyWhat are the Calories in Classic Fudge Brownies?
While the exact count depends on the brand of butter and sugar you use, a standard 2-inch square usually clocks in at around 220–250 calories. But remember, these are “soul calories”—they don’t count on weekends (standard disclaimer: this is not medical advice, just brownie enthusiast logic).
Can I add mix-ins to this recipe?
Absolutely! This is a “base” recipe. Feel free to fold in walnuts, pecans, white chocolate chips, or even a swirl of peanut butter before baking. Just keep the total mix-ins to about 1 cup so you don’t compromise the structure.
Why are my brownies cakey instead of fudgy?
You likely used too much flour or over-whisked the eggs and sugar. To keep them fudgy, measure your flour using the “spoon and level” method rather than scooping directly with the measuring cup, which packs the flour down.
🍳 Used in this recipe
Get It on Amazon Basics✔ Free Delivery | ✔ Top Rated | ✔ Budget-FriendlyRecommended Product

Amazon Basics Silicone Baking Mat (2-Pack Non-Stick Oven Liners)
- Material →: Food-safe silicone, reusable thousands of times
- Non-Stick →: No butter, oil, or parchment needed
How do I get those clean edges when cutting?
The pros use a plastic knife! Believe it or not, chocolate doesn’t stick to plastic the way it sticks to metal. Alternatively, use a sharp chef’s knife and wipe it clean with a hot, damp cloth between every single cut. It’s tedious, but the “Instagram-ready” results are worth it.
Now, stop reading and go get your apron. Your kitchen is too quiet, and it needs to smell like chocolate. Happy baking!

Classic Fudge Brownies
Ingredients
Ingredients
- 0.5 cup unsalted butter melted and cooled slightly
- 1 cup granulated sugar
- 0.5 cup light brown sugar packed
- 2 unit large eggs room temperature
- 1 tsp vanilla extract
- 0.75 cup all-purpose flour
- 0.5 cup unsweetened cocoa powder natural or Dutch-process
- 0.25 tsp salt
- 0.5 cup semi-sweet chocolate chips optional, for extra fudginess