Close your eyes for a second. Imagine the deepest, darkest, most ridiculously fudgy brownie you’ve ever encountered. It’s warm. It’s dense. It smells like a cocoa bean’s wildest dream. Now, imagine biting into that velvet cloud and hitting a golden, shattered layer of caramelized honey joy that shatters like stained glass on your tongue.
That, my friends, is why we are here today. We aren’t just making dessert; we’re conducting a symphony of textures. The Honeycomb Crunch Brownies are the ultimate “ooh-and-ahh” treat that makes people question if you secretly spend your weekends at a high-end patisserie.
Recommended Product
 -15%
-15%
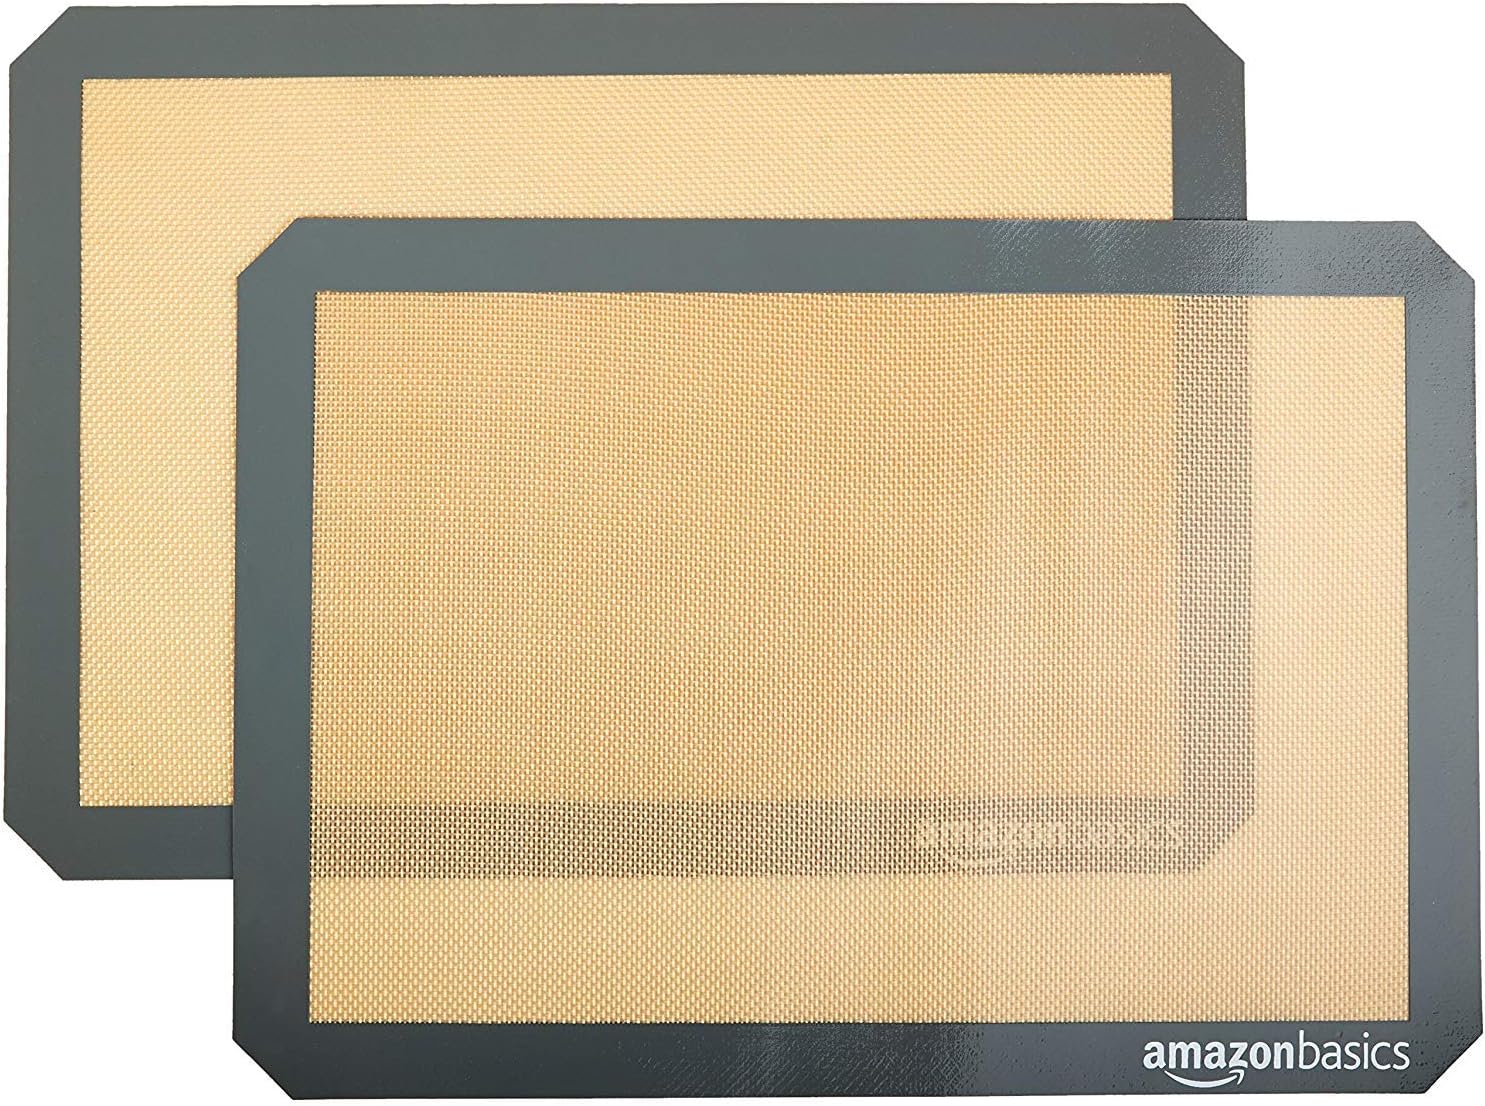
Silicone Baking Mat with Measurement Guide (Non-Stick Pastry & Cake Mat)
- Material →: Food-grade silicone (safe for baking)
- Surface →: Non-stick (no butter or oil needed)
- Design →: Measurement guide for perfect cake sizes
I’m talking about a marriage between a brownie so moist it’s basically an edible hug and a honeycomb candy so airy it feels like eating a sweetened lightning bolt. It’s crunchy, it’s chewy, and it’s about to become your new personality trait.
🍳 Used in this recipe
Get It on Amazon Basics✔ Free Delivery | ✔ Top Rated | ✔ Budget-Friendly
The Chemistry of the Crunch
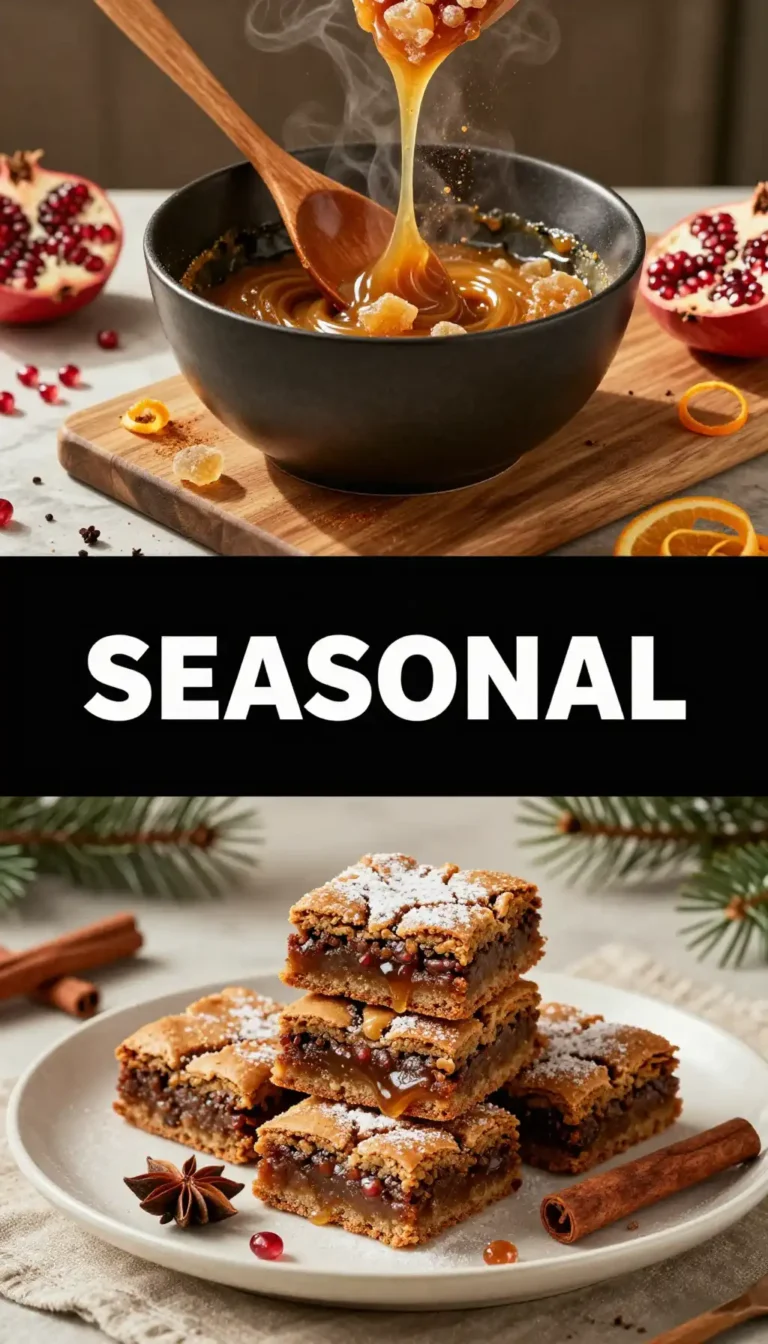
You might be wondering: how does a simple syrup turn into a golden, bubbly mountain of crunch? It’s not magic (well, maybe a little), it’s science! When you heat sugar and honey to the “hard crack” stage and whisk in a little bit of baking soda, something spectacular happens.
The heat causes the baking soda to release carbon dioxide at a rapid-fire pace. This creates millions of tiny bubbles trapped in the molten sugar. As it cools, those bubbles are locked in place, resulting in that iconic, aerated, brittle texture we crave.
But here is the secret: you have to be fast. If you over-whisk the soda, you’ll deflate your bubbles and end up with a sweet hockey puck. If you don’t whisk enough, you’ll have clumps of powder. It’s a delicate dance, but when you nail it? You’ll feel like a kitchen wizard.
🍳 Used in this recipe
Get It on Amazon Basics✔ Free Delivery | ✔ Top Rated | ✔ Budget-FriendlyWhat to Raid From the Pantry
Before we dive into the heat of the kitchen, let’s make sure your arsenal is stocked. You don’t need fancy equipment, but you do need quality ingredients. Because when the ingredient list is short, every single one has to pull its weight.
The Brownie Base
- Dark Chocolate: Go for the good stuff—at least 60% cocoa. It balances the sweetness of the honeycomb perfectly.
- Unsalted Butter: This provides that silky, melt-in-your-mouth richness.
- Granulated & Brown Sugar: We use both because brown sugar adds that “chew” we all live for.
- Dutch-Processed Cocoa Powder: For that deep, midnight-dark color.
The Honeycomb Crown
- Honey: The star of the show. It provides the floral undertones.
- Golden Syrup or Corn Syrup: This prevents the sugar from recrystallizing into a grainy mess.
- Baking Soda: The “inflation” agent. Make sure it’s fresh!
If you’re looking for more inspiration on how to pair these with a refreshing drink, check out some killer smoothies and drinks to wash down all that chocolatey goodness.
Let’s Get Cooking: The Step-by-Step
First things first, preheat your oven to 350°F (175°C). Line an 8×8 inch pan with parchment paper, leaving a little overhang on the sides. This is your “escape hatch” to lift the brownies out later without breaking them.
🍳 Used in this recipe
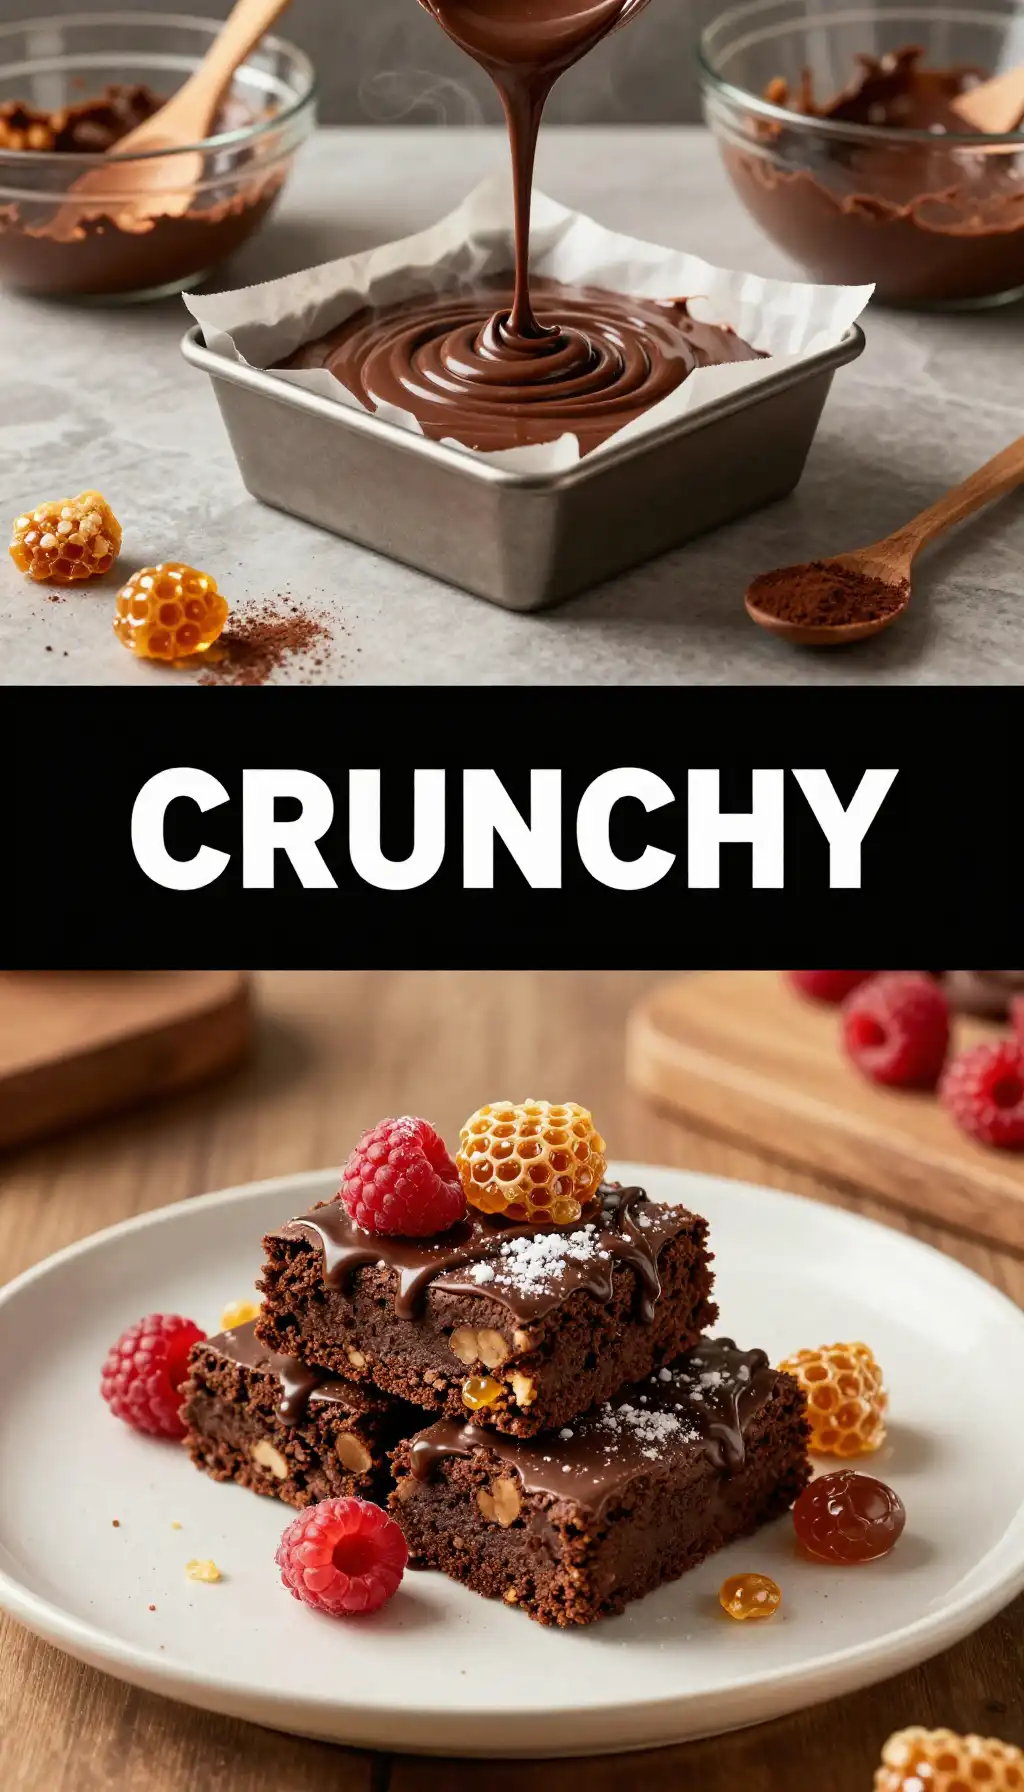
Get It on Amazon Basics✔ Free Delivery | ✔ Top Rated | ✔ Budget-FriendlyStep 1: The Melt. Melt your butter and chopped chocolate together over a double boiler or in short bursts in the microwave. Stir until it looks like a glossy pool of liquid gold. Whisk in your sugars while it’s still warm so they start to dissolve slightly.
Step 2: The Emulsion. Add your eggs one at a time. This is where the “crackly top” happens. Whisk vigorously for about 2 minutes until the batter looks smooth and slightly pale. Fold in your flour and cocoa powder until just combined. Do not overmix, or you’ll end up with a cake, and we want a fudgy masterpiece!
Step 3: The Bake. Pour that thick, gorgeous batter into the pan and bake for 20-25 minutes. You want the edges set but the middle to have just a tiny bit of wobble. Let them cool completely. Yes, the waiting is the hardest part. I believe in you.
🍳 Used in this recipe
Get It on Amazon Basics✔ Free Delivery | ✔ Top Rated | ✔ Budget-FriendlyStep 4: The Honeycomb. In a deep saucepan (it will bubble up!), combine your sugar, honey, and syrup. Heat until it turns a deep amber color. Remove from heat, sift in the baking soda, and whisk for 3 seconds. Pour it immediately over the cooled brownies. Watch it grow!
How NOT to Mess This Up
We’ve all been there. You try to be a hero and suddenly the kitchen smells like scorched sugar. Here is how to keep your easy Honeycomb Crunch Brownies from turning into a disaster movie:
Don’t walk away from the sugar! Sugar goes from “perfect amber” to “burnt charcoal” in about 4.2 seconds. Stay focused. Put the phone down. Total focus is required.
🍳 Used in this recipe
Get It on Amazon Basics✔ Free Delivery | ✔ Top Rated | ✔ Budget-FriendlyThe “Wet Knife” Trick. When you go to cut these, the honeycomb can be a bit of a literal smash-hit. Use a very sharp knife dipped in hot water and wiped dry between every single cut. This melts through the sugar and the chocolate for those clean, Instagram-ready edges.
Cooling is Mandatory. If you try to put the hot honeycomb on hot brownies, you’ll just have a sticky, melted puddle. Patience is a virtue, and in this case, it’s the difference between a treat and a mess.
If you’re a fan of these bold textures, you’ll absolutely love exploring more of our signature dessert recipes that push the boundaries of flavor.
🍳 Used in this recipe
Get It on Amazon Basics✔ Free Delivery | ✔ Top Rated | ✔ Budget-FriendlySet the Scene: Serving Vibes
When should you serve these? Honestly, when shouldn’t you? But if you want to be extra, here is the vibe: It’s a Friday night. You’ve got a cold glass of milk (or a thick vanilla bean milkshake) ready. You serve these on a wooden board, slightly chilled so the honeycomb is extra snappy.
Recommended Product
 -11%
-11%
8‑Piece Deep Glass Baking Dish Set with Plastic Lids (Rectangular Bakeware)
- Material: Oven, freezer & microwave safe borosilicate glass (goes from fridge/oven without cracking)
- Pieces →: 4 rectangular dishes + 4 tight‑fitting plastic lids (stackable)
- Easy Care →: Dishwasher safe glass & lids
They are the perfect “main event” for a movie night, or a sophisticated way to end a dinner party where the main course was something spicy and savory. The honeycomb provides a relief from the richness, making them dangerously easy to eat in one sitting.
Honeycomb Intel: Your Questions Answered
How to freeze Honeycomb Crunch Brownies?
You can definitely freeze the brownie base, but the honeycomb layer is a bit of a diva. Moisture is the enemy of honeycomb—it will turn sticky and soft in the freezer. If you want to freeze them, freeze the brownie squares alone, then make a fresh batch of honeycomb to top them with once they’ve thawed!
🍳 Used in this recipe
Get It on Amazon Basics✔ Free Delivery | ✔ Top Rated | ✔ Budget-FriendlyCalories in Honeycomb Crunch Brownies?
Look, we aren’t eating these for a salad replacement. A standard square usually clocks in between 350 to 450 calories depending on how thick you slab that honeycomb on. But remember: calories don’t count on your birthday, or on Tuesdays, or days ending in ‘y’.
How to make Honeycomb Crunch Brownies stay crunchy?
The secret is an airtight container and a cool, dry place. Whatever you do, do NOT put them in the fridge. The humidity in the refrigerator will melt the honeycomb into a syrup. Keep them on the counter in a sealed jar for up to 3 days (if they last that long).
Can I use store-bought honeycomb?
You can! If you’re in a rush, just crush up some store-bought honeycomb bars and press them into a layer of melted chocolate on top of the brownies. It won’t have that “molten overflow” look, but it will still taste phenomenal.
🍳 Used in this recipe
Get It on Amazon Basics✔ Free Delivery | ✔ Top Rated | ✔ Budget-FriendlyRecommended Product
Amazon Basics Silicone Baking Mat (2-Pack Non-Stick Oven Liners)
- Material →: Food-safe silicone, reusable thousands of times
- Non-Stick →: No butter, oil, or parchment needed
Final Thoughts on the Ultimate Treat
Learning how to make Honeycomb Crunch Brownies is like adding a superpower to your baking utility belt. It’s a recipe that looks complicated but is surprisingly simple once you master the timing of the sugar.
There is something so satisfying about the crack of the top layer followed by the sink into the fudgy center. It’s a sensory experience that generic, boxed brownies just can’t touch. So, go forth, brave baker. Get that sugar bubbling, keep your eyes on the amber prize, and prepare for the best brownie of your life.
Don’t forget to share your creations! There’s nothing I love more than seeing a perfectly bubbled honeycomb layer sitting atop a dark, decadent brownie. Happy baking!
🍳 Used in this recipe
Get It on Amazon Basics✔ Free Delivery | ✔ Top Rated | ✔ Budget-Friendly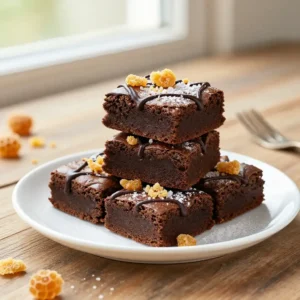
Honeycomb Crunch Brownies
Ingredients
Ingredients
- 0.5 cup unsalted butter plus extra for greasing pan
- 1 cup granulated sugar
- 2 large eggs room temperature
- 1 tsp pure vanilla extract
- 0.33 cup unsweetened cocoa powder Dutch-processed preferred
- 0.5 cup all-purpose flour
- 0.25 tsp salt
- 0.5 cup semisweet chocolate chips
- 0.5 cup granulated sugar for honeycomb layer
- 2 tbsp honey
- 1 tsp baking soda
- 1 tbsp water