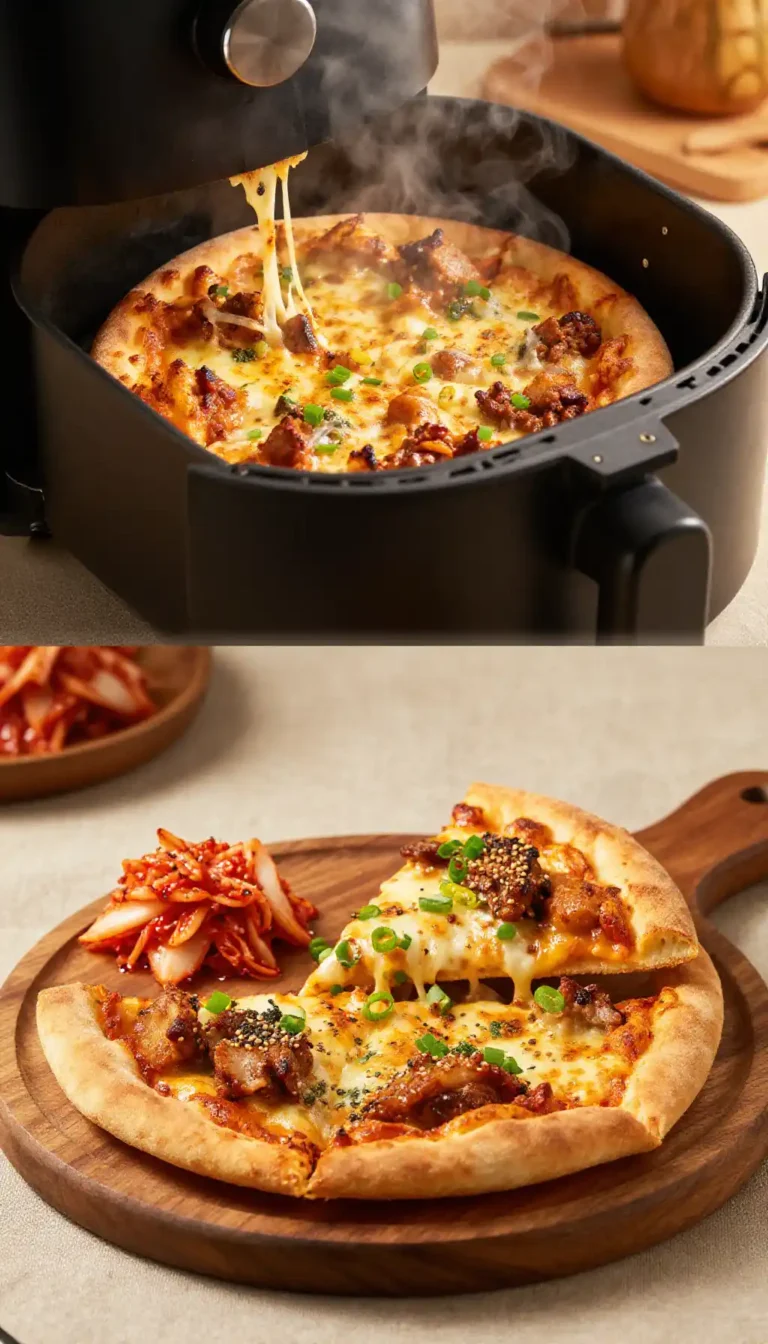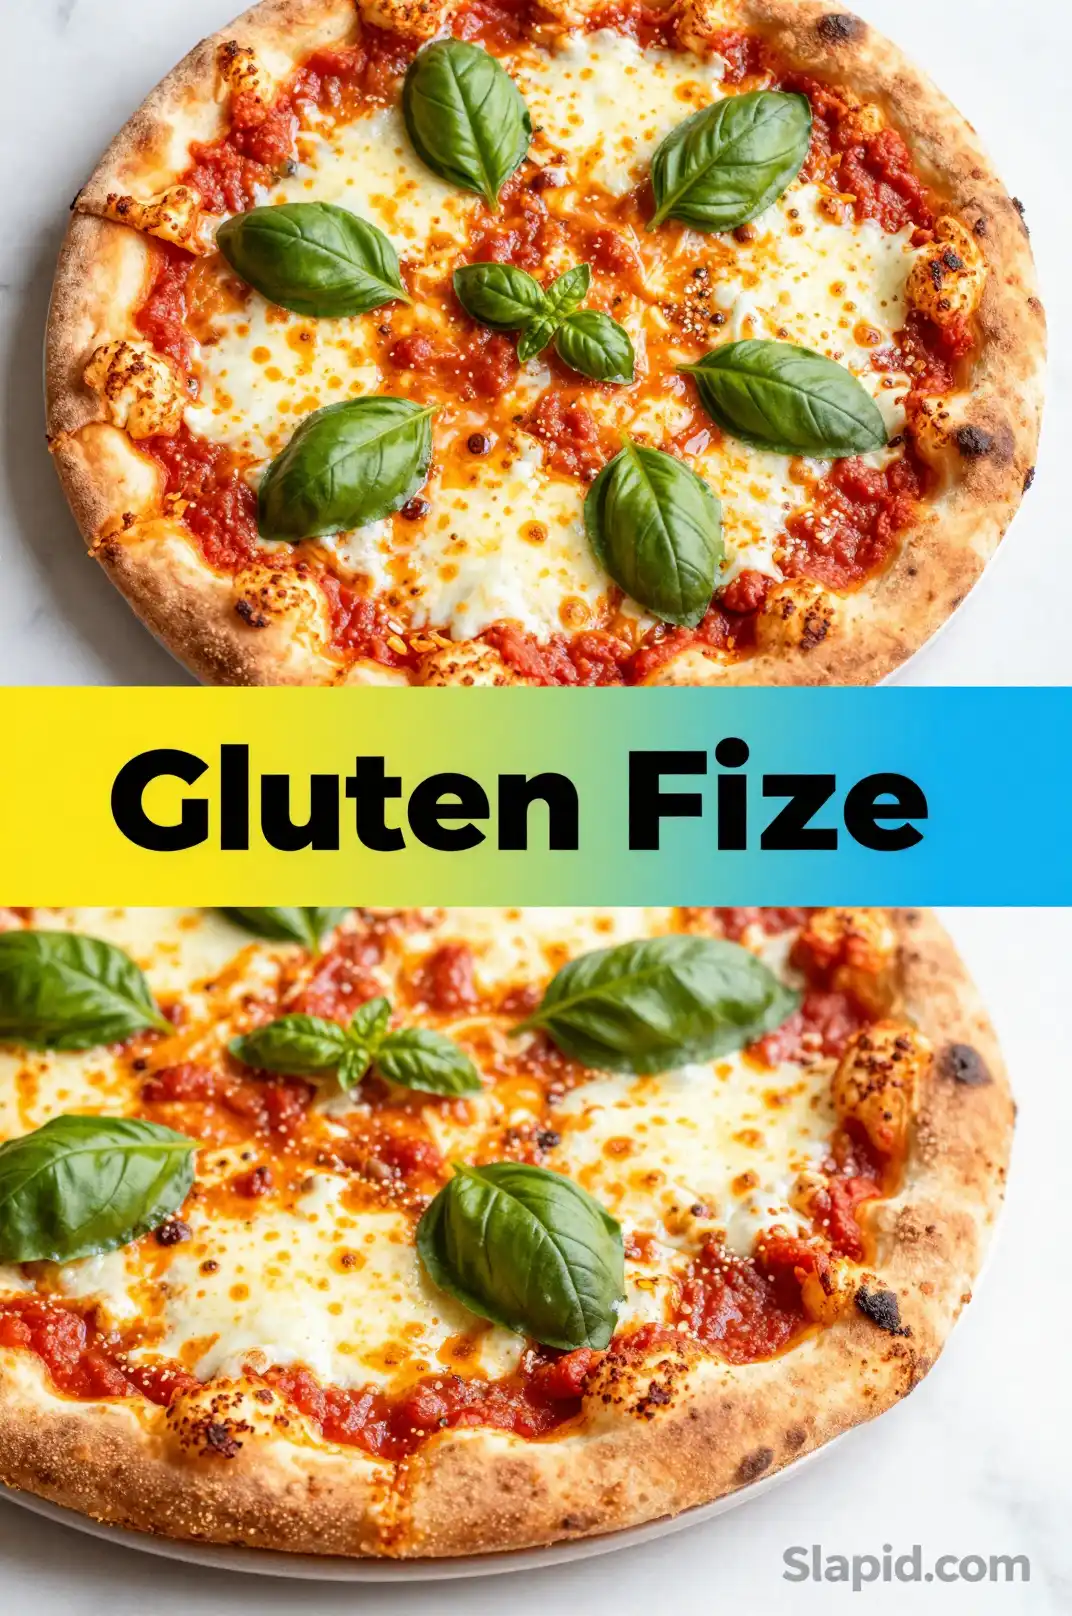
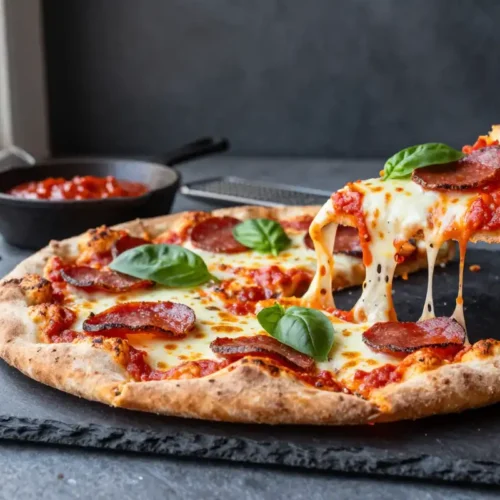
Cauliflower Crust Pizza
Creating an Easy Homemade Gluten-Free Cauliflower Crust Pizza is the ultimate solution for anyone craving pizza without the guilt or gluten. This recipe transforms a simple head of cauliflower into a surprisingly sturdy, crispy, and savory base that holds up beautifully to your favorite toppings. It’s a game-changer for low-carb enthusiasts and anyone seeking a healthier alternative to traditional dough. The beauty of this homemade version lies in its incredible flavor and texture—you won’t even miss the flour! We’ll guide you through the process to ensure a best-ever result. For more inspiration on healthy swaps, explore our collection of gluten-free main dishes. If you’re looking for visual guides, Pinterest has a wealth of creative topping ideas. This easy recipe is about to become a weekly staple in your kitchen.
Quick Facts
| Difficulty | Easy |
| Prep Time | 20 minutes |
| Cook Time | 40 minutes |
| Total Time | 60 minutes |
| Servings | 4 |
| Calories (per serving) | Approx. 150 kcal |
Why You’ll Love This Easy Homemade Gluten-Free Cauliflower Crust Pizza
- Unbelievably Crispy: We use a special technique to remove excess moisture, ensuring a crust that’s crispy on the outside and tender inside.
- Packed with Flavor: Seasoned with herbs and nutritional yeast, this crust is delicious enough to eat on its own.
- Versatile Base: It’s the perfect blank canvas for everything from classic tomato sauce to gourmet pesto or white sauce.
- Dietary-Friendly: Naturally gluten-free and low in carbs, making it suitable for various dietary lifestyles.
- Kid-Approved: A fantastic way to sneak extra vegetables into your family’s meal.
- Better Than Takeout: You control the ingredients, making it a cleaner, healthier option than delivery.
Key Ingredients & Substitutions
The magic of this Easy Homemade Gluten-Free Cauliflower Crust Pizza lies in a few simple, high-quality ingredients. The star, of course, is fresh cauliflower. You’ll want to avoid pre-riced cauliflower as it often contains stems and doesn’t yield the same fine texture. For binding, we use eggs (or a flax egg alternative for a vegan version) and a small amount of almond flour or gluten-free oat flour. The almond flour adds a subtle nutty flavor and helps with browning, while oat flour provides a heartier texture.
Recommended Product
 -15%
-15%
Silicone Baking Mat with Measurement Guide (Non-Stick Pastry & Cake Mat)
- Material →: Food-grade silicone (safe for baking)
- Surface →: Non-stick (no butter or oil needed)
- Design →: Measurement guide for perfect cake sizes
For flavor, nutritional yeast is our secret weapon for a cheesy, savory note without any dairy. You can substitute with a dairy-free cheese shreds if you prefer. We also use Italian seasoning and garlic powder to infuse the crust with classic pizza flavor. If you’re looking for more details on the nutritional profile of cauliflower, the USDA FoodData Central is an excellent resource. When it comes to toppings, the world is your oyster! For a delicious homemade sauce idea, check out our quick marinara guide. Always opt for halal-certified meats and cheeses to keep your meal compliant.
🍳 Used in this recipe
Get It on Amazon Basics✔ Free Delivery | ✔ Top Rated | ✔ Budget-FriendlyStep-by-Step Overview
First, we start by breaking down the cauliflower into florets and pulsing them in a food processor until they resemble fine sand. This is the foundation of your homemade crust. Next, the crucial step: cooking the riced cauliflower. We steam or microwave it briefly, then let it cool. This is where the magic happens—you’ll squeeze out as much liquid as physically possible using a clean kitchen towel or cheesecloth. This single action is the difference between a soggy mess and a crispy, best crust.
Once your cauliflower is bone-dry, you’ll mix it with your binding agents (eggs and flour), seasonings, and nutritional yeast. Form the mixture into a ball, then press it firmly onto a parchment-lined baking sheet. We bake the crust twice: first, to set the base and remove any lingering moisture, and second, after adding toppings, to melt everything together. This two-bake method guarantees a perfect, easy finish. For tips on achieving that perfect golden-brown color, check out this guide on the science of browning.
Expert Tips for Perfect Results
- Squeeze, Squeeze, Squeeze: The number one mistake is not removing enough water. Be aggressive when squeezing the cauliflower; you should be left with a very dry, compact pulp.
- Use Parchment Paper: Do not skip this! The crust will stick aggressively to a bare pan. Parchment is non-negotiable for easy release.
- Don’t Make it Too Thick: Aim for about 1/4 to 1/3 inch thickness. A crust that’s too thick will not crisp up properly and may fall apart.
- Par-bake is Mandatory: Never add toppings to a raw cauliflower crust. The initial bake is essential for creating a stable structure.
- Let it Cool Slightly: Before slicing, let the pizza rest for 3-5 minutes. This allows the crust to firm up further, preventing toppings from sliding off.
- Season Generously: The cauliflower itself is mild, so don’t be shy with the salt, pepper, garlic powder, and herbs in the crust mixture.
Serving Suggestions & Pairings
This versatile Easy Homemade Gluten-Free Cauliflower Crust Pizza pairs wonderfully with a variety of toppings. For a classic experience, top with a simple tomato sauce, shredded mozzarella, and fresh basil. For a gourmet twist, try caramelized onions, spinach, and feta cheese. To keep it halal, opt for grilled chicken strips, beef pepperoni, or turkey sausage.
🍳 Used in this recipe
Get It on Amazon Basics✔ Free Delivery | ✔ Top Rated | ✔ Budget-FriendlyFor a complete meal, serve slices alongside a light arugula salad dressed with lemon vinaigrette. The freshness of the salad cuts through the richness of the pizza beautifully. As for beverages, a sparkling water with a twist of lime or a chilled herbal iced tea makes a perfect non-alcoholic pairing. If you love this recipe, you might also enjoy our zucchini noodles with pesto for another low-carb meal. For a fun appetizer, try making mini versions—similar to our mini quiche bites.
Storage, Freezing & Reheating
Storing Leftovers: Allow any leftover pizza to cool completely. Store slices in an airtight container in the refrigerator for up to 3 days. Placing a piece of parchment paper between slices will prevent them from sticking together.
Freezing: This pizza freezes exceptionally well. You can freeze the baked, un-topped crust for up to 3 months. Alternatively, freeze individual slices of the finished pizza. Wrap them tightly in plastic wrap and then place in a freezer-safe bag.
🍳 Used in this recipe
Get It on Amazon Basics✔ Free Delivery | ✔ Top Rated | ✔ Budget-FriendlyReheating: For the best texture, reheat in an oven or toaster oven at 375°F (190°C) for 8-10 minutes or until hot and crispy. Avoid the microwave if possible, as it will result in a softer, soggier crust. If you must use a microwave, do so in short 30-second bursts.
Frequently Asked Questions
How do I make sure my cauliflower crust isn’t soggy?
The key to a non-soggy crust is removing as much moisture as possible from the cooked cauliflower. After cooking, let it cool just enough to handle, then wrap it in a clean kitchen towel and squeeze firmly over the sink. You’ll be surprised how much liquid comes out. This step is crucial for a crispy crust and cannot be skipped.
Can I make this crust ahead of time?
Absolutely! You can prepare the crust dough, press it onto the baking sheet, and then cover it tightly with plastic wrap. It can be refrigerated for up to 24 hours before baking. When you’re ready, just bake it according to the recipe instructions. This makes it a great option for meal prepping.
🍳 Used in this recipe
Get It on Amazon Basics✔ Free Delivery | ✔ Top Rated | ✔ Budget-FriendlyWhy did my crust fall apart?
A crumbly crust usually means one of two things: either it wasn’t squeezed dry enough, or it lacked sufficient binding agents. Ensure you’re using the full amount of eggs or flax eggs called for in the recipe. If you’ve already squeezed it dry and it’s still too wet to hold its shape, you can add a tablespoon or two of almond flour to absorb the excess moisture.
Is cauliflower pizza crust keto-friendly?
While this Easy Homemade Gluten-Free Cauliflower Crust Pizza is significantly lower in carbs than traditional flour-based crusts, it may not be strictly keto for everyone depending on the serving size and toppings. To make it more keto-compliant, ensure you use a minimal amount of almond flour and top with high-fat, low-carb ingredients like cheese, avocado, and olive oil.
Final Thoughts
This Easy Homemade Gluten-Free Cauliflower Crust Pizza recipe proves that you don’t have to sacrifice flavor or satisfaction to eat healthier. It’s a delicious, fun, and creative way to enjoy a pizza night that everyone can feel good about. We hope this guide helps you master the art of the cauliflower crust. Give it a try this week and discover your new favorite way to pizza! Let us know your favorite topping combinations in the comments below.
🍳 Used in this recipe
Get It on Amazon Basics✔ Free Delivery | ✔ Top Rated | ✔ Budget-FriendlyRecommended Product
 -33%
-33%
Astercook 15‑Piece Kitchen Knife Set with Built‑In Sharpener Block
- Built‑In Sharpener →: Integrated sharpener in block for easy maintenance
- Material →: High‑carbon German stainless steel blades (rust‑resistant, durable)
- Dishwasher Safe →: Yes (but hand washing recommended to preserve sharpness)
Easy Homemade Gluten-Free Cauliflower Crust Pizza
Ingredients
Ingredients
- 1 large head cauliflower About 4 cups of riced cauliflower
- 2 large eggs Beaten
- 1 cup mozzarella cheese Shredded, part-skim
- 1/4 cup parmesan cheese Grated
- 1 tsp dried oregano
- 1/2 tsp garlic powder
- 1/4 tsp salt
- 1/4 tsp black pepper
- 1/2 cup pizza sauce Or marinara sauce
- 1 cup toppings e.g., sliced bell peppers, mushrooms, onions
Recommended Product
 -40%
-40%
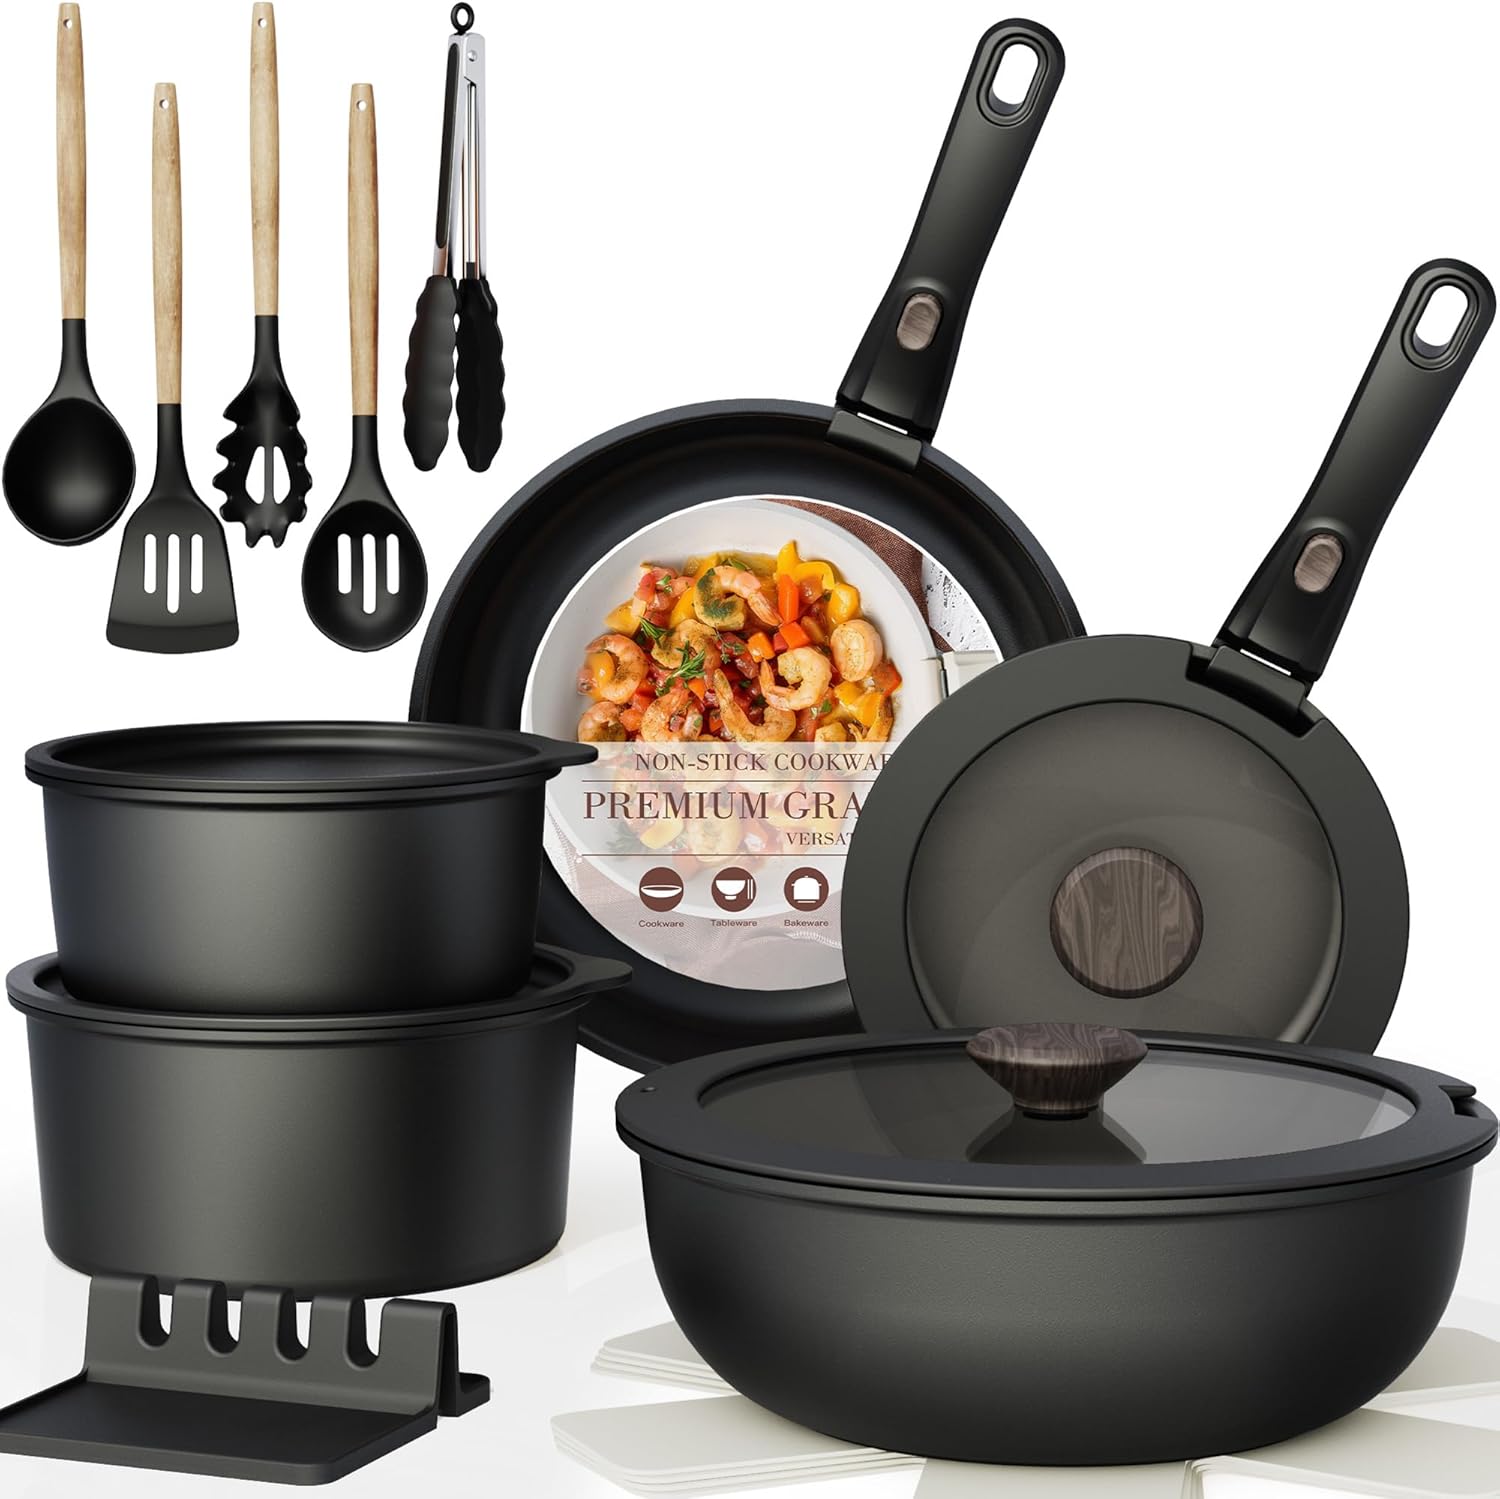
Astercook 21‑Piece Non‑Stick Cookware Set with Detachable/Removable Handles
- Pieces Included →: 21‑piece set with multiple pots, pans, and accessories
- Non‑Stick Coating →: Premium ceramic non‑stick free of harmful PFOA chemicals for healthier cooking
- Cleanup →: Easy to clean thanks to non‑stick surface and detachable handles
- Compatibility →: Works on induction, gas, electric, and ceramic stovetops; oven safe with handles removed