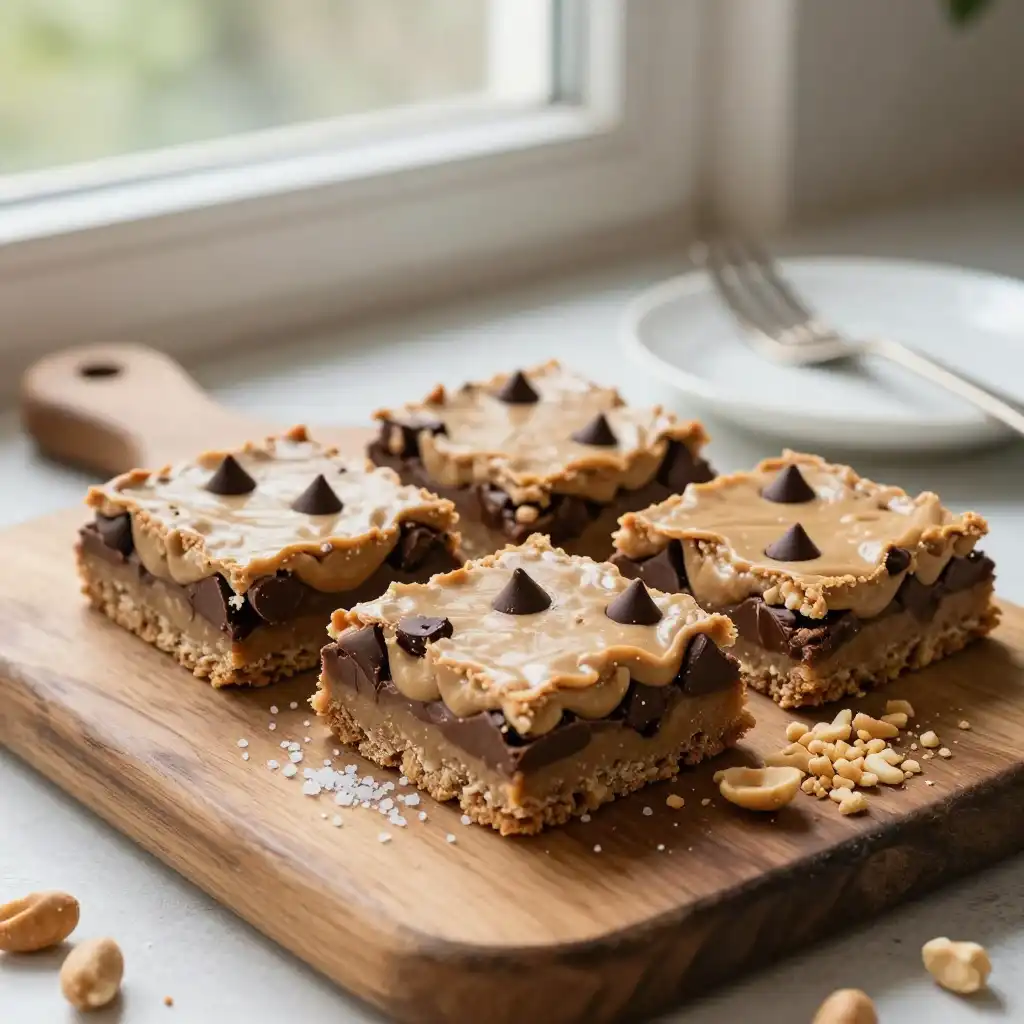
The 3 PM Emergency Snack That Saved My Sanity
It was one of those Tuesdays. The kind where your inbox looks like a hydra—cut off one urgent email, and two more appear. My stomach gave a low, pathetic rumble. I needed something. Something creamy, something sweet, something that didn’t require me to turn on the oven and heat up my already-stuffy kitchen. My eyes landed on the jar of peanut butter. A lightbulb went off. Ten minutes later, I was leaning against the counter, a square of this ridiculously simple, no-bake bar melting on my tongue. The sweet crunch of the base, the salty-sweet silk of the peanut butter, the little pockets of molten chocolate… It was pure, unadulterated joy. And just like that, my Tuesday felt a whole lot brighter.
Why These Bars Are Your New Best Friend
Let’s be real. Baking is a commitment. It requires preheating, measuring, and the constant fear of burning things. This recipe? It’s a rebellion against all that. It’s for the person who believes dessert should be accessible, not aspirational. You’re essentially making a giant, edible cookie dough that sets in the fridge. No oven required means no waiting for it to cool down, no hot kitchen, and absolutely zero risk of a sunken cake. It’s the culinary equivalent of putting on your favorite sweatpants—immediately comforting, effortlessly cool, and universally loved.
Recommended Product
 -40%
-40%
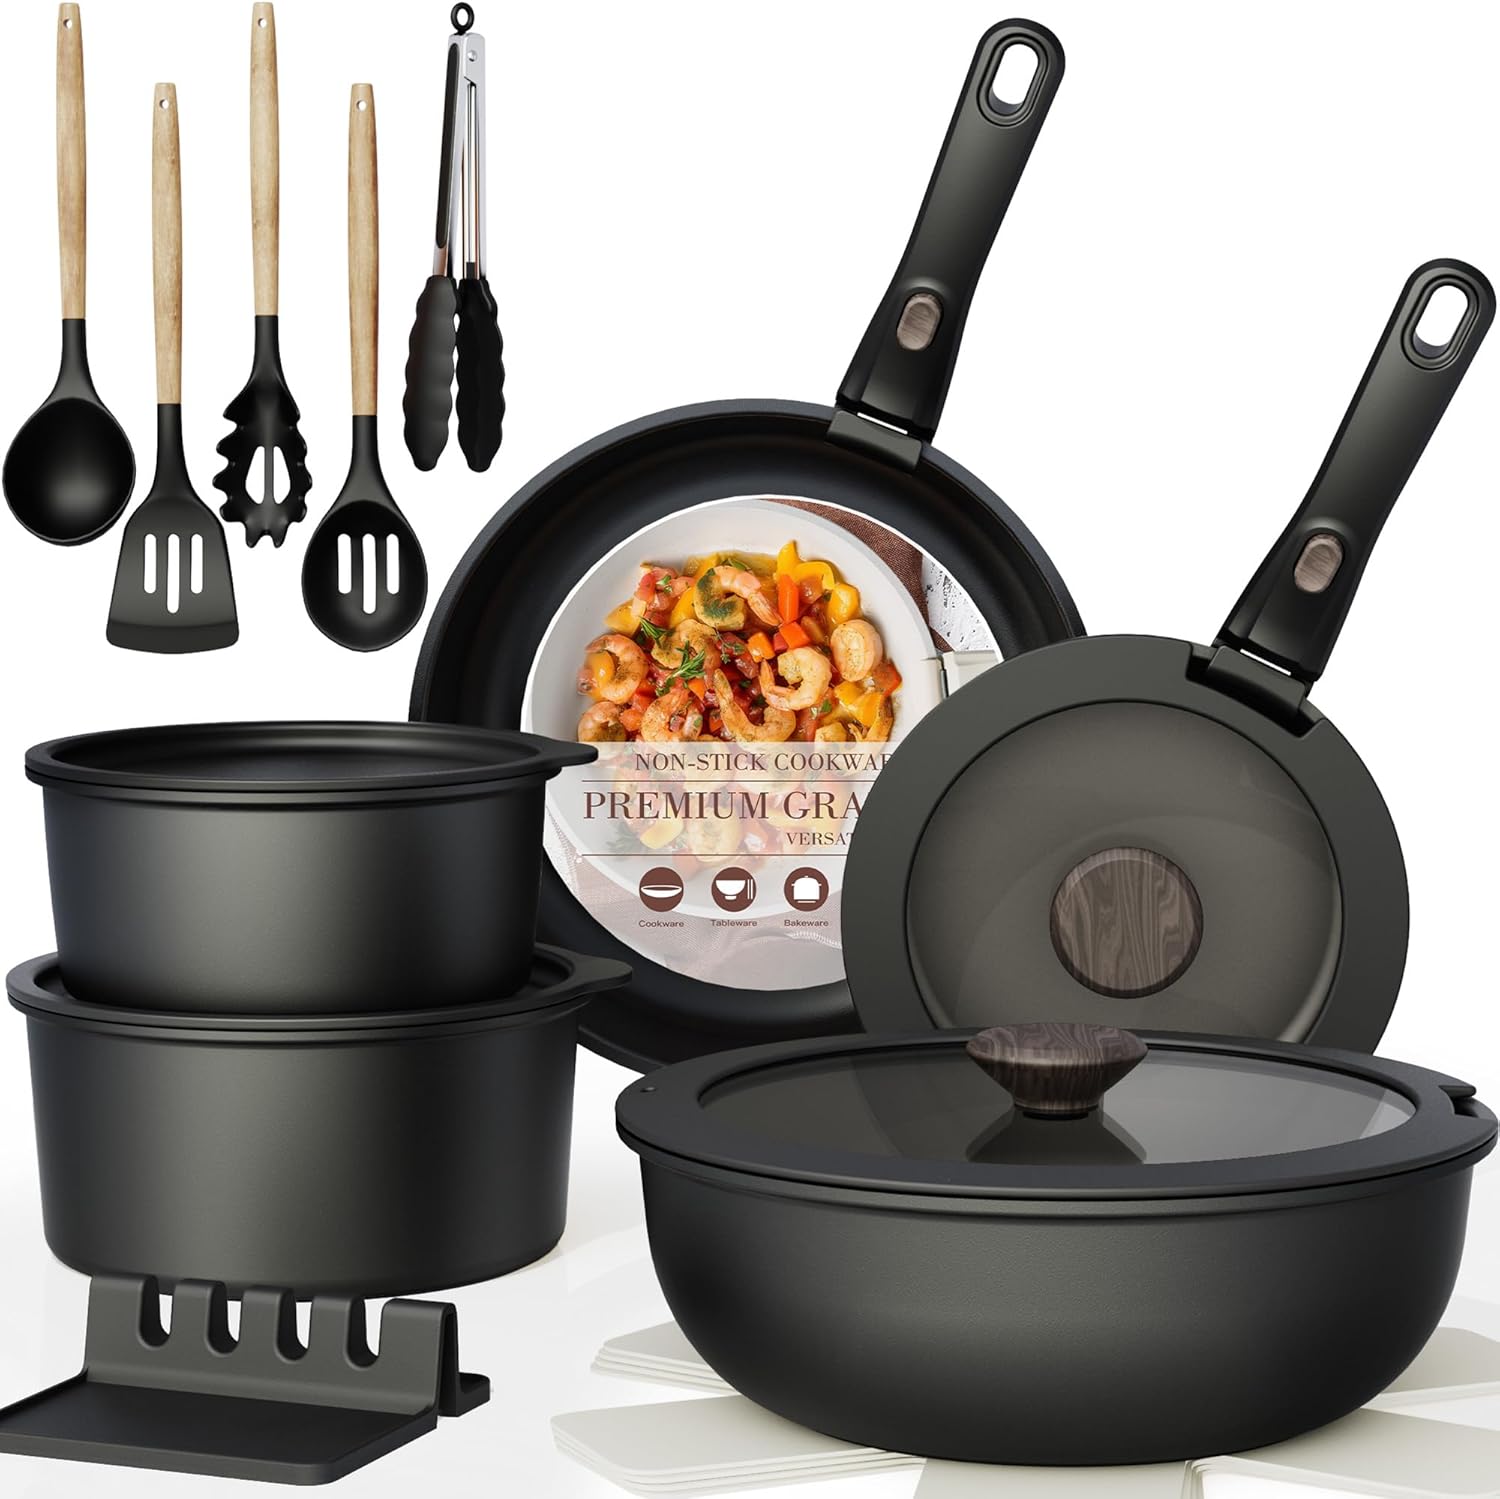
Astercook 21‑Piece Non‑Stick Cookware Set with Detachable/Removable Handles
- Pieces Included →: 21‑piece set with multiple pots, pans, and accessories
- Non‑Stick Coating →: Premium ceramic non‑stick free of harmful PFOA chemicals for healthier cooking
- Cleanup →: Easy to clean thanks to non‑stick surface and detachable handles
- Compatibility →: Works on induction, gas, electric, and ceramic stovetops; oven safe with handles removed
And the texture? Oh, the texture. The base is a satisfying, firm crunch from the cereal and oats, giving way to a luscious, creamy peanut butter filling that holds its shape perfectly. The chocolate chips provide little bursts of sweet, decadent surprise. It’s a symphony of sensations in every single bite. Plus, it scales up beautifully for a crowd, making it the ultimate party pleaser or potluck superstar. If you’re a fan of that classic peanut butter-chocolate combo, this is its purest, most convenient form.
🍳 Used in this recipe
Get It on Amazon Basics✔ Free Delivery | ✔ Top Rated | ✔ Budget-FriendlyThe Secret Life of Peanut Butter: More Than Just a Spread
We need to talk about the star of the show. Peanut butter isn’t just a ingredient here; it’s the glue, the flavor, and the soul of these bars. But not all jars are created equal. The science of a perfect no-bake bar hinges on the type you use. Natural peanut butter, with its oil floating on top, can make your bars too soft and prone to separation. You want a good, commercial-style creamy peanut butter. It’s been emulsified to perfection, meaning it’s stable and will give you that dreamy, set texture every single time. Think of it as the reliable friend who always shows up on time.
Furthermore, peanut butter is a master of disguise. Its deep, roasted, slightly salty notes are the perfect counterpoint to the sweetness of the chocolate chips and the subtle honey or maple syrup in the base. It creates a balanced flavor profile that feels indulgent but not cloying. It’s the reason these bars appeal to kids and adults alike. It’s a taste that bridges generations and satisfies a primal craving for fat, salt, and sweet all at once. This is the kind of simple brilliance that makes you wonder why you ever bothered with complicated desserts.
How NOT to Mess This Up (A Friendly Guide)
Even the simplest recipes have their pitfalls. Let’s navigate the common missteps so your bars are flawless on the first try. The biggest culprit? Rushing the chill time. I know, I know. The anticipation is killer. But if you try to cut them before they’re fully set, you’ll have a gooey, delicious mess on your hands. Patience, my friend, is a virtue here. Give them at least two hours in the fridge. Overnight is even better. The payoff for that wait is a clean, sharp cut and the perfect slice-able bar.
🍳 Used in this recipe
Get It on Amazon Basics✔ Free Delivery | ✔ Top Rated | ✔ Budget-FriendlyAnother sneaky mistake is over-melting your chocolate chips. When you stir them into the peanut butter mixture, the residual warmth from the melted butter and syrup is enough to soften them. You don’t need to melt them separately! If you do, they’ll become a singular, sticky mass instead of distinct, melty pockets. Just fold them in gently. Finally, press that base down firmly! This isn’t a crumbly crust; it’s a solid foundation. Use the bottom of a measuring cup or a glass to compact it evenly. A well-pressed base ensures your bar holds together and provides that essential satisfying crunch.
Setting the Scene: Your Perfect Bar Moment
These bars are the ultimate mood-lifters. Picture this: It’s raining outside, a cozy blanket is on your lap, and you have a plate with one of these bars and a cold glass of milk. That’s a perfect moment. They’re the ideal companion for a solo movie night, a book club meeting, or a lazy Sunday morning with a strong coffee. There’s no occasion too big or too small for these beauties.
But they also shine at social gatherings. Pack them up for a picnic, serve them as an after-dinner treat at a dinner party, or bring them to the office for a team pick-me-up. They travel beautifully, require no refrigeration for a few hours, and are universally adored. They’re the dessert that says, “I put in just enough effort to be impressive, but not so much that I missed out on the fun.” It’s a dessert that connects people, sparking conversations about favorite snacks and childhood memories.
🍳 Used in this recipe
Get It on Amazon Basics✔ Free Delivery | ✔ Top Rated | ✔ Budget-Friendly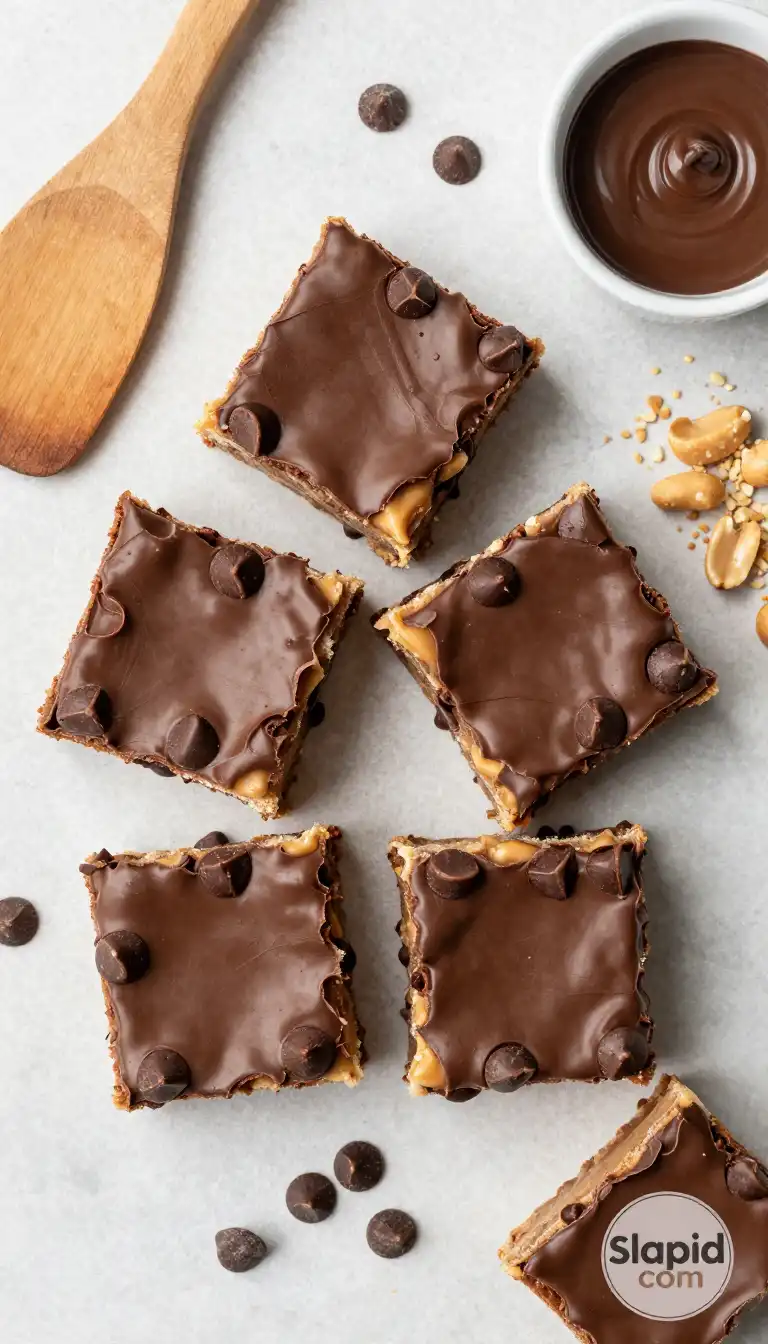
Leftovers? Here’s the Plan
Okay, let’s talk storage. First, you need to know the answer to how to freeze Easy No-Bake Peanut Butter Chocolate Chip Bars because you’ll want to. Once your bars are fully set and cut, wrap each individual bar tightly in plastic wrap. Then, place them in a freezer-safe bag or container. They’ll keep beautifully for up to 3 months. The texture is a delightful revelation straight from the freezer—a bit firmer, like a frozen candy bar. Just let them sit at room temperature for 5-10 minutes to soften slightly before diving in.
For the fridge, simply keep them in an airtight container. They’ll stay fresh and delicious for up to a week. The layers might soften slightly over time, but the flavor remains top-notch. Pro tip: if you want to keep the base extra crunchy, store them in a single layer. Stacking can lead to a bit of moisture transfer. Honestly, the biggest challenge with leftovers is making them last more than a day!
Your Burning Questions, Answered
What’s the deal with the calories? Let’s talk numbers.
Everyone wants to know the calories in Easy No-Bake Peanut Butter Chocolate Chip Bars, and I get it! Since this is a homemade treat, it can vary based on your specific brands and how big you cut them. On average, a decent-sized bar (cut from an 8×8 pan into 16 pieces) will land somewhere between 200-250 calories. The peanut butter and chocolate chips are the main sources. But remember, this is about joy and satisfaction, not just numbers. A single bar is a perfectly reasonable treat to curb a sweet craving without derailing your day.
🍳 Used in this recipe
Get It on Amazon Basics✔ Free Delivery | ✔ Top Rated | ✔ Budget-FriendlyRecommended Product
 -33%
-33%
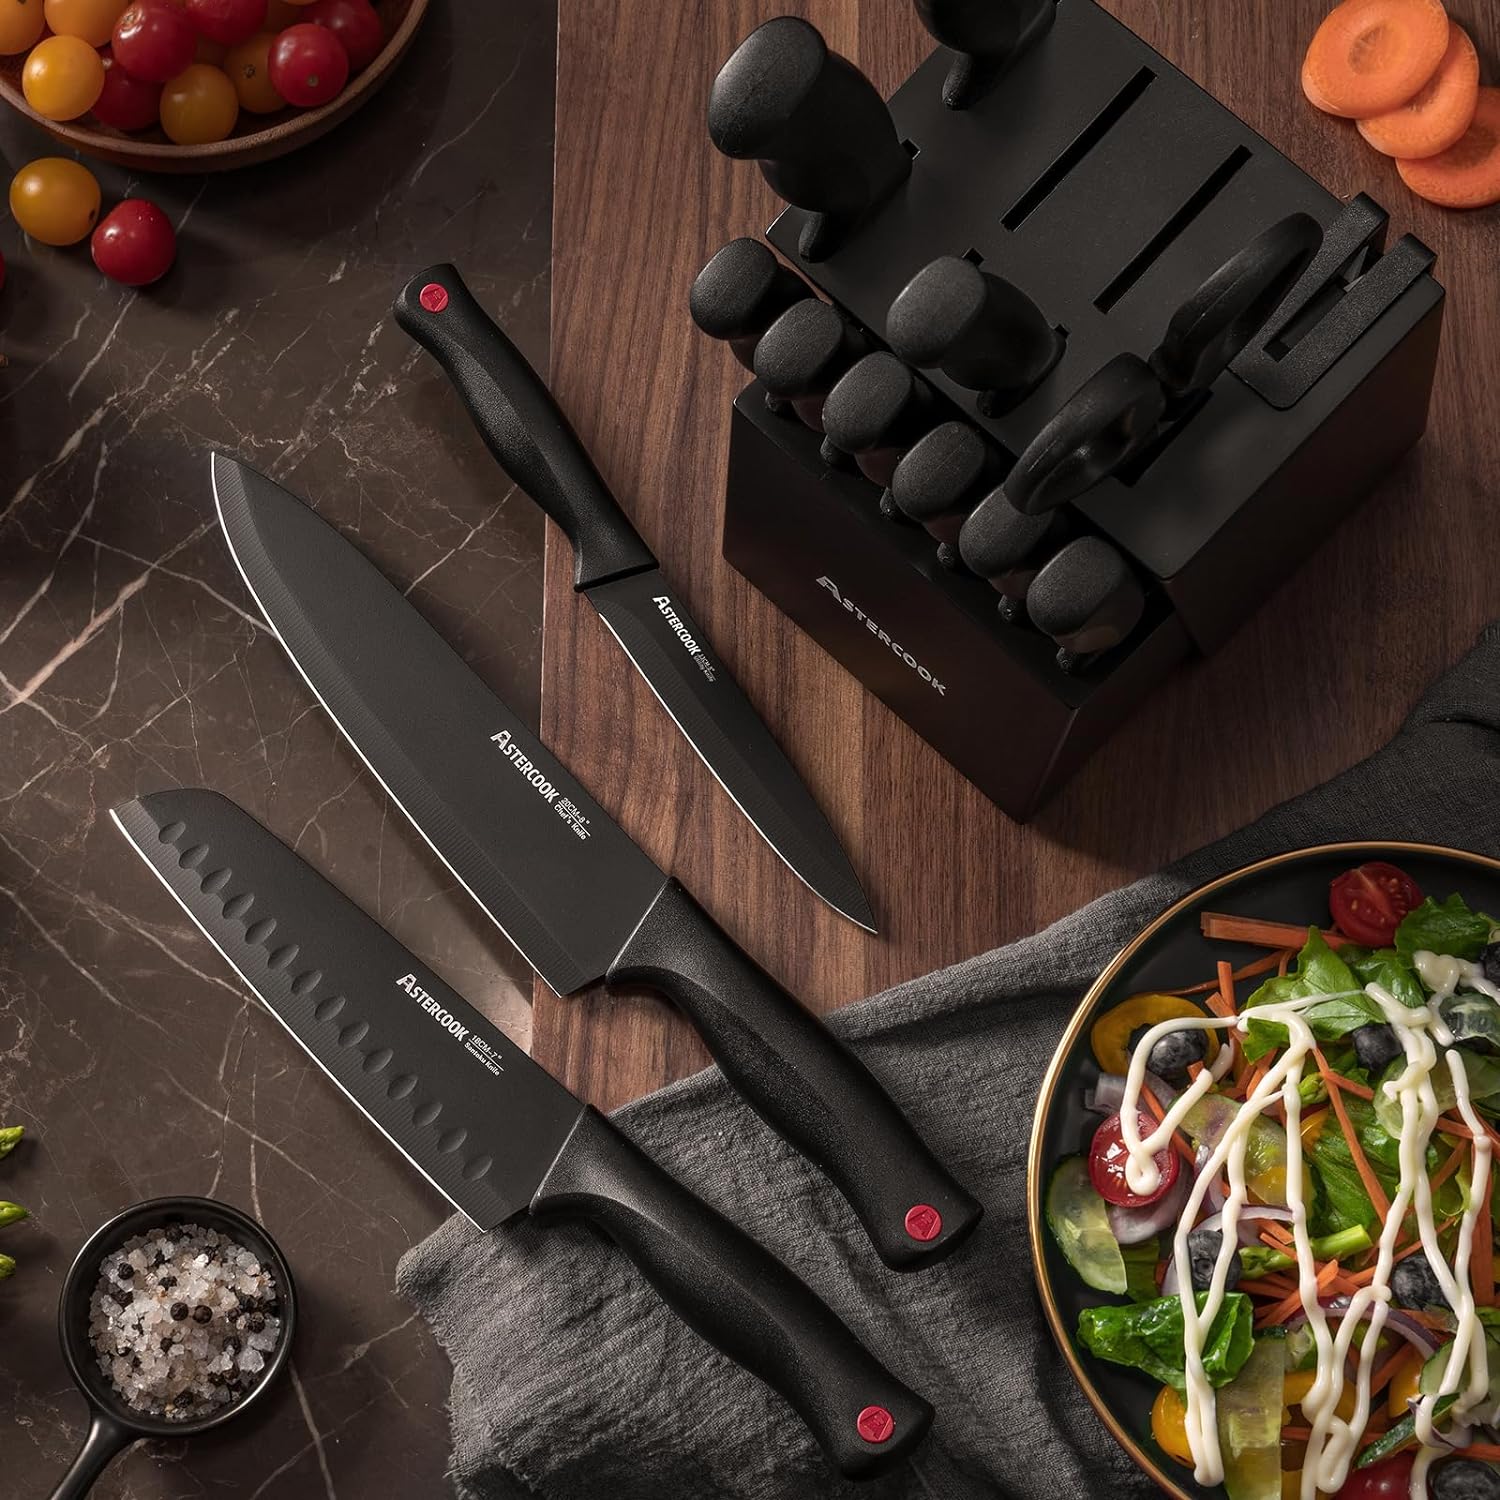
Astercook 15‑Piece Kitchen Knife Set with Built‑In Sharpener Block
- Built‑In Sharpener →: Integrated sharpener in block for easy maintenance
- Material →: High‑carbon German stainless steel blades (rust‑resistant, durable)
- Dishwasher Safe →: Yes (but hand washing recommended to preserve sharpness)
Can I use a different nut or seed butter?
Absolutely! If you or someone you love can’t do peanut butter, almond butter or sunflower seed butter are fantastic substitutes. Sunflower seed butter will give you a similar texture and a slightly different, nutty flavor. The key is to use a creamy, no-stir variety for the best results. The flavor will shift, but the incredible ease and deliciousness remain.
My bars are too soft. What happened?
Two likely suspects. First, you might have used natural peanut butter (the kind with oil on top). As mentioned, that oil can make the mixture too loose. Second, you probably didn’t chill them long enough. This recipe relies on the firming power of chilled butter and the slow setting of the chocolate chips. Give it more time! If you’re in a pinch, the freezer can speed things up, but the fridge is best for texture.
Can I add other mix-ins?
Oh, yes! This recipe is a fantastic canvas. Feel free to stir in chopped nuts (like walnuts or pecans), dried fruit (cranberries or raisins), or even a sprinkle of flaky sea salt on top before chilling. Just keep the volume of add-ins to about a 1/2 cup so you don’t compromise the structure. Get creative and make them your own!
🍳 Used in this recipe
Get It on Amazon Basics✔ Free Delivery | ✔ Top Rated | ✔ Budget-FriendlyRecommended Product
 -11%
-11%
8‑Piece Deep Glass Baking Dish Set with Plastic Lids (Rectangular Bakeware)
- Material: Oven, freezer & microwave safe borosilicate glass (goes from fridge/oven without cracking)
- Pieces →: 4 rectangular dishes + 4 tight‑fitting plastic lids (stackable)
- Easy Care →: Dishwasher safe glass & lids
Do I need to use honey? Can I use something else?
Honey works wonderfully as a sticky binder. However, you can substitute it with pure maple syrup or even agave nectar in a 1:1 ratio. If you’re using a liquid sweetener, your mixture might be a touch softer, so you might consider adding an extra tablespoon of oats or cereal to the base to compensate. The flavor will be slightly different but still delicious.
So, what are you waiting for? Your pantry is likely already stocked with everything you need. It’s time to create your own little moment of edible joy. Whip up a batch of these Easy No-Bake Peanut Butter Chocolate Chip Bars and see for yourself why they’re about to become your most requested recipe.
Ready for more easy, no-fuss dessert ideas? Check out this recipe for Easy No-Bake Peanut Butter Chocolate Chip Bars on our site!
🍳 Used in this recipe
Get It on Amazon Basics✔ Free Delivery | ✔ Top Rated | ✔ Budget-FriendlyAnd for endless inspiration on snacks and treats, I always love browsing what’s trending on Pinterest. Happy no-baking!

Easy No-Bake Peanut Butter Chocolate Chip Bars
Ingredients
Ingredients
- 2 cups graham cracker crumbs finely crushed
- 1/2 cup unsalted butter melted
- 1/4 cup granulated sugar
- 1 cup creamy peanut butter room temperature
- 1 cup powdered sugar sifted
- 1/2 cup semi-sweet chocolate chips plus extra for topping
- 1 tsp vanilla extract
Notes
Make-Ahead: These bars are excellent for making ahead. Prepare them up to 2 days in advance and store covered in the fridge until ready to serve.
Substitutions: For a gluten-free version, use gluten-free graham crackers. You can also substitute almond butter or sunflower seed butter for the peanut butter if needed.
Serving Suggestions: Serve chilled for a firm, fudge-like texture. They are perfect for dessert, after-school snacks, or as a party treat.