That First Crunch is a Symphony
The sound is everything. It starts as a whisper, a gentle crackle as the knife meets the crust, and then it crescendos into a full-blown symphony of shattering, crispy shards. That’s the moment you know you’ve done it. You, in your own kitchen, have baked a masterpiece that would make a Parisian boulangerie weep with envy. This isn’t just bread; it’s an experience. The aroma that fills your home—a warm, toasty, deeply comforting scent—is your reward for the simplest of culinary efforts. It’s the smell of patience and magic, and the best part? You barely had to lift a finger.
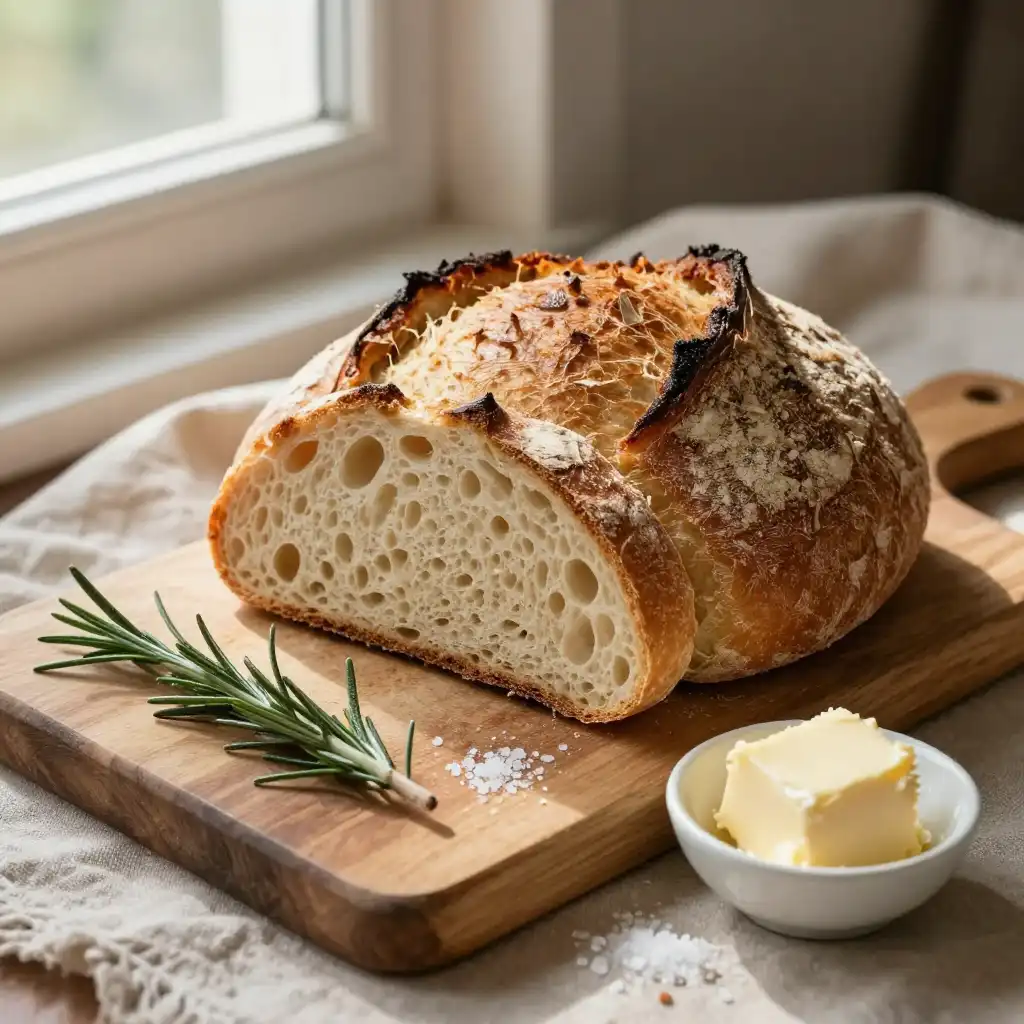
Forget everything you think you know about bread baking. This isn’t about complicated techniques, finicky yeast starters, or spending hours kneading dough until your arms ache. This is about letting time do all the heavy lifting for you. The result is a loaf with a deeply caramelized, shatteringly crisp crust that gives way to a soft, chewy, open crumb filled with irregular holes—the kind you see in fancy bakeries and immediately assume are impossible to recreate at home. Spoiler alert: they’re not. This recipe is your golden ticket to artisan bread glory, and it’s waiting for you right in your pantry.
Recommended Product

What Your Pantry is Whispering For
The beauty of this loaf lies in its glorious simplicity. We’re talking four humble ingredients that, when left to their own devices, transform into something utterly spectacular. There’s no need for a long, intimidating shopping list. This is about the magic of flour, water, salt, and time.
🍳 Used in this recipe
Get It on Amazon Basics✔ Free Delivery | ✔ Top Rated | ✔ Budget-FriendlyFirst, you’ll need a good quality all-purpose flour. This is the backbone of our operation, the canvas for the flavor that’s about to unfold. Then comes the star of the show: yeast. We use instant yeast here because it’s a no-fuss, no-muss hero that gets straight to work without any drama. It’s the quiet engine that will power our rise. A generous pinch of sea salt is non-negotiable. It doesn’t just add flavor; it controls the yeast’s enthusiasm and strengthens the gluten structure. And finally, water. Not just any water, but water that’s a touch warmer than room temperature, coaxing the yeast into a gentle, bubbly awakening. That’s it. Four simple soldiers ready for battle.
The Secret Weapon: The Dutch Oven’s Steamy Embrace
Why the Dutch oven? What is it about this heavy, cast-iron pot that turns simple dough into a crusty, professional-looking loaf? The answer lies in one word: steam. In a professional bakery, loaves are baked in an environment infused with steam. This moisture does two critical things: it keeps the crust soft and pliable in the initial, high-heat phase of baking, allowing the dough to expand to its maximum potential (this is called “oven spring”). Then, as the steam dissipates, the dry heat takes over, creating that gorgeous, blistered, and deeply colored crust we all crave.
Your Dutch oven, with its tight-fitting lid, essentially creates a miniature steamy ecosystem. When you place the cold pot into a screaming-hot oven and then add your dough, the moisture from the dough itself gets trapped, creating the perfect steamy environment. It’s a simple, foolproof hack that delivers bakery-level results every single time. No fancy equipment, no steam-injection ovens, just a single pot and a little bit of kitchen science. For more visual inspiration on this technique, you can always check out this Pinterest board on no-knead bread.
🍳 Used in this recipe
Get It on Amazon Basics✔ Free Delivery | ✔ Top Rated | ✔ Budget-Friendly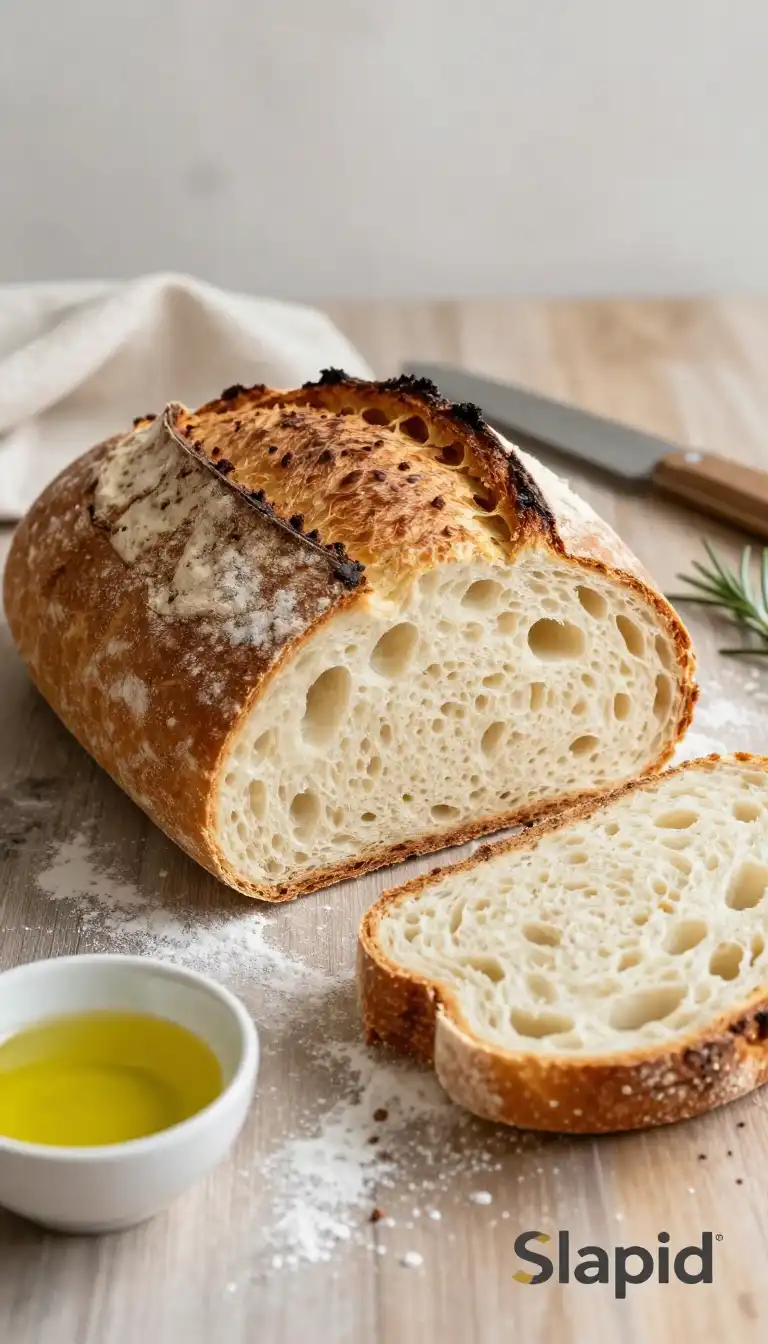
Let’s Get Cooking: The Step-by-Step
Ready to dive in? This is where the magic happens, and it all starts with a big bowl and a wooden spoon. There’s no kneading here, I promise.
First, whisk together your flour, instant yeast, and salt in a large bowl. Make sure they’re evenly distributed—this ensures every bite is perfectly seasoned. Next, pour in your warm water. Grab a spatula or a wooden spoon and mix everything together until you no longer see any dry patches of flour. The dough will be shaggy, sticky, and not at all like the smooth, elastic dough you might be used to. Don’t panic! This is exactly what we want. Cover the bowl with plastic wrap or a damp kitchen towel and let it sit on your counter for anywhere from 12 to 18 hours. Overnight is perfect. You’ll wake up to a dough that has more than doubled in size, is bubbly, and smells faintly tangy and yeasty. That long, slow fermentation is where all the complex flavor develops.
After its long nap, the dough is ready. Heavily flour a clean surface and gently scrape the dough out of the bowl. It will be loose and sticky. With floured hands, gently fold the dough over on itself a few times—just four or five folds is enough. Then, shape it into a rough ball. Place the dough on a piece of parchment paper and let it rest for 30 minutes. While it’s resting, place your Dutch oven (with its lid on) into your oven and preheat everything to 450°F (230°C). This step is crucial: you want your pot screaming hot.
🍳 Used in this recipe
Get It on Amazon Basics✔ Free Delivery | ✔ Top Rated | ✔ Budget-FriendlyOnce the dough has rested and the oven is preheated, carefully remove the hot Dutch oven. Lift the parchment paper with the dough on it and lower it directly into the pot. Put the lid back on and slide it into the oven. Bake for 30 minutes with the lid on. This is the steamy phase. Then, remove the lid (be careful, it’s hot!) and continue baking for another 15-20 minutes, until the crust is a deep, glorious golden-brown. Lift the entire loaf out using the parchment paper and let it cool on a wire rack for at least an hour. I know, the wait is torture, but slicing into hot bread will give you a gummy texture. Patience, my friend, will be rewarded.
For the full, printable version of this recipe, you can head over to our main recipe page at slapid.com. It’s the perfect resource to keep handy in your kitchen!
Pitfalls to Dodge on Your Path to Bread Glory
Even the simplest recipes have their quirks. Here are a few common missteps to avoid so your first loaf (and every loaf after) is a resounding success.
🍳 Used in this recipe
Get It on Amazon Basics✔ Free Delivery | ✔ Top Rated | ✔ Budget-FriendlyThe “I Forgot It” Rise: That 12-18 hour rise is flexible. If you push it to 24 hours, your dough might over-proof. It will be very slack and might not hold its shape well. If you only let it go for 8 hours, you might not have enough flavor development. Aim for that sweet spot where the dough is bubbly and has clearly doubled.
The “Hot Hands” Handling: When you turn the dough out onto your floured surface, be gentle. We want to preserve those beautiful bubbles that have formed during the long rise. Think of it as a delicate cloud you’re coaxing into a ball, not a tough piece of dough you’re wrestling into submission.
The “Cold Pot” Catastrophe: I can’t stress this enough: your Dutch oven needs to be scorching hot when the dough goes in. Placing room-temperature dough into a cold pot and then into the oven will not give you the explosive oven spring you’re looking for. It’s the thermal shock that kick-starts the final, glorious rise.
🍳 Used in this recipe
Get It on Amazon Basics✔ Free Delivery | ✔ Top Rated | ✔ Budget-FriendlyRecommended Product

Amazon Basics Silicone Baking Mat (2-Pack Non-Stick Oven Liners)
- Material →: Food-safe silicone, reusable thousands of times
- Non-Stick →: No butter, oil, or parchment needed
Serving Vibes: Set the Scene
This bread is a chameleon. It fits into any moment, elevating the ordinary into something special. Picture this: a rainy Sunday afternoon, the house smelling of baking bread, a pot of hearty soup simmering on the stove. This loaf is the perfect companion, ready to be torn apart and slathered with creamy butter, ready to soak up every last drop of goodness. It’s a cozy night in, a simple pleasure that feels like a warm hug.
But it’s also a showstopper. Bring this to a potluck or a dinner party, and watch as it becomes the centerpiece of the table. People will gather around, breaking off pieces, marveling at the crust, and asking for your secret. Serve it alongside a vibrant salad, a platter of roasted vegetables, or simply with a high-quality olive oil for dipping. It’s rustic enough for a casual gathering but elegant enough to impress. It’s the bread that says, “I care, but I also know how to work smart.”
Crumb-Savvy Questions & Answers
Even with a recipe this straightforward, questions can pop up. Here are the answers to the most common queries about your new favorite loaf.
🍳 Used in this recipe
Get It on Amazon Basics✔ Free Delivery | ✔ Top Rated | ✔ Budget-FriendlyHow do I store my Easy No-Knead Artisan Dutch Oven Bread?
The crust is your best preservation tool. For 1-2 days, store the cooled loaf cut-side down on a wooden cutting board or in a paper bag. This keeps the crust crisp while the interior stays soft. Avoid plastic bags at all costs—they will turn your magnificent crust into a sad, chewy mess.
Can I freeze this bread?
Absolutely! This is one of the best things about this recipe. To freeze it, let the loaf cool completely. You can freeze it whole or slice it first. For a whole loaf, wrap it tightly in plastic wrap and then in a layer of aluminum foil. For slices, separate them with parchment paper and place them in a freezer-safe bag. It will keep beautifully for up to 3 months. To thaw, let it sit at room temperature. You can refresh a whole loaf in a 350°F oven for 10-15 minutes to bring back that fresh-baked magic.
What are the calories in Easy No-Knead Artisan Dutch Oven Bread?
A question of practicality! While it varies slightly based on your exact ingredients, a typical slice of this homemade artisan bread (assuming one loaf yields about 12 slices) is roughly 150-180 calories. The real magic, however, is knowing exactly what’s going into it—no preservatives, no mystery additives, just pure, simple, wholesome ingredients.
🍳 Used in this recipe
Get It on Amazon Basics✔ Free Delivery | ✔ Top Rated | ✔ Budget-FriendlyMy dough seems too wet and sticky. Did I do something wrong?
Not at all! This dough is meant to be very wet and shaggy. Resist the urge to add more flour during the initial mixing phase. That high hydration is what creates the beautiful open crumb. When you turn it out to shape it, use plenty of flour on your surface and on your hands to manage it. It will come together.
Recommended Product
 -11%
-11%
8‑Piece Deep Glass Baking Dish Set with Plastic Lids (Rectangular Bakeware)
- Material: Oven, freezer & microwave safe borosilicate glass (goes from fridge/oven without cracking)
- Pieces →: 4 rectangular dishes + 4 tight‑fitting plastic lids (stackable)
- Easy Care →: Dishwasher safe glass & lids
Can I use whole wheat flour?
You can, but it will change the texture. For a beginner, I recommend sticking to all-purpose flour. If you want to experiment, try substituting only half of the all-purpose flour with whole wheat flour to start. Whole wheat flour absorbs more water and can result in a denser loaf, so you may need to adjust the water slightly.

Easy No-Knead Artisan Dutch Oven Bread
Ingredients
Ingredients
- 3 cups all-purpose flour plus extra for dusting
- 1 1/2 tsp kosher salt
- 1/2 tsp instant yeast
- 1 1/2 cups warm water about 105-110°F