Imagine a world where the laws of physics bend to your sugar-induced whims. A world where you don’t have to choose between a warm, velvety chocolate sponge and a brain-freezing, creamy scoop of vanilla bliss.
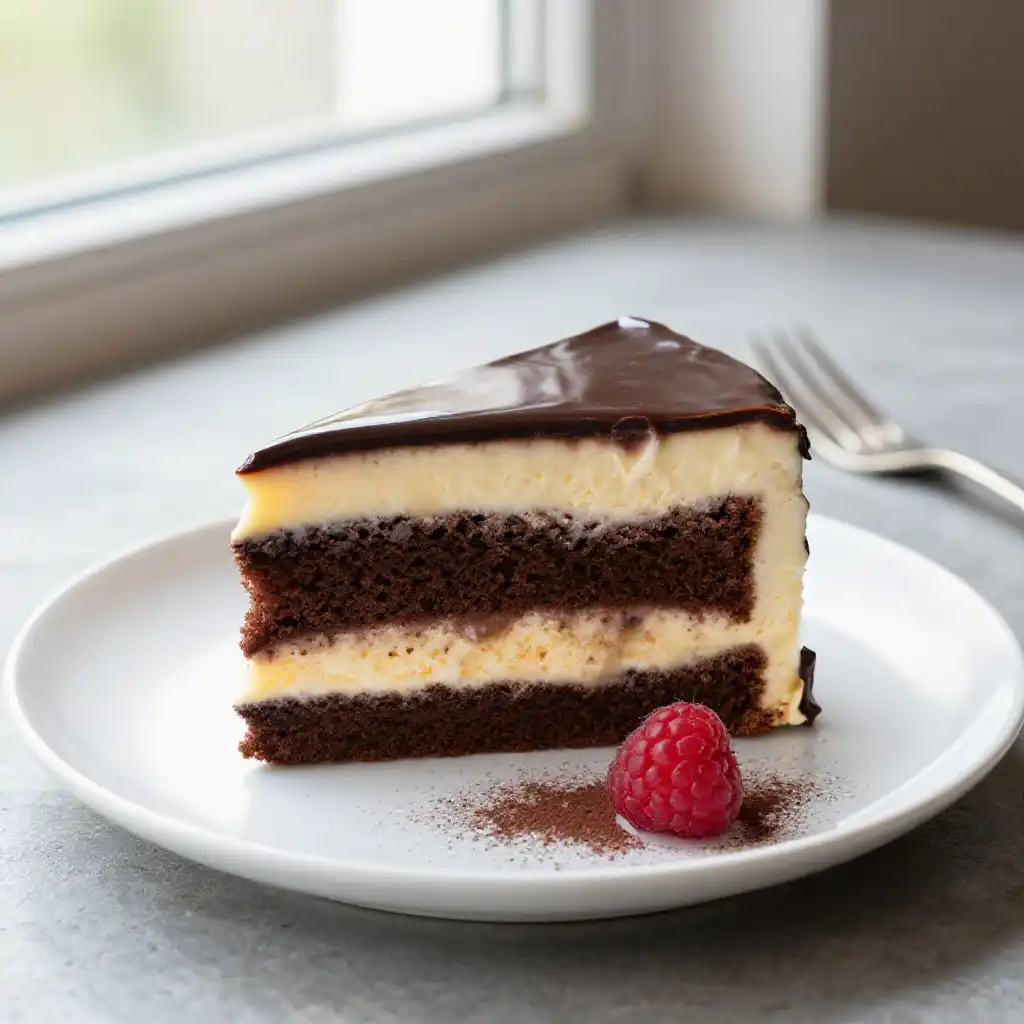
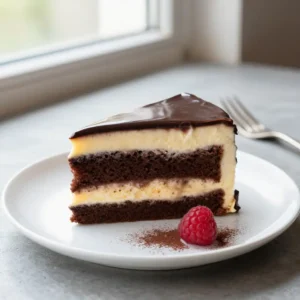
You’re standing in your kitchen. The air is thick with the scent of roasted cocoa and sweet cream. You take a fork and press it through a thick layer of dark chocolate ganache, sinking into a cloud of vanilla bean ice cream, and finally landing on a moist, fudgy cake base.
Recommended Product
 -15%
-15%
Silicone Baking Mat with Measurement Guide (Non-Stick Pastry & Cake Mat)
- Material →: Food-grade silicone (safe for baking)
- Surface →: Non-stick (no butter or oil needed)
- Design →: Measurement guide for perfect cake sizes
It’s cold. It’s warm. It’s crunchy. It’s soft.
🍳 Used in this recipe
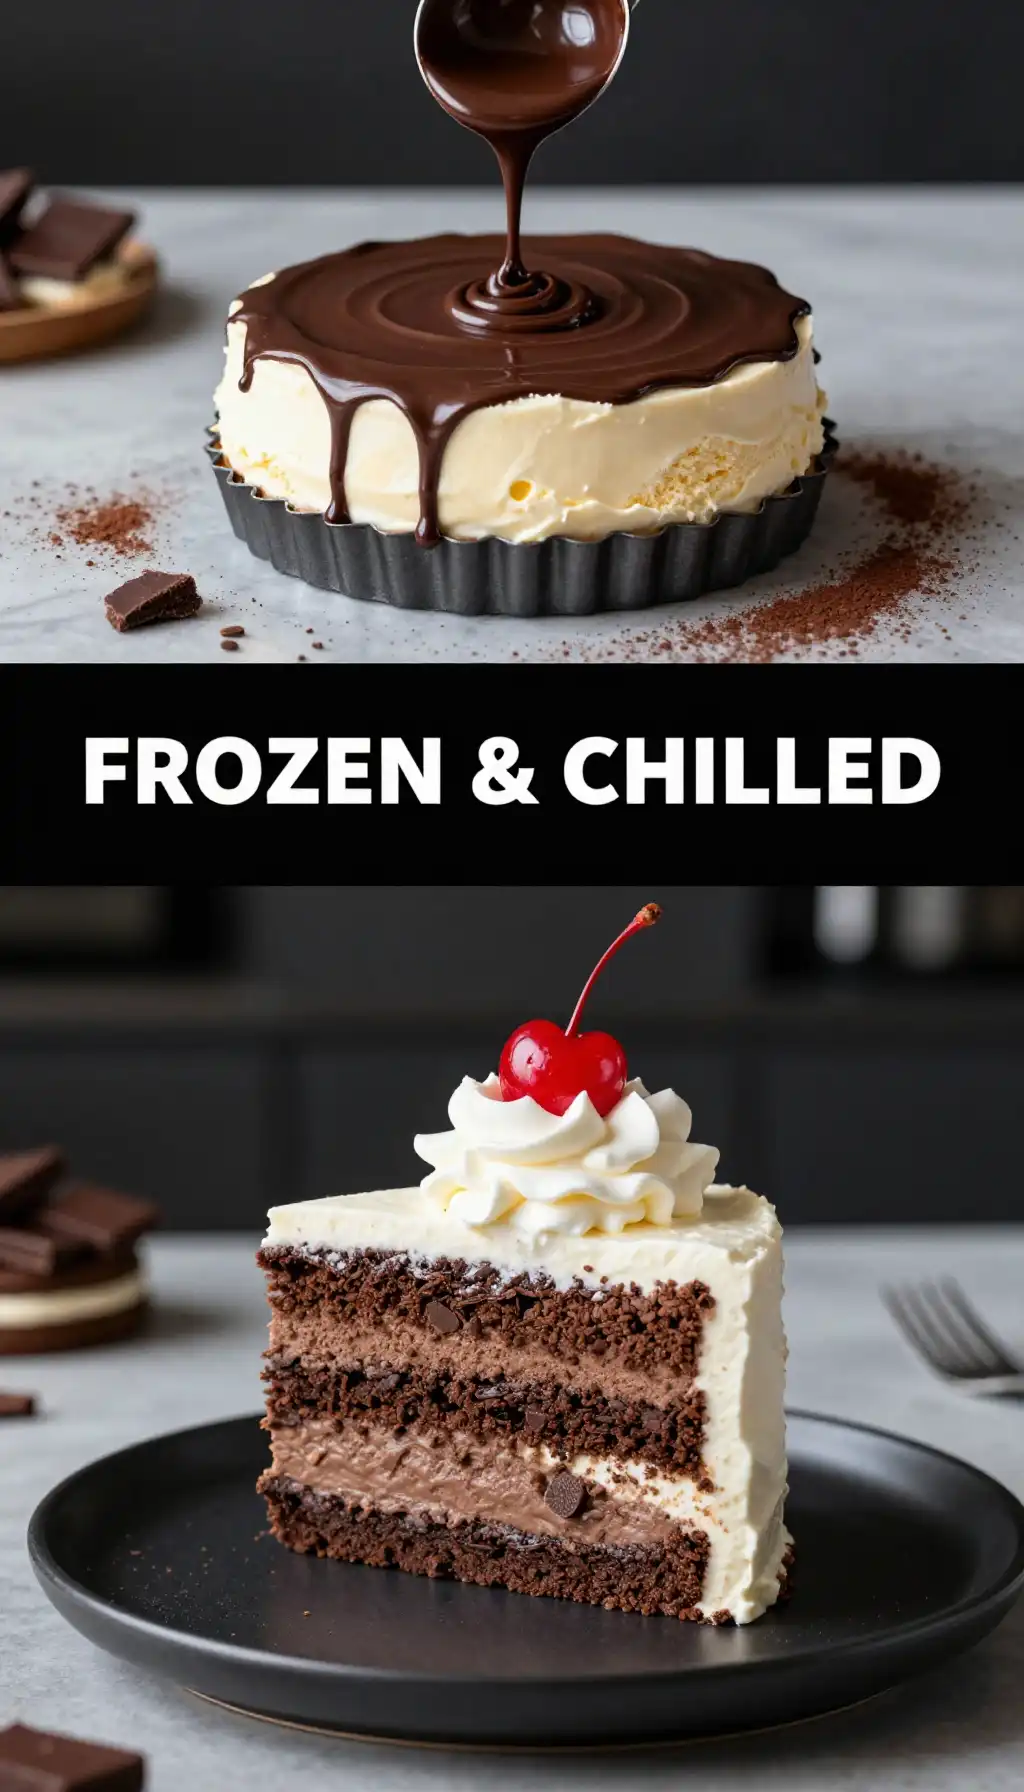
Get It on Amazon Basics✔ Free Delivery | ✔ Top Rated | ✔ Budget-FriendlyThis isn’t just a dessert; it’s a tectonic shift in the world of baking. We are talking about the **Ultimate Ice Cream and Chocolate Layer Cake**, a showstopper that makes regular birthday cakes look like sad, dry sponges.
The Architecture of a Legend
Why settle for mediocrity?
Most people treat ice cream cake as an afterthought—something you buy in a frantic rush from a grocery store freezer aisle. You know the ones. They have those weird, crunchy bits that taste like cardboard and “cream” that has never seen a cow in its life.
🍳 Used in this recipe
Get It on Amazon Basics✔ Free Delivery | ✔ Top Rated | ✔ Budget-FriendlyBut we’re doing things differently.
The secret to this masterpiece is the **contrast**. We’re pairing a deeply dark, slightly salty chocolate sponge with the purest, highest-quality vanilla bean ice cream. Then, we’re sealing the whole deal with a silky ganache that stays soft even when frozen.
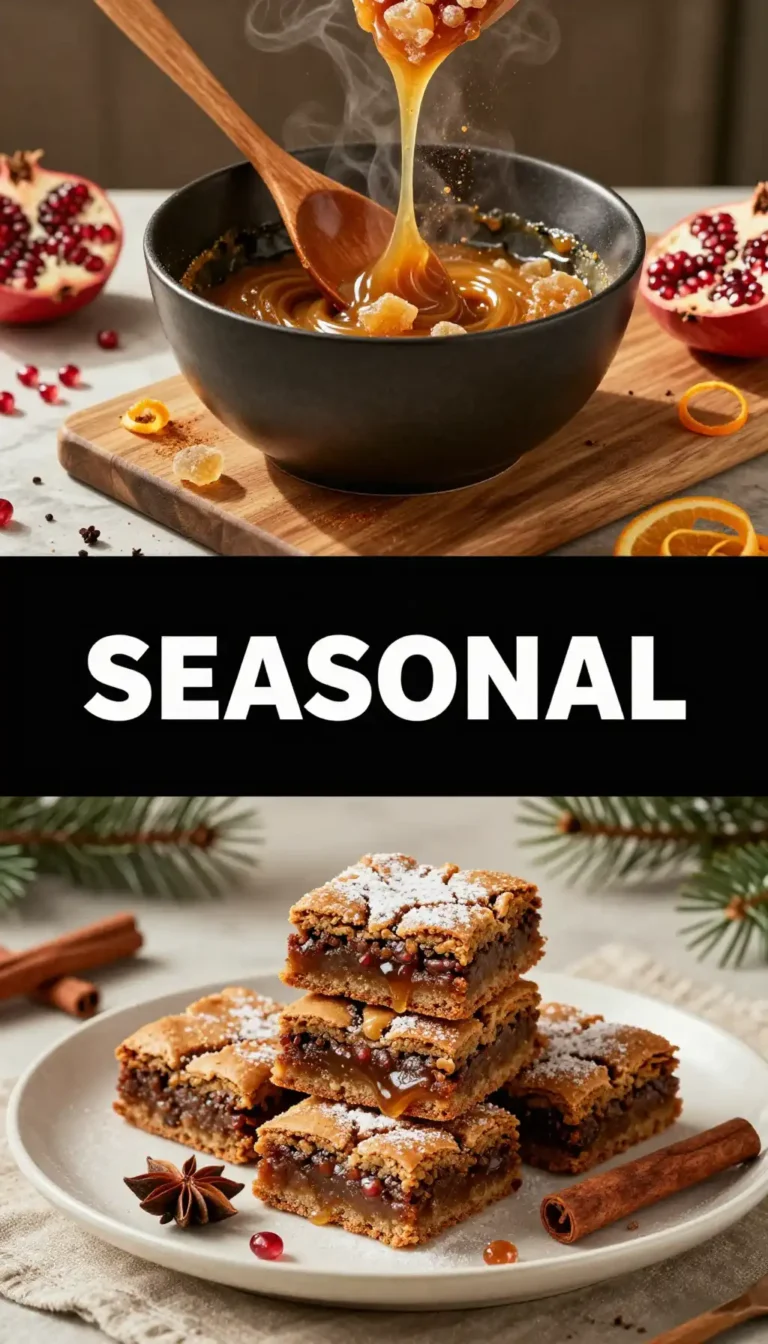
It’s the kind of recipe that makes you the hero of every dinner party, graduation, or “it’s Tuesday and I’m fabulous” moment. If you’re looking for more ways to cool down, check out these refreshing drink ideas to pair with your slice.
🍳 Used in this recipe
Get It on Amazon Basics✔ Free Delivery | ✔ Top Rated | ✔ Budget-FriendlyThe Flavor Makers: What to Raid From the Pantry
Before we get our hands messy, let’s talk shop. You can’t build a skyscraper on a weak foundation.
For the **Ultimate Ice Cream and Chocolate Layer Cake**, you need ingredients that stand up to the cold.
The Cocoa Component
We’re using Dutch-processed cocoa powder. Why? Because it’s darker, richer, and less acidic. It gives that “Oreo-black” color that makes the white vanilla layers pop like a neon sign.
🍳 Used in this recipe
Get It on Amazon Basics✔ Free Delivery | ✔ Top Rated | ✔ Budget-FriendlyThe Creamy Core
Get the good stuff. Look for “Vanilla Bean” ice cream with those tiny black flecks. It adds a sophisticated floral note that balances the heavy chocolate.
The Crunch Factor
Cocoa nibs. These are the unsung heroes. They provide a nutty, bitter crunch that cuts through the sugar, ensuring your palate doesn’t get overwhelmed by sweetness.
Check out our other decadent dessert guides if you want to master the art of the sweet tooth.
🍳 Used in this recipe
Get It on Amazon Basics✔ Free Delivery | ✔ Top Rated | ✔ Budget-FriendlyThe Science of the ‘Soft Freeze’
Here is where most people fail. They bake a cake, freeze it, and it turns into a brick. Nobody wants to eat a brick.
The secret to a perfect **Ultimate Ice Cream and Chocolate Layer Cake** lies in the fat content and the aeration of the sponge. We use oil instead of butter in the cake batter.
Why? Because oil stays liquid at lower temperatures. A butter-based cake will turn rock hard in the freezer, but an oil-based chocolate sponge stays tender and “biteable” even at sub-zero temperatures.
🍳 Used in this recipe
Get It on Amazon Basics✔ Free Delivery | ✔ Top Rated | ✔ Budget-FriendlyFurthermore, we’re going to “temper” our ice cream. You don’t just slap a frozen block onto a cake. You whip it slightly to introduce air, making it feel like silk on the tongue.
Let’s Get Cooking: The Step-by-Step
Buckle up. We’re going in.
1. The Bake: Whisk your dry ingredients (flour, sugar, cocoa, baking soda, salt) in one bowl. In another, mix your wet ingredients (oil, eggs, buttermilk, and a splash of hot coffee—trust me, the coffee makes the chocolate sing). Combine and bake until a toothpick comes out with just a few moist crumbs.
🍳 Used in this recipe
Get It on Amazon Basics✔ Free Delivery | ✔ Top Rated | ✔ Budget-Friendly2. The Chill: Let that cake cool completely. I mean *completely*. If it’s even slightly warm, your ice cream will turn into a puddle of sadness.
3. The Assembly: Slice your cake layers. Line a springform pan with plastic wrap (this is your insurance policy). Layer cake, then a massive, thick spread of softened vanilla ice cream, then another cake layer.
4. The Deep Freeze: This needs at least 6 hours. Don’t peek. Don’t poke. Just let the freezer do its magic.
🍳 Used in this recipe
Get It on Amazon Basics✔ Free Delivery | ✔ Top Rated | ✔ Budget-Friendly5. The Crowning Glory: Heat heavy cream and pour it over dark chocolate chips. Stir until it’s a glossy, mahogany dream. Pour this over the frozen cake. The cold cake will set the ganache almost instantly, creating a gorgeous drip effect. Sprinkle those cocoa nibs like you’re casting a delicious spell.
Don’t Mess This Up: Common Pitfalls
Even the best of us can stumble. Here is how to avoid a kitchen catastrophe:
* **The Melt-Down:** Trying to assemble the cake with “liquid” ice cream. It should be the consistency of soft-serve, not soup. If it’s too runny, it will soak into the cake and make it soggy.
* **The Freezer Burn:** Not wrapping the cake properly. Use double plastic wrap. Ice cream is a sponge for “freezer smells.” You don’t want your cake tasting like that frozen bag of peas from 2022.
* **The Impatience:** Cutting the cake too soon. Give the ganache time to set and the layers time to bond.
🍳 Used in this recipe
Get It on Amazon Basics✔ Free Delivery | ✔ Top Rated | ✔ Budget-FriendlySetting the Scene: Serving Vibes
This isn’t a “grab a slice and stand over the sink” kind of cake. This is an **event**.
Picture this: It’s a humid Saturday evening. You’ve just finished a great dinner with friends. The sun is setting, and the lightning bugs are starting to glow. You bring out this towering, dark, frosted monolith.
The condensation beads on the side of the platter. As you slice into it, the sound of the chocolate shell cracking is like music.
🍳 Used in this recipe
Get It on Amazon Basics✔ Free Delivery | ✔ Top Rated | ✔ Budget-FriendlyServe it on chilled plates. Yes, chill the plates! It buys you extra minutes of structural integrity before the ice cream starts its slow, gorgeous crawl across the dish.
The Burning Questions (FAQ)
How to freeze Ultimate Ice Cream and Chocolate Layer Cake?
To keep your masterpiece fresh, wrap it tightly in a double layer of plastic wrap, followed by a layer of aluminum foil. This prevents ice crystals from forming. It will stay perfect for up to two weeks, though let’s be honest—it won’t last two days.
Recommended Product
 -11%
-11%
8‑Piece Deep Glass Baking Dish Set with Plastic Lids (Rectangular Bakeware)
- Material: Oven, freezer & microwave safe borosilicate glass (goes from fridge/oven without cracking)
- Pieces →: 4 rectangular dishes + 4 tight‑fitting plastic lids (stackable)
- Easy Care →: Dishwasher safe glass & lids
How many calories in Ultimate Ice Cream and Chocolate Layer Cake?
Look, we aren’t counting leaves of kale here. A generous slice typically ranges between 550 to 750 calories depending on the richness of your ice cream and the thickness of your ganache. It’s a celebratory treat, so enjoy every single calorie!
🍳 Used in this recipe
Get It on Amazon Basics✔ Free Delivery | ✔ Top Rated | ✔ Budget-FriendlyCan I make this easy Ultimate Ice Cream and Chocolate Layer Cake ahead of time?
Absolutely! In fact, I recommend making it at least 24 hours in advance. This allows the flavors to meld and ensures the ice cream is fully hardened for clean, professional-looking slices.
How do I get clean slices?
The pro tip: Run a long, thin knife under hot water for 30 seconds. Wipe it dry, then slice. The heat from the blade will glide through the frozen layers like butter. Repeat the hot water dip between every single cut.
Recommended Product
 -40%
-40%
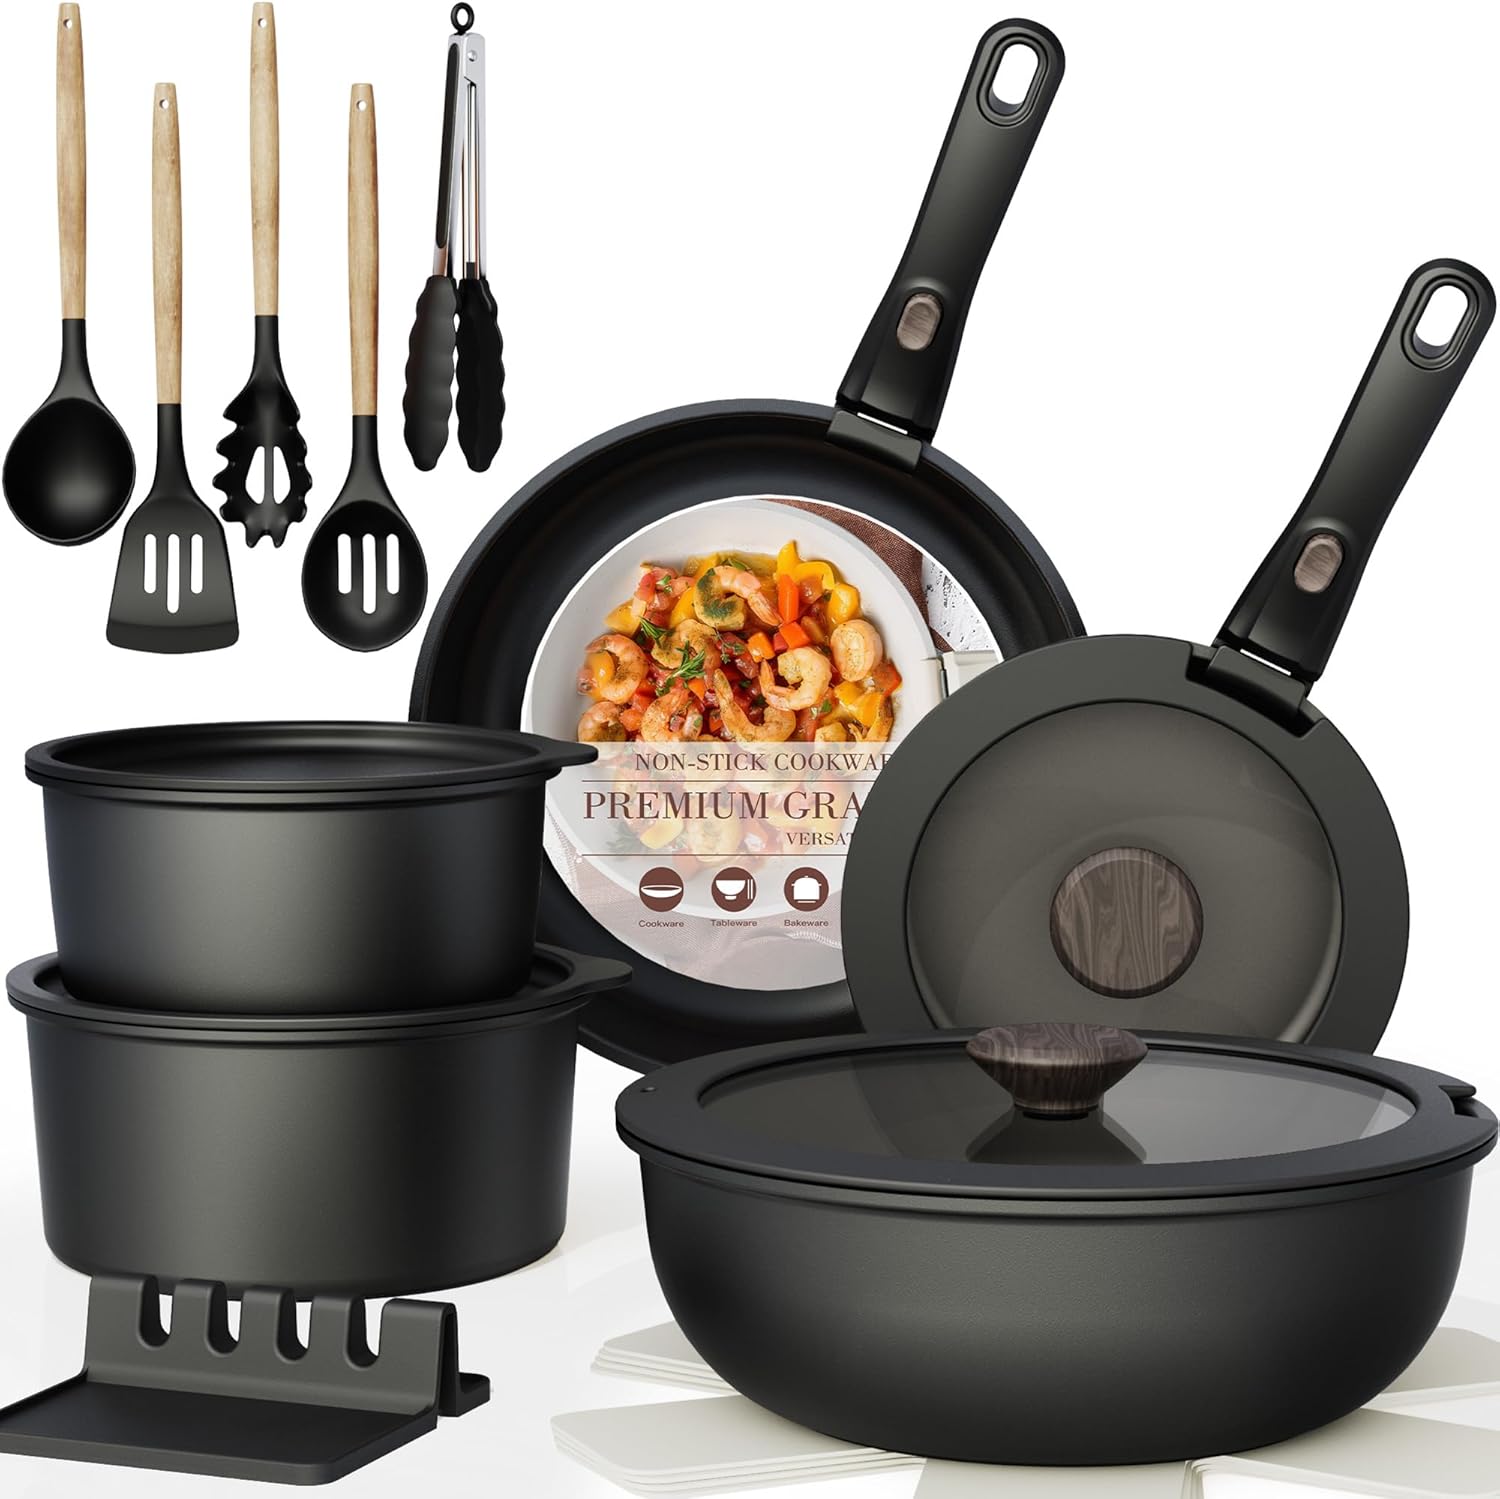
Astercook 21‑Piece Non‑Stick Cookware Set with Detachable/Removable Handles
- Pieces Included →: 21‑piece set with multiple pots, pans, and accessories
- Non‑Stick Coating →: Premium ceramic non‑stick free of harmful PFOA chemicals for healthier cooking
- Cleanup →: Easy to clean thanks to non‑stick surface and detachable handles
- Compatibility →: Works on induction, gas, electric, and ceramic stovetops; oven safe with handles removed
The Final Verdict
Learning **how to make Ultimate Ice Cream and Chocolate Layer Cake** is a rite of passage for any serious home baker. It’s the ultimate bridge between the pastry world and the dairy world.
🍳 Used in this recipe
Get It on Amazon Basics✔ Free Delivery | ✔ Top Rated | ✔ Budget-FriendlyIt’s bold. It’s cold. It’s unapologetically decadent.
So, grab your whisk, clear some space in the freezer, and get ready to create the best thing your taste buds have ever encountered. You’ve got the tips, you’ve got the science, and most importantly, you’ve got the craving.
Go forth and bake. Your future self (and your very lucky friends) will thank you.
Ultimate Ice Cream and Chocolate Layer Cake
Ingredients
Ingredients
- 1.5 cups all-purpose flour sifted
- 1 cup granulated sugar
- 0.5 cup unsweetened cocoa powder high-quality Dutch-processed preferred
- 1 tsp baking soda
- 0.5 cup vegetable oil
- 1 cup buttermilk room temperature
- 1 quart vanilla bean ice cream slightly softened for spreading
- 1 cup semi-sweet chocolate chips for ganache
- 0.5 cup heavy cream
- 1 tsp vanilla extract
Notes
🍳 Used in this recipe
Get It on Amazon Basics✔ Free Delivery | ✔ Top Rated | ✔ Budget-Friendly