The Sound of Sizzle (Without the Skillet)
There’s a moment, right after the oven door closes, when the kitchen transforms. It’s not the aggressive roar of a searing pan, but a quiet, confident promise. A whisper of citrus and earthy herbs begins to curl into the air, a golden, buttery aroma that makes your stomach rumble with anticipation. This isn’t just dinner; it’s a five-star aroma therapy session that happens to result in the most succulent, flaky fish you’ve ever made on a Tuesday night. Forget takeout menus. We’re about to create magic with minimal cleanup.

Why This Recipe is Your New Weeknight Hero
Let’s be real: cooking fish can feel like a high-wire act. Overcook it by a minute, and you’re chewing on a rubber eraser. Undercook it, and you’re in risky territory. This **Easy Baked Lemon Herb Crusted Tilapia** is your safety net. The breadcrumb crust acts as a protective armor, locking in moisture while the fillets gently steam to perfection underneath. It’s a foolproof method that delivers a satisfying crunch with every forkful, a texture contrast that makes the delicate tilapia feel luxurious.
Recommended Product
 -11%
-11%
8‑Piece Deep Glass Baking Dish Set with Plastic Lids (Rectangular Bakeware)
- Material: Oven, freezer & microwave safe borosilicate glass (goes from fridge/oven without cracking)
- Pieces →: 4 rectangular dishes + 4 tight‑fitting plastic lids (stackable)
- Easy Care →: Dishwasher safe glass & lids
The flavor profile is a bright, sunny afternoon in every bite. We’re not hiding the fish; we’re elevating it. The lemon provides a zesty punch that cuts through any richness, while a garden’s worth of herbs (think parsley, thyme, and a hint of garlic) builds a savory backbone. It’s light, it’s clean, and it makes you feel fantastic. This is the dish you’ll make when you want to impress someone without breaking a sweat, or when you simply deserve a meal that tastes like a victory.
🍳 Used in this recipe
Get It on Amazon Basics✔ Free Delivery | ✔ Top Rated | ✔ Budget-FriendlyThe Science of the Silky Tilapia (And Why It Works)
Tilapia is a wonderfully mild canvas, but its lean nature is also its Achilles’ heel. It has very little fat, which means it can go from tender to tough in the blink of an eye. The secret weapon here isn’t just the heat from the oven; it’s the **steam**. By giving our fillets a thick, flavorful coating, we create a micro-climate. As the breadcrumbs toast and the lemon juice heats up, they release moisture, enveloping the fish in a gentle, humid environment. This process, known as poaching-by-proxy, ensures the tilapia cooks evenly and stays incredibly moist. The crust then provides the textural counterpoint—the golden, crunchy shell that shatters beautifully under your fork. It’s culinary engineering at its simplest and most delicious.
What You Need to Raid From the Pantry
The beauty of this dish lies in its simplicity. You likely have most of these flavor-makers already. We’re building layers here, so pay attention to the details.
* **The Tilapia:** About 1.5 to 2 pounds of fresh or thawed fillets. Look for firm, pearly-white flesh.
* **The Crunchy Canvas:** 1 cup of panko breadcrumbs. For a gluten-free version, use certified GF panko or crushed rice cereal.
* **The Green Machine:** 1/4 cup fresh parsley, finely chopped. Don’t you dare use the dusty stuff in the jar. The vibrant, grassy flavor is essential.
* **The Aromatic Base:** 2 tablespoons fresh thyme leaves (or 2 teaspoons dried) and 3 cloves of garlic, minced.
* **The Golden Binder:** 3 tablespoons of extra-virgin olive oil, plus more for drizzling.
* **The Bright Finish:** Zest and juice of 1 large, plump lemon. This is non-negotiable.
* **The Essentials:** 1 teaspoon kosher salt, 1/2 teaspoon black pepper, and a pinch of red pepper flakes for a subtle kick.
🍳 Used in this recipe
Get It on Amazon Basics✔ Free Delivery | ✔ Top Rated | ✔ Budget-FriendlyLet’s Get Cooking: The Step-by-Step
**Step 1: The Flavor Base**
Preheat your oven to 400°F (200°C). Line a baking sheet with parchment paper for an easy cleanup—your future self will thank you. In a shallow bowl, combine the panko breadcrumbs, chopped parsley, thyme, minced garlic, lemon zest, salt, pepper, and red pepper flakes. Drizzle in the olive oil and use a fork to mix until the breadcrumbs are evenly coated and look like damp sand. The oil is crucial here; it helps the crust toast to a beautiful, even gold.
**Step 2: The Prep**
Pat your tilapia fillets completely dry with paper towels. This is the **most important step** for getting a crisp crust! Any surface moisture will steam the coating instead of toasting it. Season both sides of the fish with a light sprinkle of salt and pepper.
**Step 3: The Assembly Line**
Drizzle a little more olive oil over the prepared baking sheet. Place a fillet on the sheet, then press the top side firmly into the breadcrumb mixture, piling it on generously to create a thick, even layer. Think of it as giving the fish a cozy, flavorful blanket. Place it back on the sheet, crusted-side up. Repeat with the remaining fillets.
🍳 Used in this recipe
Get It on Amazon Basics✔ Free Delivery | ✔ Top Rated | ✔ Budget-Friendly**Step 4: The Bake**
Slide the baking sheet into the hot oven. Bake for 12-15 minutes. The exact time will depend on the thickness of your fillets. You’ll know it’s done when the crust is deeply golden and the fish flakes easily with a fork. For an extra-golden finish, you can switch the oven to broil for the last 1-2 minutes—but watch it like a hawk! It goes from perfect to burnt in seconds.
**Step 5: The Final Flourish**
Remove from the oven and immediately squeeze the fresh lemon juice over the hot fillets. The sizzle and steam that erupt is pure sensory joy. Garnish with a sprinkle of fresh parsley and serve immediately.

Common Pitfalls (Or How Not to Annoy Your Dinner Guests)
We’ve all been there. Here’s how to avoid the classic blunders.
🍳 Used in this recipe
Get It on Amazon Basics✔ Free Delivery | ✔ Top Rated | ✔ Budget-Friendly* **The Soggy Bottom:** This happens when the fish isn’t dry before breading, or when the fillets are crowded on the pan. Give them space to breathe! Air needs to circulate around each piece to ensure a crisp crust all over.
* **The Burnt Crown:** If you’re broiling at the end, set a timer. That 2-minute window is a treacherous one. Alternatively, just bake for a few extra minutes at 400°F if you’re not confident with your broiler.
* **The Bland Bite:** Did you skimp on the salt in the crust? The breadcrumbs need seasoning too! Taste your coating mixture before you apply it. It should taste flavorful on its own.
Serving Vibes: From Cozy to Celebratory
This dish is a chameleon. On a rainy Tuesday, it’s the ultimate comfort food—light enough not to weigh you down, but satisfying enough to soothe the soul. Pair it with a simple side of roasted asparagus and fluffy quinoa for a healthy, complete meal. For a more festive occasion, imagine this on a platter at a summer gathering. The bright, clean flavors are perfect alongside a vibrant salad, grilled zucchini, and a pitcher of sparkling lemonade. It’s elegant enough for guests but easy enough for a solo dinner. This is the recipe that makes you feel like a kitchen rockstar, no matter the setting.
Leftovers? Here’s the Plan
If you somehow have leftovers (a rare occurrence), store them in an airtight container in the refrigerator for up to 2 days. The crust will soften, but the flavor remains fantastic. To revive the crunch, reheat in the oven or an air fryer at 350°F for 5-7 minutes. Avoid the microwave, as it will make the crust tragically limp.
🍳 Used in this recipe
Get It on Amazon Basics✔ Free Delivery | ✔ Top Rated | ✔ Budget-Friendly**How to freeze Easy Baked Lemon Herb Crusted Tilapia?**
While you can freeze the cooked tilapia, the crust’s texture won’t be the same upon thawing. For the best results, freeze the *uncooked*, breaded fillets. Arrange them in a single layer on a parchment-lined baking sheet and freeze until solid (about 2 hours), then transfer to a freezer bag. They can be baked straight from the freezer—just add 5-8 extra minutes to the cooking time.
FAQ: Your Burning Questions, Answered
**Q: What’s the calorie count for this Easy Baked Lemon Herb Crusted Tilapia?**
A: A typical fillet (about 4-5 oz) made with this recipe comes in at roughly 250-300 calories. It’s a fantastic source of lean protein and is naturally low in saturated fat, making it a brilliant choice for a health-conscious diet.
**Q: Can I use a different type of fish?**
A: Absolutely! This crust is a superstar on any mild, white fish like cod, haddock, or even thin catfish fillets. Adjust baking time based on thickness.
🍳 Used in this recipe
Get It on Amazon Basics✔ Free Delivery | ✔ Top Rated | ✔ Budget-Friendly**Q: My crust isn’t browning. What did I do wrong?**
A: This usually points to an oven temperature that’s too low or not enough oil in the breadcrumb mixture. Ensure your oven is fully preheated and that the crumbs look moist and glistening before they hit the fish.
**Q: Is this dish gluten-free?**
A: It can be! Simply use gluten-free panko breadcrumbs or crushed rice cereal. Always double-check the labels of your other ingredients if you have a severe allergy.
**Q: How do I make the crust extra crispy?**
A: For an ultra-crisp texture, toast the breadcrumbs in a dry skillet over medium heat for 2-3 minutes before mixing with the herbs and oil. Let them cool slightly before breading the fish. This pre-toasting gives you a head start on the crunch.
🍳 Used in this recipe
Get It on Amazon Basics✔ Free Delivery | ✔ Top Rated | ✔ Budget-FriendlyReady to make dinner the highlight of your day? This **Easy Baked Lemon Herb Crusted Tilapia** is your ticket to a delicious, stress-free meal. Find the full recipe details and save it for your next culinary adventure right here: Easy Baked Lemon Herb Crusted Tilapia. And for more visual inspiration, check out these fantastic ideas on Pinterest!
Recommended Product
 -40%
-40%
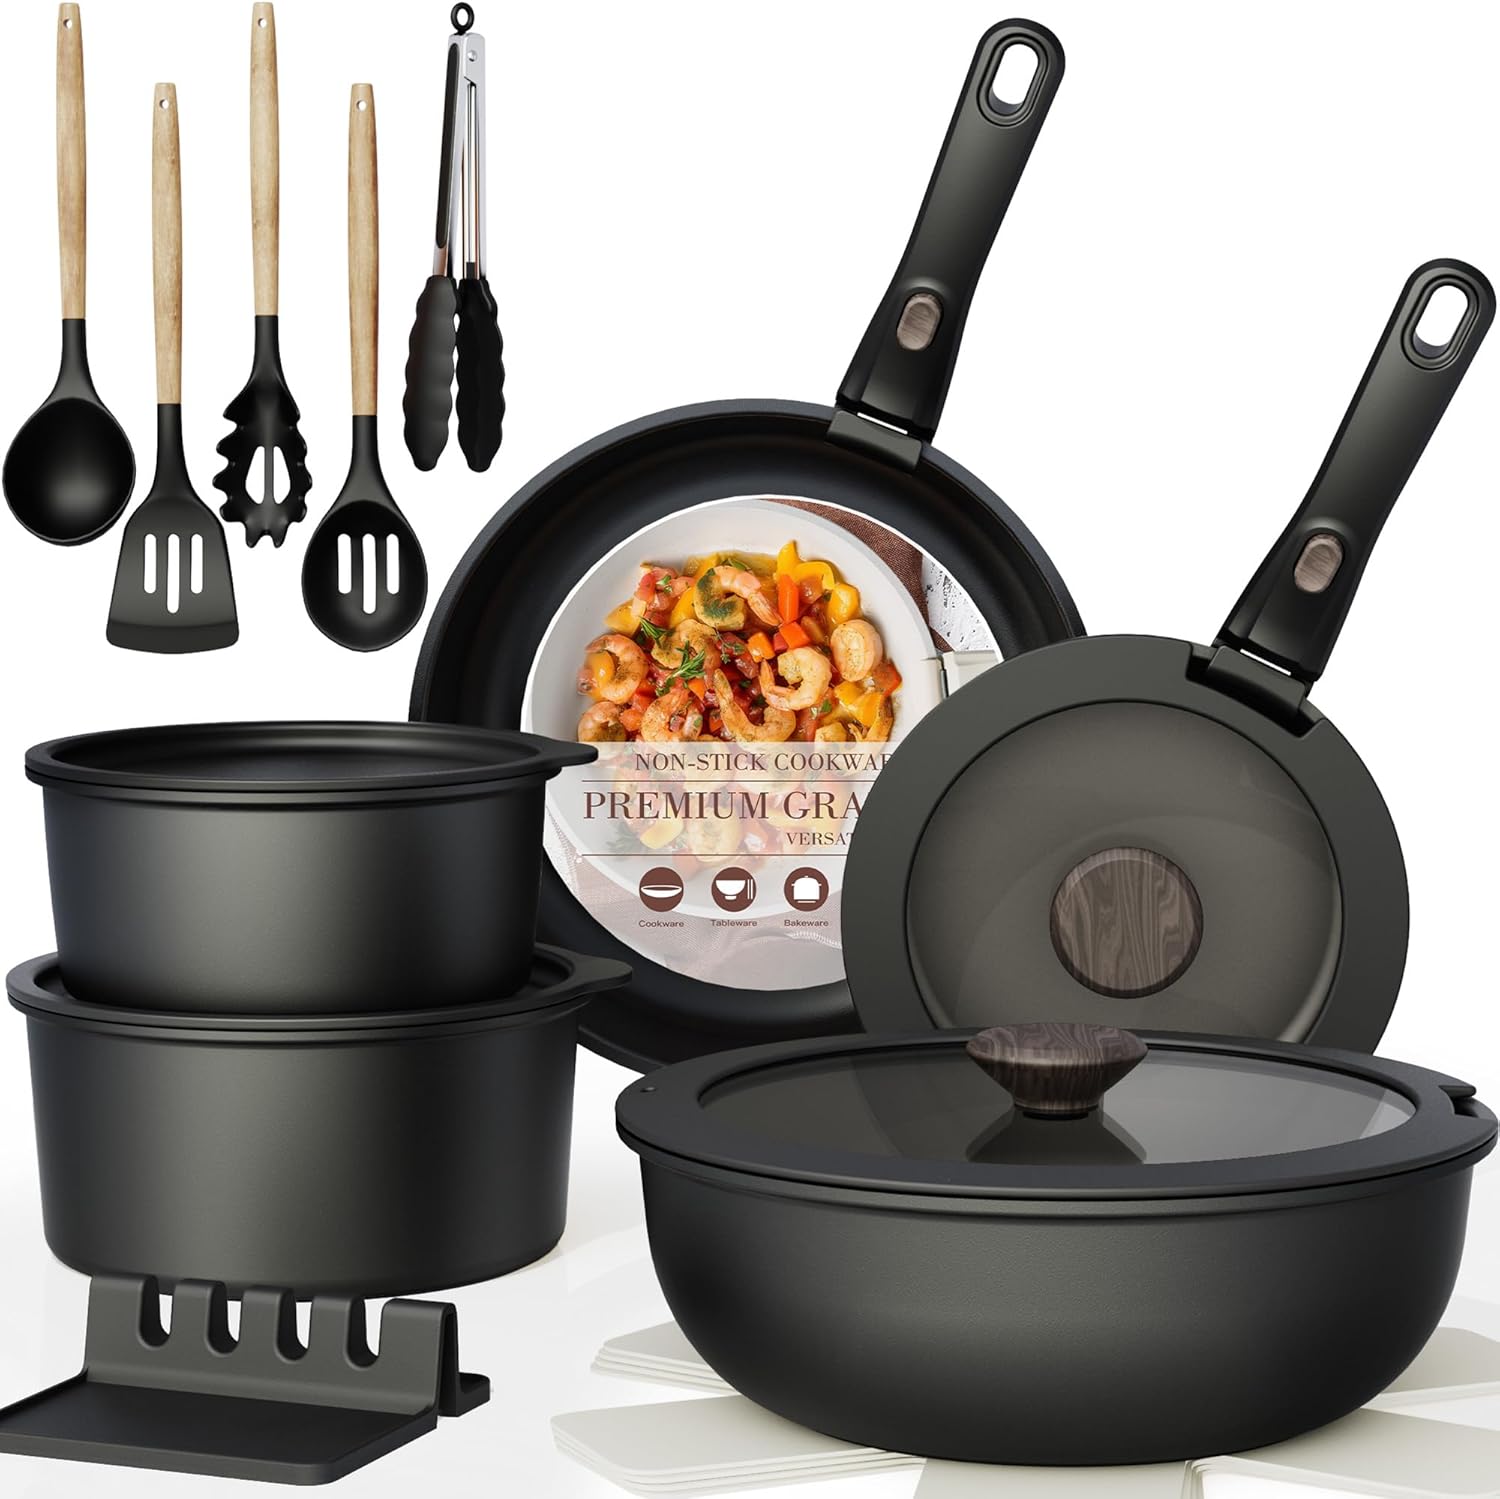
Astercook 21‑Piece Non‑Stick Cookware Set with Detachable/Removable Handles
- Pieces Included →: 21‑piece set with multiple pots, pans, and accessories
- Non‑Stick Coating →: Premium ceramic non‑stick free of harmful PFOA chemicals for healthier cooking
- Cleanup →: Easy to clean thanks to non‑stick surface and detachable handles
- Compatibility →: Works on induction, gas, electric, and ceramic stovetops; oven safe with handles removed

Easy Baked Lemon Herb Crusted Tilapia
Ingredients
Ingredients
- 4 tilapia fillets (about 6 oz each) fresh or thawed, patted dry
- 1/2 cup panko breadcrumbs use gluten-free if needed
- 2 tbsp fresh parsley, finely chopped
- 1 tbsp fresh dill, finely chopped
- 1 tsp lemon zest
- 2 tbsp olive oil
- 1 tbsp fresh lemon juice
- 1/2 tsp garlic powder
- 1/2 tsp salt
- 1/4 tsp black pepper
- 1 lemon, cut into wedges for serving
Recommended Product
 -33%
-33%
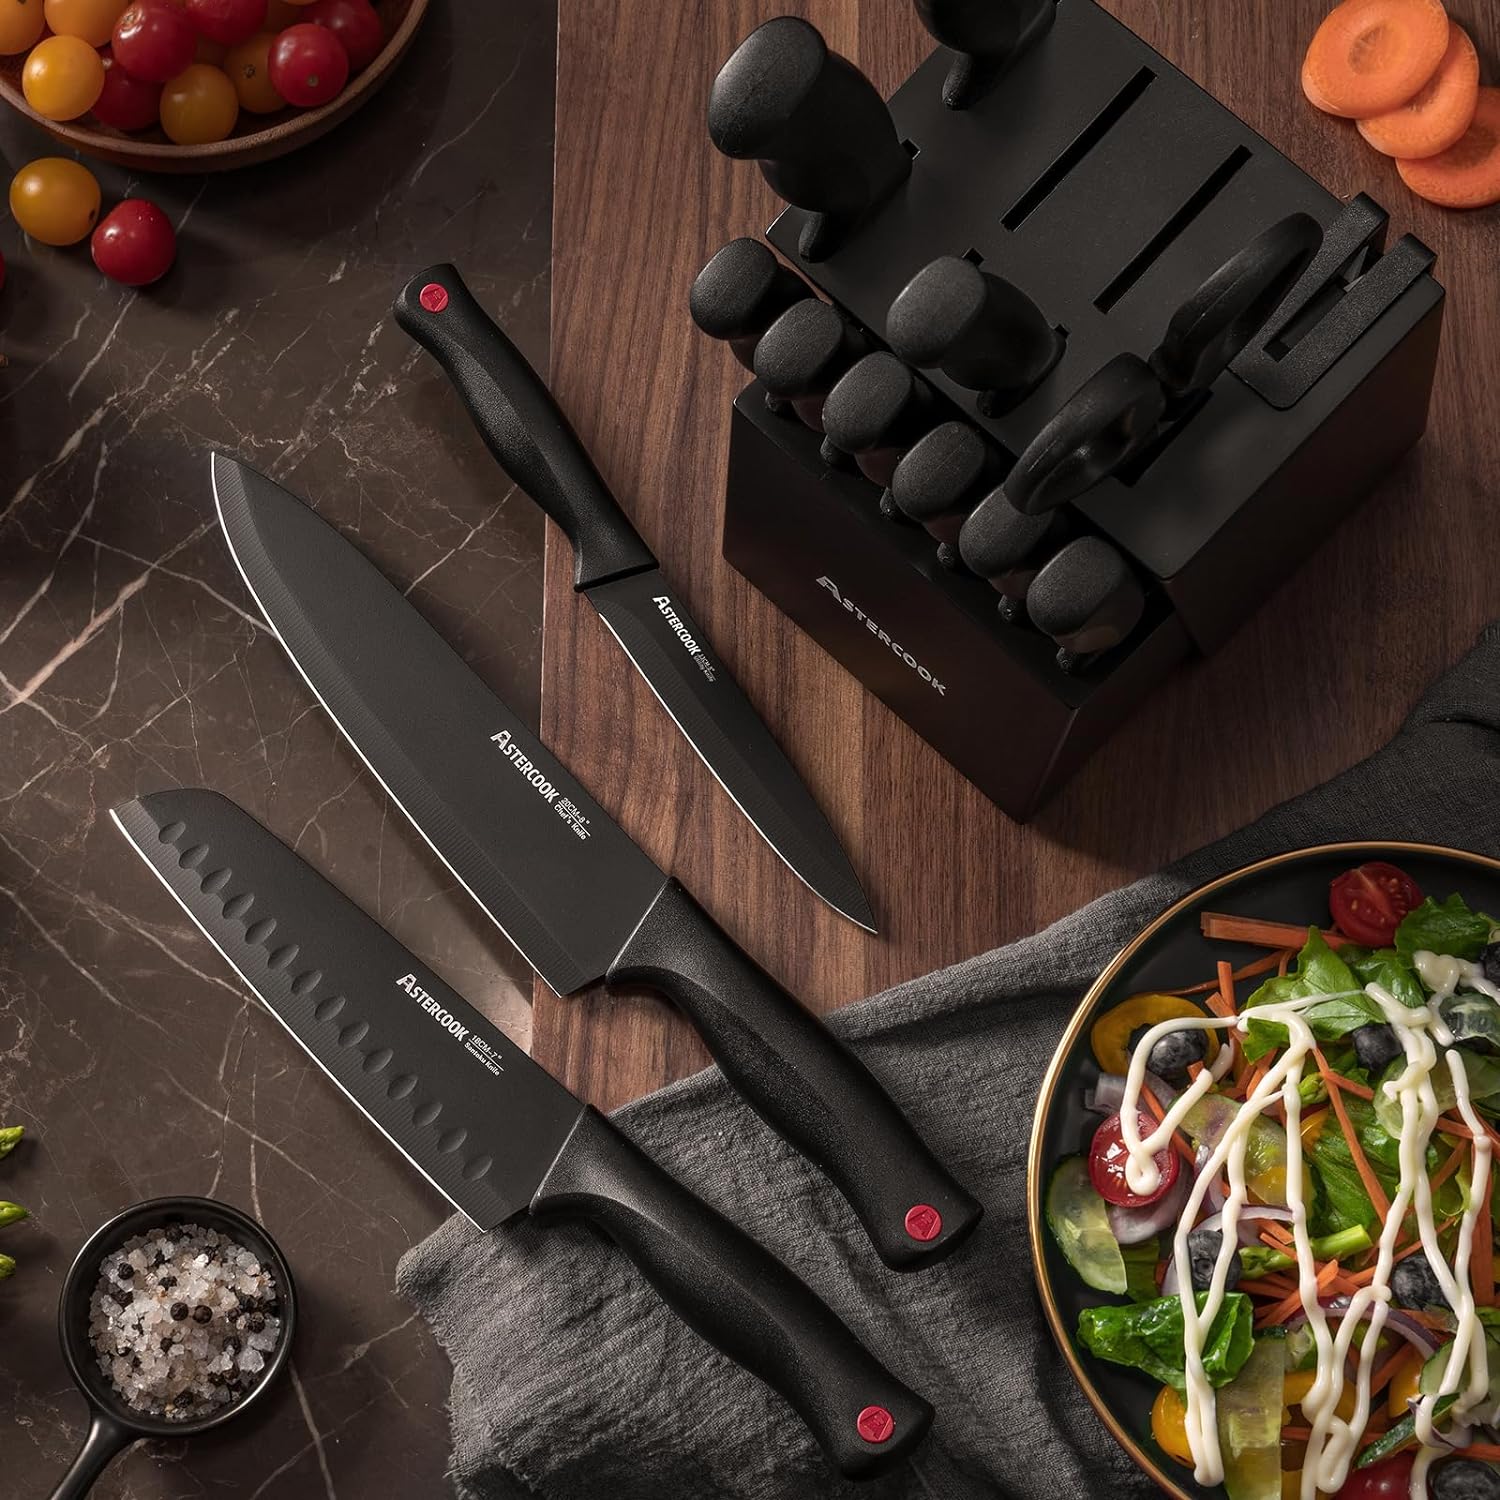
Astercook 15‑Piece Kitchen Knife Set with Built‑In Sharpener Block
- Built‑In Sharpener →: Integrated sharpener in block for easy maintenance
- Material →: High‑carbon German stainless steel blades (rust‑resistant, durable)
- Dishwasher Safe →: Yes (but hand washing recommended to preserve sharpness)