Gluten-Free Sandwich Bread
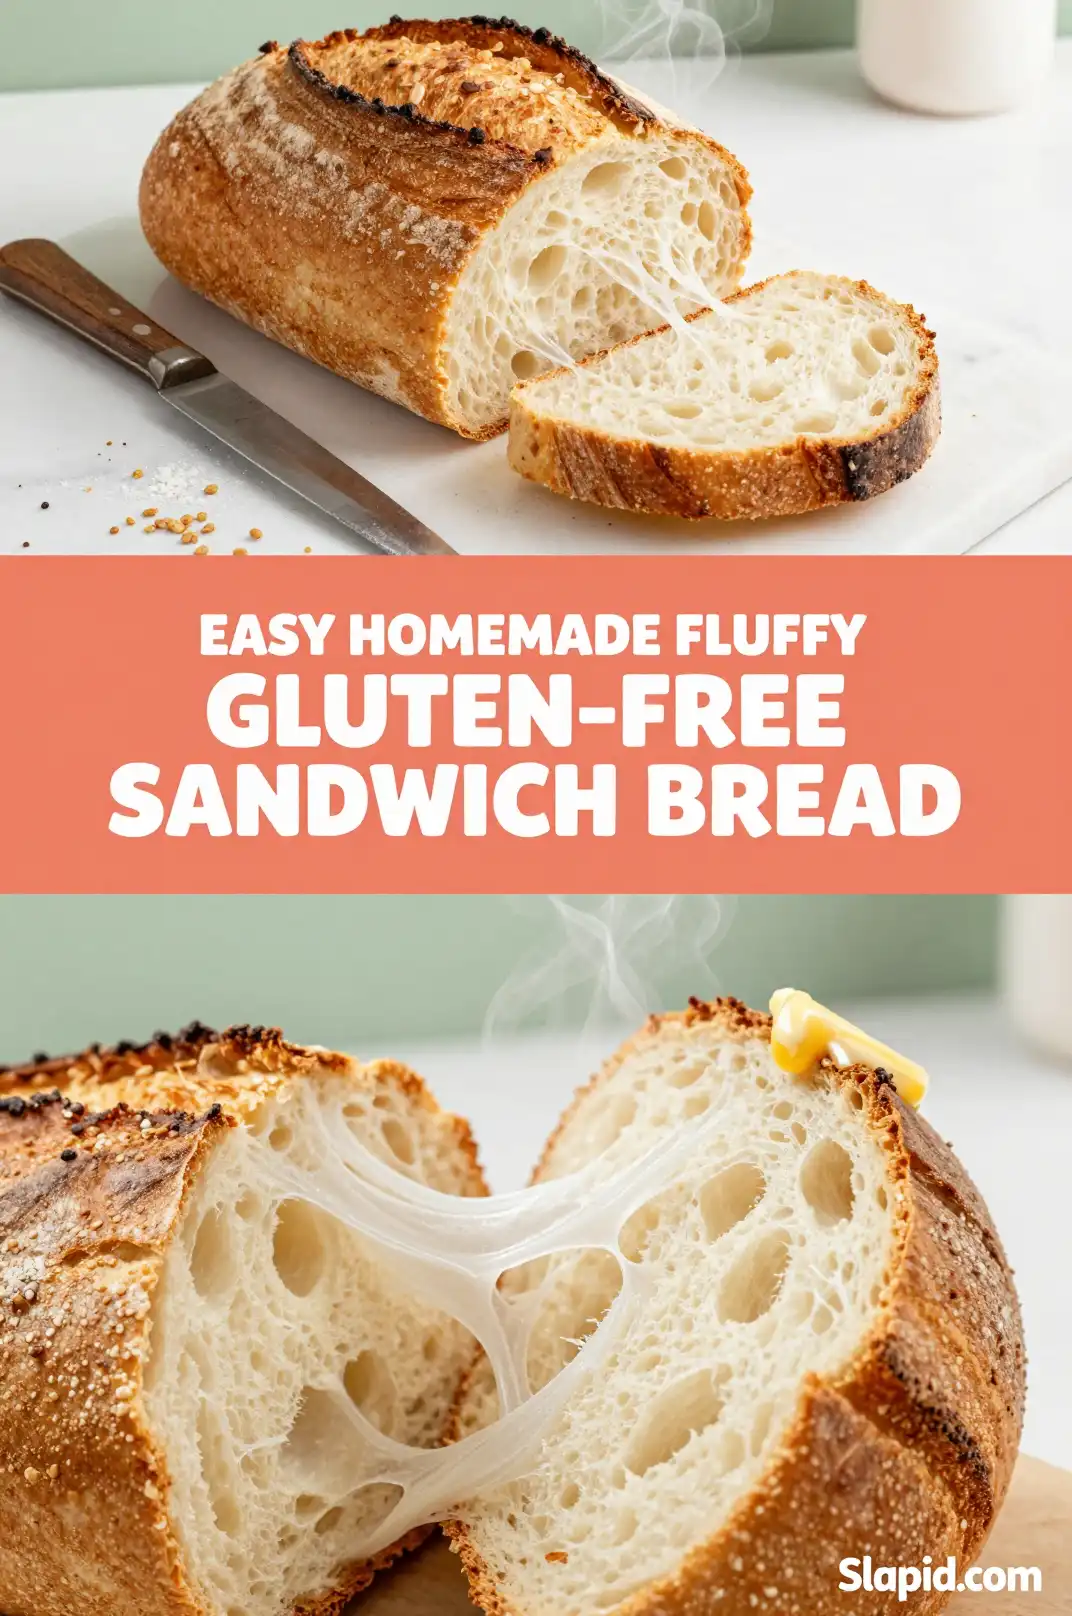
Creating an Easy Homemade Fluffy Gluten-Free Sandwich Bread that rivals traditional bakery loaves has long been the holy grail for gluten-free bakers. For years, I struggled with dense, crumbly results that fell apart before I could even spread my favorite hummus. This recipe changes everything, delivering a soft, fluffy crumb and a tender crust that holds together perfectly for all your favorite sandwiches.
By using a carefully balanced blend of gluten-free flours and a binder like xanthan gum, we mimic the structure gluten provides without compromising on texture. Whether you are new to gluten-free baking or a seasoned pro looking for a reliable easy homemade fluffy gluten-free sandwich bread, this guide is for you. We will cover everything from the science of the ingredients to expert tips for that perfect rise, ensuring your next loaf is your best loaf yet.
Recommended Product
 -15%
-15%
Silicone Baking Mat with Measurement Guide (Non-Stick Pastry & Cake Mat)
- Material →: Food-grade silicone (safe for baking)
- Surface →: Non-stick (no butter or oil needed)
- Design →: Measurement guide for perfect cake sizes
Quick Facts
| Difficulty | Easy |
| Prep Time | 15 minutes |
| Cook Time | 45 minutes |
| Total Time | 1 hour 30 minutes (plus rising) |
| Servings | 12 slices |
| Calories | Approx. 140 kcal per slice |
Why You’ll Love This Easy Homemade Fluffy Gluten-Free Sandwich Bread
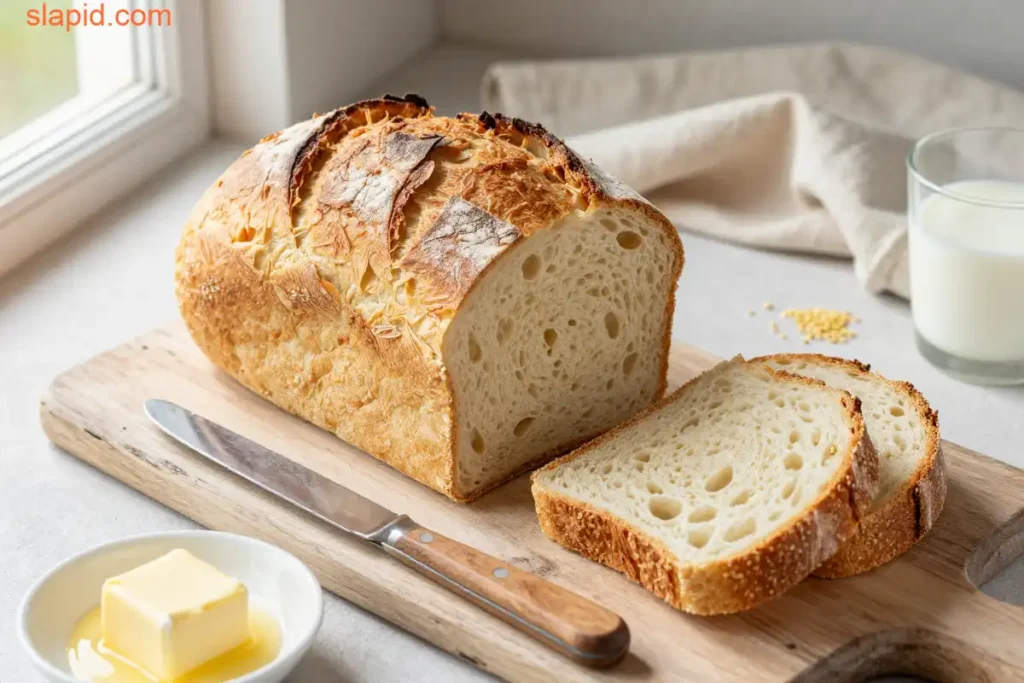
- Texture Perfection: Unlike many gluten-free recipes that can be gritty or dry, this bread boasts a soft, fluffy interior that rivals any store-bought white bread.
- Simplicity: This is an easy recipe that requires no fancy equipment or complicated techniques—just a bowl, a mixer, and a loaf pan.
- Clean Ingredients: You control exactly what goes in, avoiding the preservatives and gums often found in commercial gluten-free options.
- Versatility: It toasts beautifully, holds up to hearty fillings, and makes the ultimate grilled cheese or turkey club.
- Satisfies Cravings: It brings the comforting taste and smell of homemade bread back to your kitchen table.
Key Ingredients & Substitutions
Understanding the role of each ingredient is crucial for a successful Easy Homemade Fluffy Gluten-Free Sandwich Bread. We aren’t just mixing flours; we are building a structure that mimics gluten.
🍳 Used in this recipe
Get It on Amazon Basics✔ Free Delivery | ✔ Top Rated | ✔ Budget-FriendlyGluten-Free All-Purpose Flour: The foundation of our loaf. I highly recommend a high-quality blend that contains rice flour, potato starch, and tapioca starch. Brands like King Arthur or Bob’s Red Mill 1-to-1 Baking Flour work exceptionally well because they already include xanthan gum. If your blend doesn’t include a binder, you will need to add it separately.
Xanthan Gum: This is the non-negotiable glue for gluten-free baking. It provides elasticity and prevents the bread from crumbling. Typically, you need about 1 teaspoon per cup of flour, but check your flour package first.
Active Dry Yeast: The leavening agent that gives the bread its rise. Ensure your yeast is fresh and proof it in warm water (around 110°F) to wake it up before adding it to the dough. This step is vital for that fluffy texture.
🍳 Used in this recipe
Get It on Amazon Basics✔ Free Delivery | ✔ Top Rated | ✔ Budget-FriendlyEggs: Eggs provide structure, moisture, and richness. For an egg-free version, you can use a “flax egg” (1 tbsp ground flaxseed + 3 tbsp water), though the loaf may be slightly denser. For a detailed guide on egg substitutes, check out our internal baking guide.
Milk and Honey: Milk adds tenderness and browning, while honey (or maple syrup) feeds the yeast and adds a subtle flavor. You can use dairy-free milk like almond or oat milk; just ensure it is unsweetened.
Butter or Oil: Fat tenderizes the crumb. Use unsalted butter for the best flavor, or a neutral oil like avocado oil if you need a dairy-free option. For more information on gluten-free flours, see this external resource on flour types.
🍳 Used in this recipe
Get It on Amazon Basics✔ Free Delivery | ✔ Top Rated | ✔ Budget-FriendlyStep-by-Step Overview
Creating this Easy Homemade Fluffy Gluten-Free Sandwich Bread is a straightforward process. Here is the narrative overview of how the dough comes together.
First, we activate the yeast. You will combine warm water, a pinch of sugar, and the yeast in a small bowl. Let it sit for 5-10 minutes until it becomes foamy. This confirms your yeast is active and ready to work.
Next, we mix the dry ingredients. In the bowl of a stand mixer fitted with the paddle attachment, whisk together your gluten-free flour, salt, and xanthan gum. Ensuring these are evenly distributed prevents clumps and ensures a uniform texture.
🍳 Used in this recipe
Get It on Amazon Basics✔ Free Delivery | ✔ Top Rated | ✔ Budget-FriendlyThen, we combine the wet ingredients. In a separate bowl, whisk together the milk, eggs, honey, and melted butter (cooled slightly so it doesn’t cook the eggs). Pour this mixture into the dry ingredients along with the foamy yeast mixture.
Now, we mix the dough. Unlike traditional bread dough, you do not knead this. Gluten-free dough is more like a thick cake batter. Beat the mixture on medium-high speed for about 3-4 minutes. This incorporates air and helps develop the structure provided by the xanthan gum. For more on mixing techniques, read our guide to gluten-free mixing.
Finally, we let it rise. Scrape the sticky dough into a greased loaf pan. Smooth the top with a wet spatula. Cover it loosely and let it rise in a warm spot for 30-45 minutes. It won’t double in size like wheat dough, but it should rise noticeably above the rim of the pan before baking.
🍳 Used in this recipe
Get It on Amazon Basics✔ Free Delivery | ✔ Top Rated | ✔ Budget-FriendlyExpert Tips for Perfect Results
Baking gluten-free bread has its quirks. Follow these expert tips to ensure your loaf turns out perfectly every time.
- Measure by Weight: For the most consistent results, use a kitchen scale. Gluten-free flours pack differently, and using cups can lead to a dry loaf.
- Don’t Over-Proof: Gluten-free dough relies heavily on the structure of the starches and xanthan gum. If it rises too long, it can collapse in the oven. Watch it closely!
- Use the Right Pan: A standard 8.5×4.5 inch loaf pan is ideal. If your pan is darker, lower the oven temperature by 25°F to prevent the crust from burning before the inside is baked.
- Internal Temperature Check: The best way to know if your bread is done is by using a digital thermometer. The internal temperature should reach 205-210°F. This ensures the center is cooked through and not gummy.
- Cool Completely: Resist the urge to slice into the bread while it is hot! Gluten-free bread needs to cool fully to set its structure. Cutting it warm will result in a gummy texture and cause the loaf to crumble.
- Steam for a Soft Crust: If you want a softer crust, place a pan of hot water on the bottom rack of the oven while baking. The steam keeps the crust tender during the initial rise.
Serving Suggestions & Pairings
This Easy Homemade Fluffy Gluten-Free Sandwich Bread is incredibly versatile. Its neutral flavor profile makes it the perfect canvas for countless meals.
For a classic lunch, use it for grilled cheese sandwiches paired with a bowl of tomato soup. The sturdy yet soft texture holds up to the dipping without falling apart. It also makes excellent French toast because it soaks up the egg mixture beautifully without disintegrating.
🍳 Used in this recipe
Get It on Amazon Basics✔ Free Delivery | ✔ Top Rated | ✔ Budget-FriendlyFor breakfast, simply toast a slice and top it with smashed avocado, a sprinkle of red pepper flakes, and a drizzle of olive oil. It pairs wonderfully with a hot cup of chai tea or a frothy matcha latte. If you are looking for complementary recipes, try serving this bread alongside our creamy roasted red pepper soup or our herb-infused olive oil dip for a savory appetizer.
Storage, Freezing & Reheating
Proper storage is key to keeping your gluten-free bread fresh and moist. Because it lacks preservatives, it behaves differently than commercial breads.
Storage: Once the loaf is completely cool, wrap it tightly in beeswax wrap or place it in a bread box. Store it at room temperature for up to 3 days. Avoid refrigerating it, as the cold air tends to dry out the crumb and make it stale faster.
🍳 Used in this recipe
Get It on Amazon Basics✔ Free Delivery | ✔ Top Rated | ✔ Budget-FriendlyFreezing: This bread freezes exceptionally well. Slice the loaf first for convenience. Place parchment paper between slices to prevent sticking, then place the slices in a freezer-safe bag. Freeze for up to 3 months. You can also freeze the whole unsliced loaf; just wrap it tightly in plastic wrap and then foil.
Reheating: To thaw, leave slices on the counter for about 20 minutes. For the best texture, toast the slices directly from frozen. If you prefer a soft slice, wrap it in foil and warm it in an oven preheated to 350°F for 5-10 minutes. This revives the fluffiness perfectly.
Frequently Asked Questions
Why did my gluten-free bread turn out dense?
The most common reasons for dense gluten-free bread are expired yeast, not mixing the dough long enough to incorporate air, or measuring flour incorrectly. Ensure your yeast is foamy after proofing, beat the batter for the full 3-4 minutes, and check your flour measurement using a scale for accuracy.
🍳 Used in this recipe
Get It on Amazon Basics✔ Free Delivery | ✔ Top Rated | ✔ Budget-FriendlyCan I make this recipe dairy-free?
Yes! This recipe adapts well to dairy-free needs. Simply swap the milk for unsweetened almond, soy, or oat milk. Replace the butter with a neutral oil like avocado oil or melted dairy-free butter. The texture remains soft and fluffy.
Do I need a stand mixer for this recipe?
While a stand mixer makes the process easier and ensures the dough is mixed thoroughly, you can absolutely make this by hand. Use a sturdy whisk to combine the ingredients, then switch to a wooden spoon or spatula. Beat the batter vigorously to incorporate air.
Why is my crust so hard?
A hard crust usually means the oven temperature was too high, or the loaf was baked for too long. You can also try covering the loaf with foil for the last 10-15 minutes of baking to prevent the top from over-browning while the inside finishes cooking.
🍳 Used in this recipe
Get It on Amazon Basics✔ Free Delivery | ✔ Top Rated | ✔ Budget-FriendlyFinal Thoughts
Mastering this Easy Homemade Fluffy Gluten-Free Sandwich Bread opens up a world of culinary possibilities. It proves that you don’t need gluten to enjoy a delicious, soft, and versatile loaf of bread. With the right ingredients and a little patience, you can bake a loaf that rivals any bakery. Give this recipe a try this weekend—bake it, slice it, and enjoy the simple pleasure of homemade bread. Let me know how it turns out in the comments below!
Recommended Product
 -11%
-11%
8‑Piece Deep Glass Baking Dish Set with Plastic Lids (Rectangular Bakeware)
- Material: Oven, freezer & microwave safe borosilicate glass (goes from fridge/oven without cracking)
- Pieces →: 4 rectangular dishes + 4 tight‑fitting plastic lids (stackable)
- Easy Care →: Dishwasher safe glass & lids
Easy Homemade Fluffy Gluten-Free Sandwich Bread
Ingredients
Ingredients
- 2 cups gluten-free all-purpose flour blend ensure blend contains xanthan gum (e.g., King Arthur Measure for Measure)
- 1 tbsp granulated sugar or honey
- 2 1/4 tsp instant yeast or active dry yeast
- 1 tsp salt fine sea salt
- 1 cup warm milk 110°F (110°C), dairy-free milk works too
- 1/4 cup vegetable oil or melted butter, or avocado oil
- 2 large eggs room temperature, lightly beaten
Recommended Product

Amazon Basics Silicone Baking Mat (2-Pack Non-Stick Oven Liners)
- Material →: Food-safe silicone, reusable thousands of times
- Non-Stick →: No butter, oil, or parchment needed