The Smell That Stops Time
There’s a moment, just as the oven door clicks shut, when the world holds its breath. It’s the scent of flour and water undergoing a quiet alchemy, a promise of something golden and glorious. For years, I thought artisan bread was a mystery, a secret handshake for bakers with flour-dusted aprons and endless patience. Then I discovered this **Easy No-Knead Artisan Bread with Crispy Crust**, and that mystery dissolved into the steam of my kitchen. It’s the kind of loaf that makes you feel like a wizard, and the best part? The wand is just a bowl and a fork.
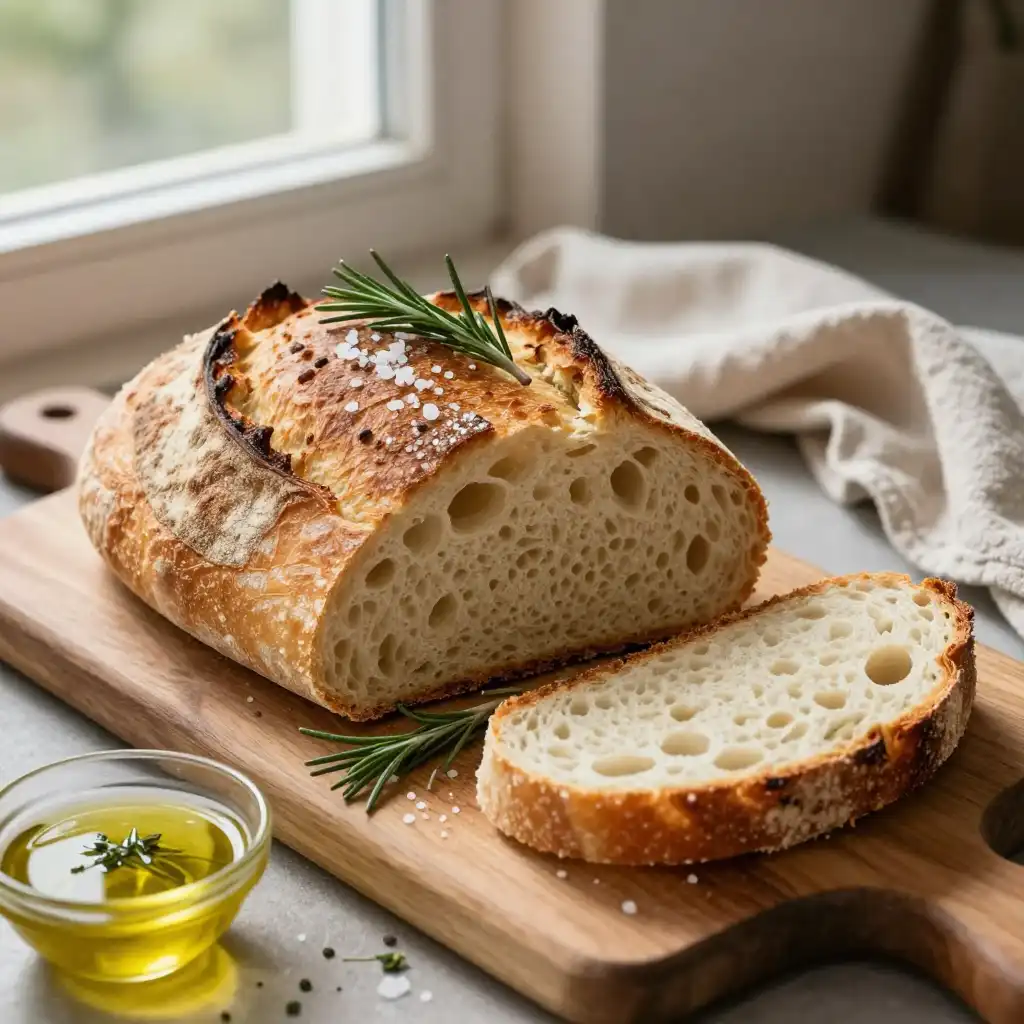
This isn’t just bread; it’s a victory lap. The crackle of the crust as you slice into it, the airy, chewy crumb that pulls apart in steaming ribbons—this is the texture of triumph. It’s the centerpiece of a lazy Sunday brunch, the soul of a quick weeknight dinner, and the gift that says, “I love you, and I made this with my own two hands.” Forget the fancy stand mixers and the muscle strain of kneading. We’re about to get glorious, with minimal effort.
Recommended Product
 -11%
-11%
8‑Piece Deep Glass Baking Dish Set with Plastic Lids (Rectangular Bakeware)
- Material: Oven, freezer & microwave safe borosilicate glass (goes from fridge/oven without cracking)
- Pieces →: 4 rectangular dishes + 4 tight‑fitting plastic lids (stackable)
- Easy Care →: Dishwasher safe glass & lids
What You Need to Raid From the Pantry
The beauty of this recipe lives in its simplicity. There are no hidden players, no fancy ingredients you’ll use once and banish to the back of the cupboard. This is a clean, honest recipe. All you need is the foundation.
🍳 Used in this recipe
Get It on Amazon Basics✔ Free Delivery | ✔ Top Rated | ✔ Budget-Friendly* **Flour:** I’m a devout user of bread flour for that extra chew and structure, but all-purpose flour will absolutely work in a pinch. The goal is a sturdy foundation.
* **Water:** Not all water is created equal. Lukewarm is the key—it’s the perfect environment for our tiny, hungry yeast friends to wake up and party. Think bathwater, not scalding.
* **Yeast:** A single packet of instant or active dry yeast is our silent, invisible leavening hero.
* **Salt:** The flavor conductor. It doesn’t just make things taste good; it also regulates the yeast, keeping the rise slow and steady for maximum flavor development.
* **A whisper of honey or sugar:** This isn’t for sweetness. It’s a quick, easy snack for the yeast, giving it a head start on its gassy mission.
That’s it. Four ingredients. The magic isn’t in the list; it’s in the method.
The Alchemy of Patience: Your Secret Weapon
Here’s the secret that changes everything: **time is your knead**. In traditional bread making, you physically develop the gluten network by folding, pounding, and stretching the dough. In this no-knead world, we let time and hydration do the heavy lifting. The water slowly hydrates the flour, and over a long, slow fermentation (usually 12 to 18 hours), the gluten strands naturally align and strengthen on their own.
🍳 Used in this recipe
Get It on Amazon Basics✔ Free Delivery | ✔ Top Rated | ✔ Budget-FriendlyIt’s a process of gentle persuasion. As the yeast feasts on the flour, it produces carbon dioxide, creating those beautiful, airy pockets in the crumb. The long, cold fermentation also develops complex, tangy flavors that you simply can’t get from a quick rise. It’s the difference between a fast-food burger and a slow-simmered stew—depth, character, and soul. This is the science that turns a bowl of sticky goo into a masterpiece of texture and taste.
The Step-by-Step: From Bowl to Gorgeous Loaf
Let’s get our hands (lightly) dirty. This is where the transformation begins.
1. **The Mix:** In a large bowl, whisk together your flour, yeast, and salt. Pour in the warm water and honey. Grab a sturdy fork or a spatula and mix until a shaggy, sticky dough forms. There’s no smooth ball here—it should look like a messy, glorious blob. That’s perfect.
2. **The First Rise (The Long Nap):** Cover the bowl with plastic wrap or a damp cloth. Find a cozy, draft-free spot in your kitchen and let it rest for 12 to 18 hours. Yes, it’s an overnight magic trick. You’ll wake up to a dough that has doubled in size, dotted with bubbles like a bubbly, fermented potion.
3. **The Shaping (Gentle Hands):** Flour your work surface and your hands. Scrape the dough out of the bowl. It will be loose and sticky—this is normal. With floured hands, gently fold the dough onto itself a few times to form a rough ball. Don’t work it aggressively. Place it on a piece of parchment paper and let it rest for 30 minutes. This is a “bench rest” to relax the gluten you just handled.
4. **The Oven’s Grand Entrance:** This is the critical step for that legendary crust. Place your Dutch oven (or a heavy, oven-safe pot with a lid) into the oven. Preheat to 450°F (230°C). Let the pot get screaming hot for at least 30 minutes. This mimics the intense, steamy environment of a professional bakery oven.
5. **The Bake:** Carefully remove the blazing-hot pot. Using the parchment paper as a sling, lower your dough ball into the pot. Cover with the lid and bake for 30 minutes. The lid traps steam, allowing the bread to expand fully (this is called “oven spring”). After 30 minutes, remove the lid. The crust will be pale but set. Continue baking, uncovered, for another 15-20 minutes until it’s a deep, burnished gold.
6. **The Cool Down:** Lift the loaf out using the parchment sling and place it on a wire rack. This is the hardest part: you must let it cool for at least an hour. Slicing into it too soon releases the steam and can make the crumb gummy. The wait is worth it. Listen for the symphony of crackles as it cools.
🍳 Used in this recipe
Get It on Amazon Basics✔ Free Delivery | ✔ Top Rated | ✔ Budget-Friendly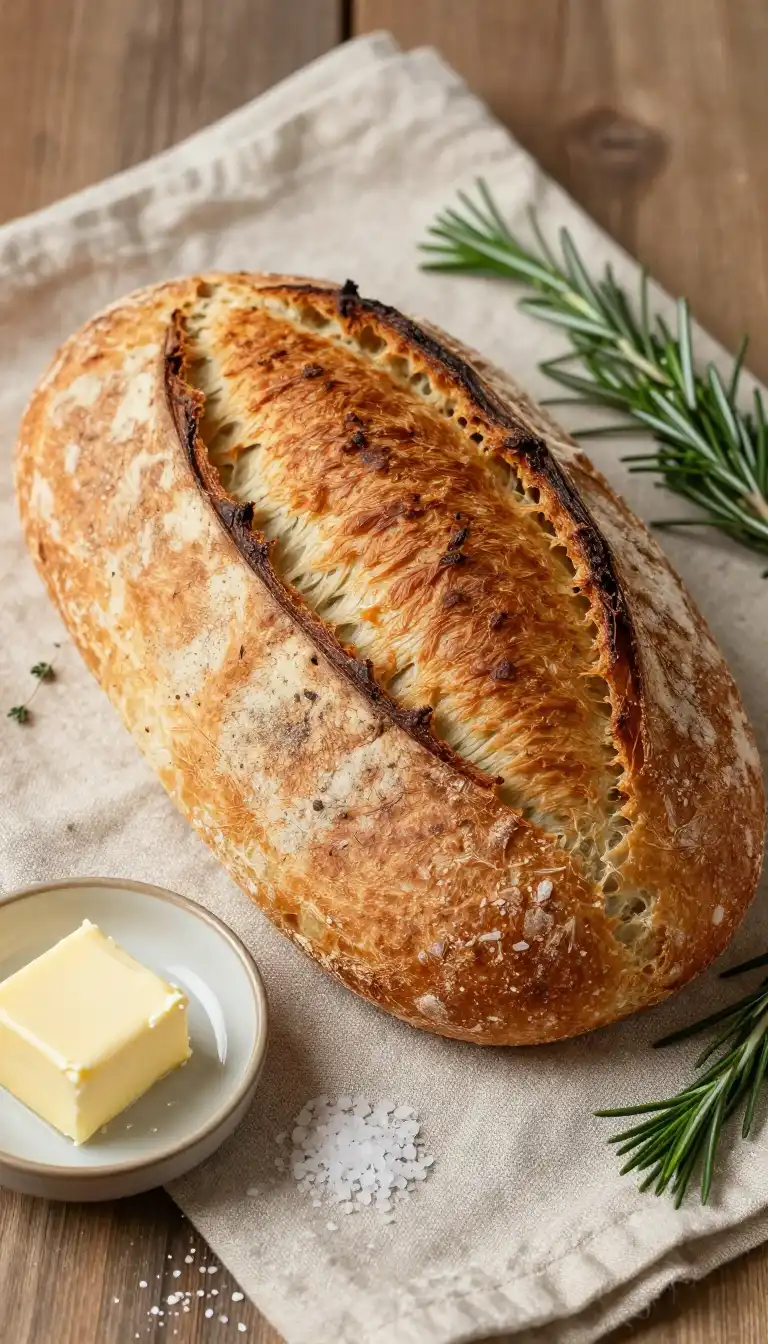
How NOT to Become a Bread-Baking Cautionary Tale
Even the simplest recipes have their pitfalls. Consider this your friendly guide to avoiding the most common pitfalls.
* **The Yeast Graveyard:** Your water must be lukewarm. Too hot, and you’ll kill the yeast. Too cold, and it will stay dormant. Think of it like a warm hug, not a scalding shower.
* **The Impatience Trap:** Rushing the first rise is the cardinal sin. That 12-18 hour period is where the flavor is born. If you cut it short, you’ll get a dense, flat loaf with a one-dimensional taste. Set it and forget it.
* **The Hot Pot Mishap:** Never, ever skip the preheating of your Dutch oven. That blast of initial heat and steam is what creates the crispy, blistered crust you’re dreaming of. A cold pot is a recipe for a sad, pale loaf.
* **The Premature Slice:** I’ll say it again, because it’s that important. **Let it cool.** A hot loaf is a steamy, gummy loaf. Patience is a virtue, and in this case, it’s the key to a perfect crumb.
Serving Vibes: Setting the Scene
This bread is a chameleon. It’s the ultimate comfort on a rainy day, torn apart and slathered with creamy butter and a drizzle of honey while curled up with a book. It’s the star of a rustic charcuterie board, standing proud next to a bowl of olive oil and herbs for dipping. It’s the foundation for the world’s best grilled cheese, the perfect vehicle for a hearty soup, or the simple, glorious start to a family dinner.
🍳 Used in this recipe
Get It on Amazon Basics✔ Free Delivery | ✔ Top Rated | ✔ Budget-FriendlyRecommended Product
 -15%
-15%
Silicone Baking Mat with Measurement Guide (Non-Stick Pastry & Cake Mat)
- Material →: Food-grade silicone (safe for baking)
- Surface →: Non-stick (no butter or oil needed)
- Design →: Measurement guide for perfect cake sizes
Picture it: a wooden board, a warm loaf steaming in the center, a sharp knife at the ready. Friends gather around, the conversation flows, and the first crack of the crust echoes in the room. It’s not just food; it’s an experience. It’s an invitation to slow down, to connect, and to savor.
Bread Whisperer’s FAQ: Your Top Questions, Answered
How do I freeze Easy No-Knead Artisan Bread with Crispy Crust?
This bread freezes beautifully! Once the loaf is completely cool, wrap it tightly in a double layer of plastic wrap, then in a layer of aluminum foil. It will keep in the freezer for up to 3 months. To reheat, unwrap and place the frozen loaf directly into a 350°F (175°C) oven for 15-20 minutes until warmed through and the crust is crisp again.
What are the calories in Easy No-Knead Artisan Bread with Crispy Crust?
A standard slice (1/12th of the loaf) typically contains around 150-180 calories, depending on the exact size and ingredients used. It’s a satisfying source of carbohydrates for energy, making it a great fuel for your day.
🍳 Used in this recipe
Get It on Amazon Basics✔ Free Delivery | ✔ Top Rated | ✔ Budget-FriendlyCan I use whole wheat flour for this recipe?
You can, but it will change the texture and rise. Whole wheat flour is heavier and absorbs more water. For best results, start by substituting half of the bread flour with whole wheat flour and add a couple of tablespoons of extra water to compensate. The loaf will be denser but wonderfully nutty and flavorful.
My dough didn’t rise much. What went wrong?
The most likely culprit is the yeast. Check the expiration date on your yeast packet. If it’s old, it may not be active. Also, ensure your water was in the right lukewarm temperature range. If your kitchen is very cold, the rising time may take longer than 18 hours—give it more time.
Recommended Product
 -33%
-33%
Astercook 15‑Piece Kitchen Knife Set with Built‑In Sharpener Block
- Built‑In Sharpener →: Integrated sharpener in block for easy maintenance
- Material →: High‑carbon German stainless steel blades (rust‑resistant, durable)
- Dishwasher Safe →: Yes (but hand washing recommended to preserve sharpness)
Do I really need a Dutch oven?
It’s highly recommended for the best crust, but not absolutely mandatory. If you don’t have one, you can bake the bread on a preheated baking sheet. To mimic the steamy environment, place a metal pan on the bottom rack of the oven while it preheats. When you slide your bread in, toss a handful of ice cubes into the hot pan to create instant steam. The crust won’t be *quite* as spectacular, but it will still be delicious!
🍳 Used in this recipe
Get It on Amazon Basics✔ Free Delivery | ✔ Top Rated | ✔ Budget-FriendlyFor more inspiration and to see how others are mastering this technique, check out this collection of ideas on **Pinterest**. And when you’re ready to dive in, you can always revisit the full recipe and tips for making this **Easy No-Knead Artisan Bread with Crispy Crust** right here on the blog. Happy baking

Easy No-Knead Artisan Bread with Crispy Crust
Ingredients
Ingredients
- 3 cups all-purpose flour plus more for dusting
- 1.5 tsp kosher salt or fine sea salt
- 0.5 tsp instant yeast or active dry yeast
- 1.5 cups warm water about 110°F/43°C