That Sound? It’s Your Kitchen Applauding You.
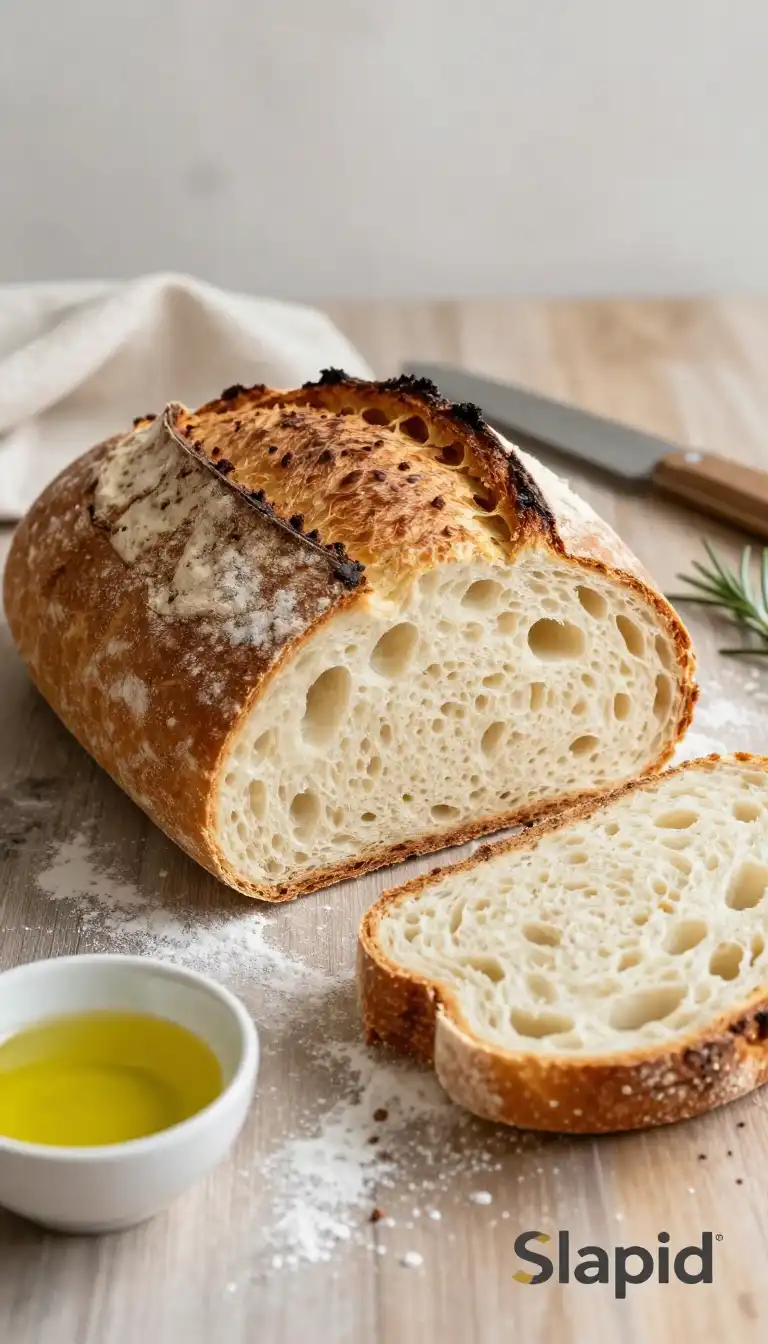
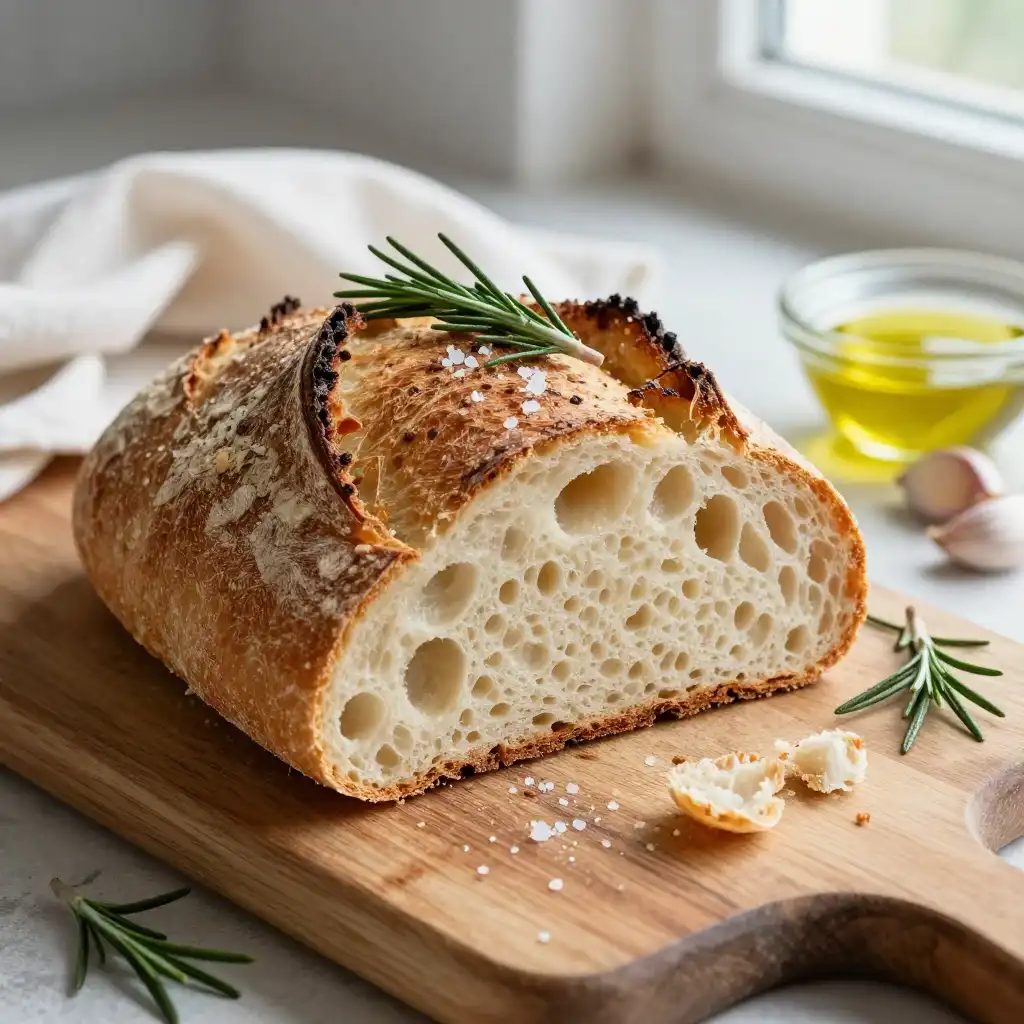
There is a specific moment, a tiny slice of culinary heaven, that happens right after you pull a loaf of bread from the oven. It’s the sound. A delicate, singing *crackle* that continues long after the heat is turned off. It’s the sound of a perfectly formed crust settling into its glorious destiny. That sound, my friends, is what separates the sad, store-bought stuff from a masterpiece you made with your own two hands.
Forget everything you think you know about baking. We’re talking about a recipe so simple, so brilliantly lazy, it feels like you’re pulling a fast one on the entire culinary world. This isn’t just bread; it’s a monument to patience, not effort. You don’t need a fancy stand mixer, muscles from kneading, or even a PhD in yeast whispering. All you need is time, a hot Dutch oven, and a craving for something truly spectacular. This is the **Easy No-Knead Artisan Dutch Oven Crusty Bread** that will make you a legend in your own kitchen.
The ‘Secret’ Weapon: A Viciously Hot Vessel
You’ve heard the hype. Dutch oven bread. But why? What’s the deal with this heavy pot that makes all the difference? It’s not just for show; it’s pure, delicious science.
When you bake bread, you want a great “oven spring”—that magical final rise in the first few minutes of baking. For that to happen, you need steam. Steam keeps the crust soft and pliable at the beginning, allowing the loaf to expand to its full, airy potential. Without it, your bread gets a tough, thick skin way too early and ends up looking like a dense hockey puck.
Now, most home bakers don’t have a fancy steam-injection oven like the pros. Enter the Dutch oven. By preheating this heavy cast-iron beast along with your oven, you create a miniature pizza oven inside your regular oven. When you drop your dough inside, the water trapped in the dough instantly turns to steam, but it has nowhere to go. The pot’s lid traps it, creating a high-humidity environment that mimics a professional bakery. This is the magic. This is how you get that professional-level crackling crust and a gorgeous, dramatic rise.
What You Need to Raid the Pantry
The beauty here is in the spartan simplicity. Four humble ingredients that, when given enough time, transform into something magnificent. No weird additives, no unpronounceable enhancers. Just the basics.
**The Holy Quartet:**
* **3 cups (360g) All-Purpose Flour:** Don’t overthink it. Standard flour works beautifully. Bread flour will give you a slightly chewier crumb, but we’re not splitting hairs here.
* **1 ½ teaspoons Salt:** Fine sea salt or table salt will do. This isn’t just for taste; it helps control the yeast and strengthens the gluten.
* **½ teaspoon Instant Yeast (or Active Dry):** Instant is great because you can mix it right in. If using Active Dry, just dissolve it in the warm water first. It’s a tiny extra step for the same amazing result.
* **1 ½ cups (355ml) Warm Water:** Think bathwater, not scalding. Around 100-110°F (38-43°C) is the sweet spot to wake up the yeast without killing it.
Let’s Get Cooking: The Patient Person’s Method
This is less of a recipe and more of a “set it and forget it” situation. It’s the perfect recipe for a day you’re home, pottering around, feeling a sense of accomplishment without breaking a sweat.
**Step 1: The Big Mix-Up**
In a large bowl, whisk together your flour, salt, and yeast. Now, pour in the warm water. Grab a sturdy spatula or wooden spoon and mix it all together until you no longer see dry flour patches. It will look shaggy, messy, and frankly, not like bread dough at all. This is normal! Don’t panic. Cover the bowl with plastic wrap or a damp tea towel and find a warm, draft-free spot for it.
**Step 2: The Magic Nap (The Long, Slow Rise)**
This is where you do absolutely nothing. Let the dough rest for at least 8 hours, but up to 24 hours is even better. The longer it sits, the more complex the flavor will be. The yeast is slowly feasting on the sugars in the flour, creating those delicious airy pockets and a wonderful tang. You’ll come back to a bubbly, jiggly, slightly sticky mass of dough. It’s alive!
**Step 3: Shape and Second Dream**
Generously flour a clean surface and your hands. Scrape the dough out of the bowl—it will be very loose and wet. With lightly floured hands, gently fold the edges of the dough into the center a few times to form a rough ball or round shape. Place it on a piece of parchment paper, seam-side down, and let it rest for another 30-60 minutes. While it rests, place your Dutch oven (with the lid on) into the oven and preheat to 450°F (230°C). Get it screaming hot.
**Step 4: The Grand Entrance**
Carefully remove the blazing hot Dutch oven from your oven. Take the lid off. Lift your dough by the parchment paper and gently lower it (still on the paper) into the pot. The sizzle you hear is the sound of success. Quickly put the lid back on and place it back in the oven.
**Step 5: Bake, Then Bake Some More**
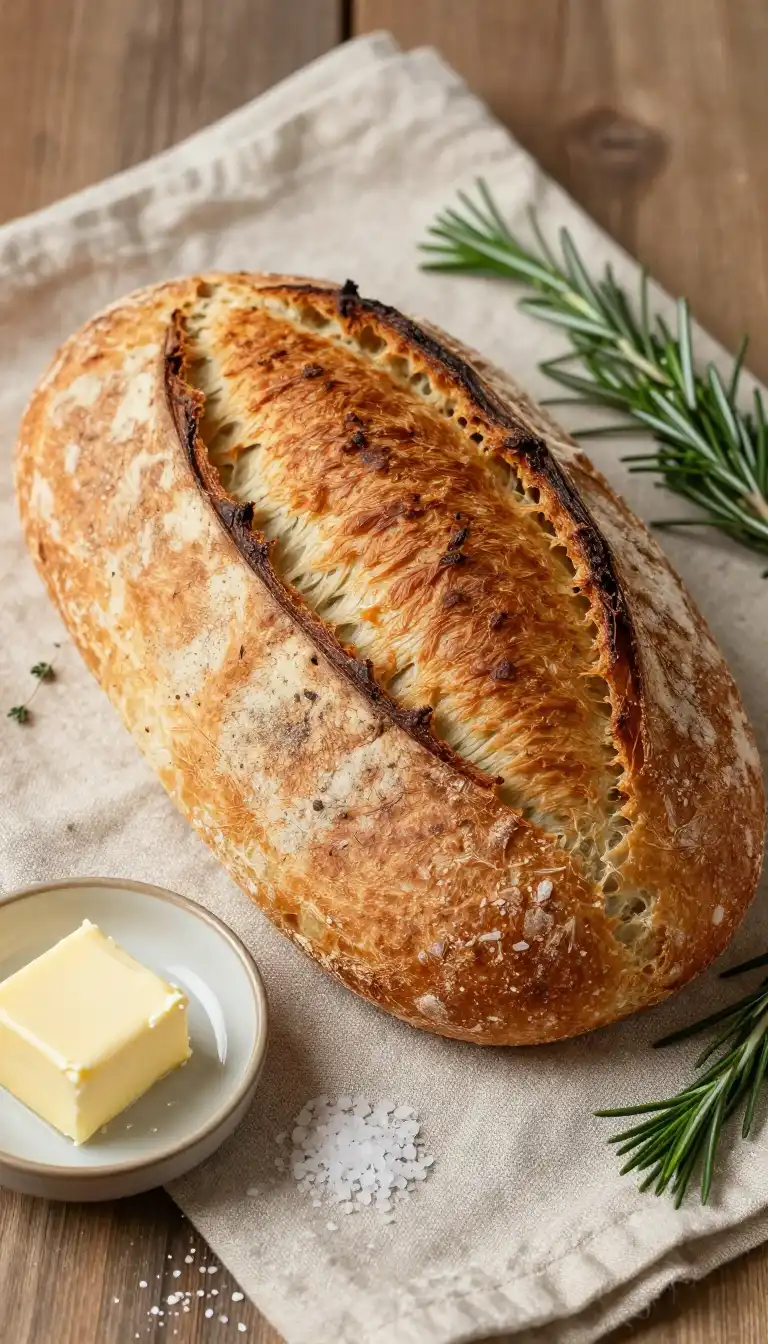
Bake covered for 30 minutes. This is the steam-baking phase. Then, remove the lid. The bread will be pale but puffed up. Continue baking for another 15-20 minutes, uncovered, until the crust is a deep, spectacular golden brown. Your kitchen will smell like a Parisian bakery.
**Step 6: The Hardest Part: Waiting**
Using the parchment paper as handles, lift the bread out of the Dutch oven and place it on a wire rack. You MUST let it cool for at least one hour before slicing. If you cut into it while it’s hot, the steam escapes, and you’ll end up with a gummy interior. The wait is a test of will, but it’s essential for perfection.

Avoiding Breadpocalypse: Common Pitfalls
Even the easiest recipes can go sideways. Here’s how to dodge the bullets and ensure a flawless loaf.
* **Your Dough is a Bricks-terpiece:** If your bread didn’t rise, your yeast was likely dead. Test your yeast first by dissolving it in warm water with a pinch of sugar. If it doesn’t get foamy and bubbly within 10 minutes, it’s time for a new jar.
* **The Dense Loaf of Sadness:** You got impatient and didn’t let it rise long enough. Or, you added too much flour when shaping. The dough is supposed to be sticky and wet—that’s its charm! Don’t add a ton of extra flour; just use enough to handle it.
* **The Pale and Uninteresting:** Your oven wasn’t hot enough, or you didn’t leave the lid off for the final bake. That deep, dark golden crust is where all the flavor lives. Don’t be afraid of a little color! It’s caramelized deliciousness.
The Vibe: Setting the Scene for Your Masterpiece
This bread isn’t just food; it’s an event. It’s the centerpiece of a rainy Sunday afternoon, with a pot of soup simmering on the stove. It’s the star of a “bring-a-dish” potluck, where it will effortlessly outshine everything else on the table. Tear off a warm chunk, slather it with creamy butter and a swirl of honey, and suddenly your kitchen is the coziest place on Earth. It’s the perfect companion for a hearty chili, a vehicle for a ridiculously good grilled cheese, or simply a glorious snack all on its own, still warm from the oven. For more culinary adventures that feel this rewarding, explore the rest of our recipes at **[slapid.com](https://slapid.com/recipes/easy-no-knead-artisan-dutch-oven-crusty-bread/)**.
Breaducation: Your Questions, Answered
Can I use whole wheat flour?
You can, but proceed with caution. Whole wheat flour absorbs more water and can make the bread denser. If you want to try it, start by substituting half of the all-purpose flour with whole wheat and be prepared to add a little extra water if the dough seems too stiff. For the classic airy, chewy result, stick with all-purpose.
How do I store leftovers to keep that amazing crust?
Whatever you do, do NOT store it in a plastic bag. That will turn your glorious crust into a sad, soft mess. To keep it crusty, store it in a paper bag at room temperature for up to two days. For longer storage, wrap it tightly in foil and freeze it. To revive it, unwrap and pop it in a 350°F (175°C) oven for 10-15 minutes. It’ll taste like it was just baked.
How to freeze Easy No-Knead Artisan Dutch Oven Crusty Bread?
This is the best part for meal preppers! Once the loaf is completely cooled, wrap it tightly in plastic wrap, then a layer of aluminum foil, and place it in the freezer. It will keep beautifully for up to 3 months. To thaw, let it sit on the counter for a few hours, then re-crisp it in a 375°F (190°C) oven for about 10 minutes. It’s like a time machine for freshness.
What are the calories in Easy No-Knead Artisan Dutch Oven Crusty Bread?
While this will vary based on your exact ingredients, a standard slice (about 1/12th of the loaf) is roughly 150-180 calories. It’s all wholesome, simple goodness. No mystery, just flour, water, salt, and yeast—the building blocks of life, and deliciousness.
My dough seems extremely wet. Is that right?
YES! A thousand times, yes. This is the key to the entire recipe. A wet, shaggy dough is what allows the long, slow fermentation to create those beautiful open holes and a soft, chewy interior. Resist the urge to add more flour during the initial mix. Trust the process. It’s supposed to look like a sticky, gooey mess. It’s what makes it, well, artisan.

Easy No-Knead Artisan Dutch Oven Crusty Bread
Ingredients
Ingredients
- 3 cups all-purpose flour plus extra for dusting
- 1 1/2 tsp kosher salt fine grain
- 1/2 tsp instant yeast or active dry yeast
- 1 1/2 cups warm water about 105-110°F