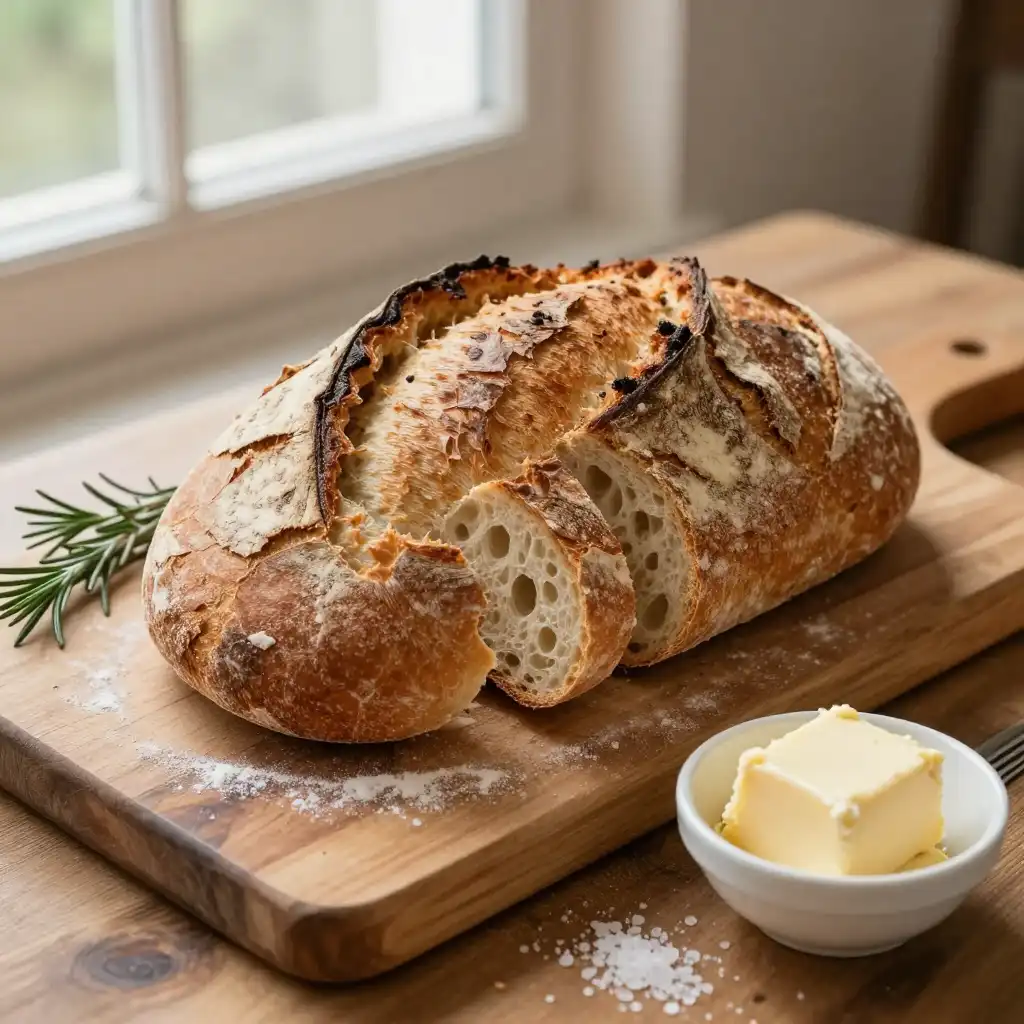
There’s a certain magic that happens when you open a Dutch oven after a long bake. It’s not just the dramatic whoosh of steam that escapes, fogging up your glasses and your kitchen windows. It’s the smell. It’s the intoxicating aroma of toasted wheat, a hint of that deep, almost nutty scent that only comes from a properly fermented dough. And then you see it: a loaf so impossibly golden, with a crust so audaciously blistered and crackly it sounds like a thunderstorm under your knife. This, my friends, is the Easy No-Knead Artisan Dutch Oven Crusty Bread, and it’s about to make you the undisputed bread champion of your neighborhood.
Let’s be honest. The idea of making bread from scratch can feel like signing up for a second full-time job. Kneading for ages, waiting for it to rise, punching it down, worrying if it’s too hot, too cold, too drafty. It’s a lot. But what if I told you that the best loaf of your life requires only four ingredients and the patience of a saint who is, frankly, just waiting around anyway? This recipe is a rebel. It scoffs at kneading. It laughs in the face of complicated techniques. It does all the hard work for you while you’re off living your life. The secret isn’t in the effort; it’s in the wait.
Recommended Product

The Four-Ingredient Heist
This isn’t a shopping list; it’s a raid on the most basic staples you already own. We’re not looking for exotic flours or special salts. We’re keeping it simple, clean, and powerful.
🍳 Used in this recipe
Get It on Amazon Basics✔ Free Delivery | ✔ Top Rated | ✔ Budget-FriendlyFirst, the foundation: all-purpose flour. It’s the canvas for our masterpiece. Don’t overthink it. Next, a pinch of salt. This isn’t just for flavor; it’s a team player that controls the yeast and strengthens the gluten network. Then, the magic dust: instant yeast. This little microorganism is our tireless worker, puffing up the dough while we sip our coffee. And finally, the most crucial element of all: tepid water. It wakes up the yeast and brings the dough together. That’s it. Four humble ingredients that, with a little time, transform into something legendary.
The Secret Sauce: Time is Your Head Baker
If there’s a single “secret” to this Easy No-Knead Artisan Dutch Oven Crusty Bread, it’s the long, slow fermentation. While other recipes rush you, this one invites you to慢下来 (màn xiàlái – slow down). This extended rest, often 12 to 18 hours, is where all the flavor is developed.
Think of it like this: a quick-rise bread is like a fast-food burger. It gets the job done. A long-fermented bread is a slow-smoked brisket. The yeast works slowly, breaking down the starches and proteins in the flour, creating complex, nuanced flavors that you just can’t get from a quick rise. Bubbles of carbon dioxide form slowly, creating a web of gluten that’s open and airy. This is the science behind the beautiful, holey interior. It’s not magic, it’s just patient science, and it’s the key to making an authentic artisan loaf at home.
🍳 Used in this recipe
Get It on Amazon Basics✔ Free Delivery | ✔ Top Rated | ✔ Budget-FriendlyLet’s Get Cooking: The Step-by-Step
Alright, apron on? Let’s do this. It’s ridiculously simple, I promise.
In a large bowl, whisk together your flour, salt, and instant yeast. Pour in the tepid water and grab a spatula or wooden spoon. Mix it all up until a shaggy, sticky dough forms. There’s no kneading here. Don’t look for a smooth ball; it won’t happen. It should look like a glorious, messy blob. Cover the bowl tightly with plastic wrap and find it a cozy spot on your counter to rest. Now, walk away. Go watch a movie, sleep for the night, or tackle that mountain of laundry. Let the dough do its thing for 12-18 hours.
The next day, you’ll be greeted by a dough that has doubled in size and is covered in bubbly, beautiful dimples. Now for the fun part. Generously flour your work surface and scrape the dough out of the bowl. It will be sticky and stringy. Fold it over on itself once or twice to give it a little shape, then let it rest for 15 minutes. While it rests, place your Dutch oven (with its lid on) into your regular oven and crank the heat to 450°F (230°C). Let it get screaming hot for a solid 30 minutes. This is non-negotiable. The super-heated pot is what creates that explosive oven spring and the crusty exterior.
🍳 Used in this recipe
Get It on Amazon Basics✔ Free Delivery | ✔ Top Rated | ✔ Budget-FriendlyNow, carefully remove the blazing hot Dutch oven. Plop your dough ball into it (you can use parchment paper to avoid a frantic burn situation), slash the top with a sharp knife or razor blade (this controls where it expands), pop the lid back on, and return it to the oven. Bake for 30 minutes with the lid on, then remove the lid and bake for another 10-15 minutes until it’s a deep, burnished gold. Your kitchen will smell divine. Your heart will sing.

How Not to Mess This Up (Seriously, Don’t Do These Things)
Even a foolproof recipe has its pitfalls. Consider this your friendly guide to avoiding bread-making heartbreak.
Don’t Use a Cold Dutch Oven
I said it before, and I’ll say it again: that Dutch oven needs to be HOT. Placing room-temperature dough into a cold pot is like asking a race car to start in third gear. You need that initial blast of steam from the hot pot hitting the wet dough to get that glorious lift and crackly crust.
🍳 Used in this recipe
Get It on Amazon Basics✔ Free Delivery | ✔ Top Rated | ✔ Budget-FriendlyDon’t Skip the Flour
This dough is supposed to be wet and sticky. Don’t be tempted to add a ton of extra flour to the dough itself, but do be generous when you turn it out onto your surface. A well-floured surface is your best friend here, preventing a gluey mess and making shaping a breeze.
Don’t Touch It Too Much
The beauty of this recipe is the hands-off approach. Don’t poke it, don’t prod it, and for the love of all that is holy, don’t try to knead it. You’ll destroy the delicate, airy structure the long fermentation worked so hard to build. Trust the process.
Vibes: Setting the Scene for Your Masterpiece
So, when do you eat this magnificent creation? This isn’t just food; it’s an event.
🍳 Used in this recipe
Get It on Amazon Basics✔ Free Delivery | ✔ Top Rated | ✔ Budget-FriendlyThe Rainy Day Sanctuary: Imagine a gray, drizzly afternoon. The world outside is muted, but inside, it’s golden. The house is filled with the warmth of the oven and the scent of baking bread. You pull the loaf from its pot, slice into it while it’s still steaming, and slather a piece with good salted butter. It melts instantly, seeping into the soft crumb. Pair it with a bowl of creamy tomato soup or a hearty lentil stew. This is comfort food in its highest form.
The Centerpiece of Celebration: This loaf is also a showstopper. Bring it to a potluck or a family gathering and watch it disappear. It doesn’t need anything fancy. Set it on a wooden board in the middle of the table with a small bowl of high-quality olive oil for dipping and another with a mix of flaky sea salt and cracked pepper. People will gather around, breaking off chunks, talking, and laughing. The crackle of the crust is the soundtrack to a good time.
Recommended Product

Amazon Basics Silicone Baking Mat (2-Pack Non-Stick Oven Liners)
- Material →: Food-safe silicone, reusable thousands of times
- Non-Stick →: No butter, oil, or parchment needed
Your Bread Questions, Answered
People always have questions when they embark on their bread-making journey. Here are the answers to the most common ones.
🍳 Used in this recipe
Get It on Amazon Basics✔ Free Delivery | ✔ Top Rated | ✔ Budget-FriendlyCan I make this Easy No-Knead Artisan Dutch Oven Crusty Bread without a Dutch oven?
Ah, the million-dollar question. A Dutch oven is the key to that perfect crust because it traps steam, mimicking a professional bread oven. But if you’re in a pinch, you can get a similar effect. Preheat a baking sheet in the oven. Place your loaf on a piece of parchment paper and slide it onto the hot sheet. Immediately toss a handful of ice cubes into a metal pan on the bottom rack of the oven to create steam. It’s not quite the same, but it’s a solid workaround!
How do I store the leftovers?
Whatever you do, do not store this bread in the refrigerator. The cold air will make it go stale faster. The best way to store it is in a paper bag or a bread box at room temperature for up to two days. This keeps the crust crisp while the inside stays soft. For longer storage, see the next question.
How to freeze Easy No-Knead Artisan Dutch Oven Crusty Bread?
This bread freezes beautifully! The key is to do it right away, while it’s still at its peak freshness. First, let the loaf cool completely. To prevent freezer burn, wrap it snugly in a layer of plastic wrap, followed by a layer of aluminum foil, or place it in a heavy-duty freezer bag. It will keep for up to 3 months. To thaw, let it sit on the counter for a few hours. For a fresh-from-the-oven experience, unwrap the thawed loaf and pop it into a 350°F (175°C) oven for 5-10 minutes to re-crisp the crust.
🍳 Used in this recipe
Get It on Amazon Basics✔ Free Delivery | ✔ Top Rated | ✔ Budget-FriendlyWhat are the calories in Easy No-Knead Artisan Dutch Oven Crusty Bread?
While this is an artisan loaf made with simple ingredients, it’s best to think of it as a treat to be savored. A generous slice (about 1/8th of the loaf) typically contains around 150-180 calories. Of course, this can vary slightly based on the exact ingredients you use. But honestly, every single calorie is worth it for that taste and texture!
Recommended Product
 -11%
-11%
8‑Piece Deep Glass Baking Dish Set with Plastic Lids (Rectangular Bakeware)
- Material: Oven, freezer & microwave safe borosilicate glass (goes from fridge/oven without cracking)
- Pieces →: 4 rectangular dishes + 4 tight‑fitting plastic lids (stackable)
- Easy Care →: Dishwasher safe glass & lids
Can I use whole wheat flour?
You can, but with a caveat. Whole wheat flour has more bran and germ, which can cut through the gluten strands and result in a denser loaf. If you want to try it, start by substituting only half of the all-purpose flour with whole wheat. This will give you a nuttier flavor and a heartier texture without sacrificing all that beautiful airiness.
So there you have it. The secret to bakery-quality bread without the bakery-level stress. This isn’t just a recipe; it’s an invitation to slow down, to fill your home with incredible smells, and to create something truly delicious from the simplest of ingredients. Now go forth and bake!
🍳 Used in this recipe
Get It on Amazon Basics✔ Free Delivery | ✔ Top Rated | ✔ Budget-Friendly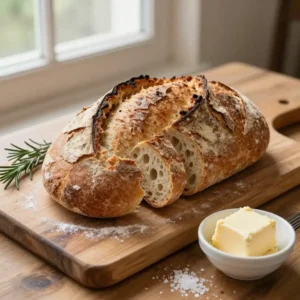
Easy No-Knead Artisan Dutch Oven Crusty Bread
Ingredients
Ingredients
- 3 cups All-purpose flour Plus more for dusting
- 1.5 cups Warm water About 100-110°F (38-43°C)
- 2 tsp Kosher salt Or fine sea salt
- 1/4 tsp Instant yeast Also known as rapid-rise yeast