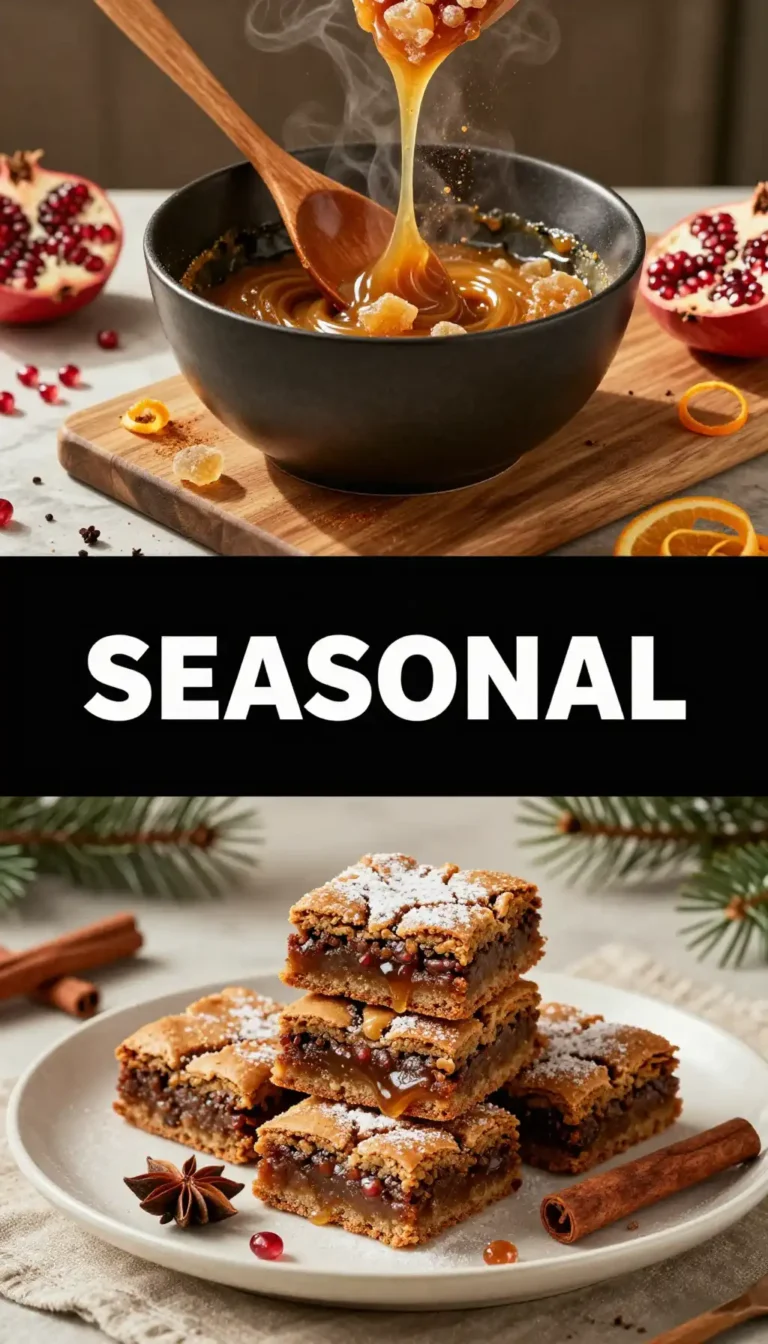
Imagine a dessert that doesn’t just sit on the plate, but performs a private concerto for your taste buds. Imagine the first bite: a cool, velvety wave of cream cheese meeting the sharp, floral zing of a hibiscus-infused berry reduction.
It’s a visual masterpiece, too. We’re talking about deep, moody magenta swirls dancing through a snowy white base, sitting atop a crust so buttery it practically melts before it hits your tongue.
Recommended Product
 -15%
-15%
Silicone Baking Mat with Measurement Guide (Non-Stick Pastry & Cake Mat)
- Material →: Food-grade silicone (safe for baking)
- Surface →: Non-stick (no butter or oil needed)
- Design →: Measurement guide for perfect cake sizes
This isn’t your average “mall kiosk” cheesecake. This is the **Hibiscus and Berry Swirl Cheesecake**, and it’s about to become the most requested recipe in your repertoire.
🍳 Used in this recipe
Get It on Amazon Basics✔ Free Delivery | ✔ Top Rated | ✔ Budget-Friendly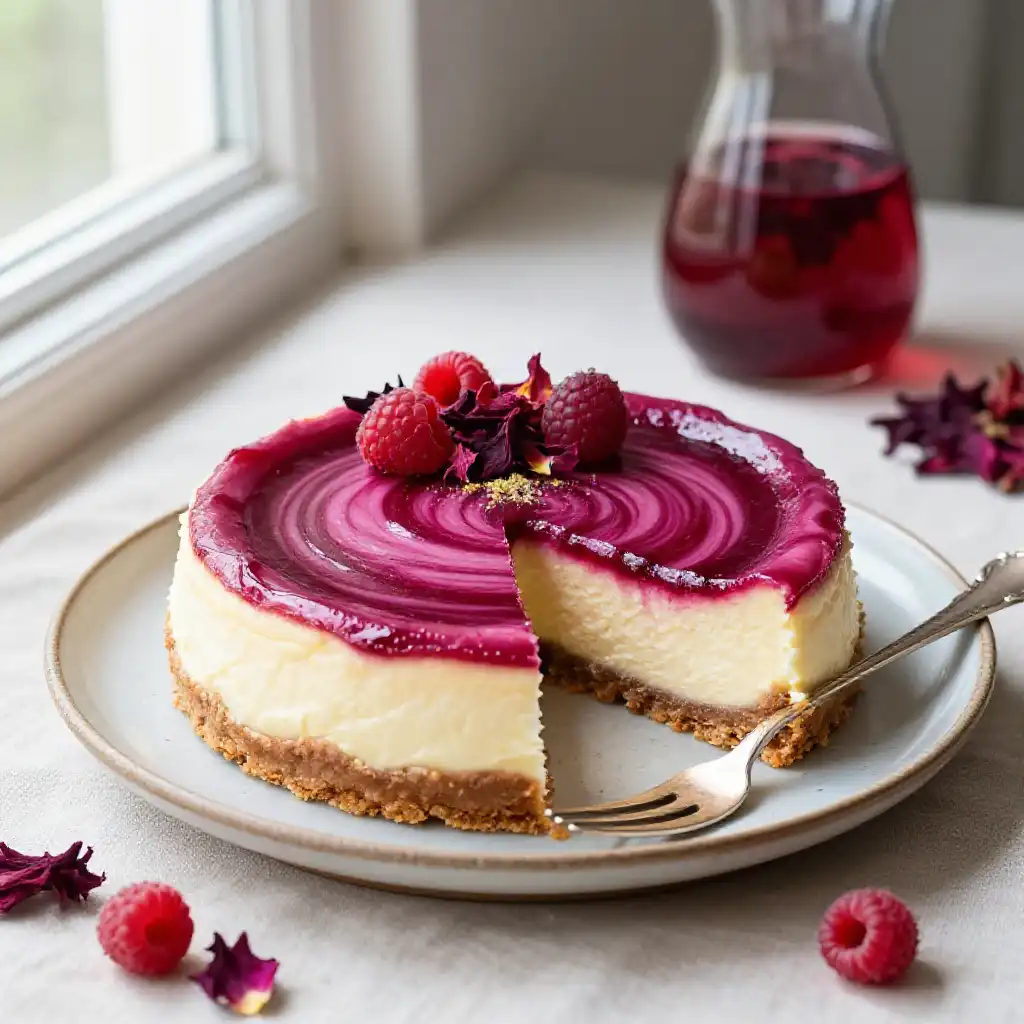
## The Floral Magic You Didn’t Know You Needed
Most people think of hibiscus as something you sip while sitting on a beach with a tiny umbrella in your hand. And while it makes for incredible [smoothies and drinks](https://indixer.com/category/smoothies-drinks/), its true calling might just be in the oven.
Hibiscus brings a tartness that is far more sophisticated than lemon and deeper than plain raspberry. When you simmer those dried calyxes with a medley of blackberries and raspberries, you get a syrup that tastes like a summer garden after a rainstorm.
🍳 Used in this recipe
Get It on Amazon Basics✔ Free Delivery | ✔ Top Rated | ✔ Budget-FriendlyIt’s the secret weapon. It cuts through the heavy richness of the cream cheese, making every bite feel light, bright, and dangerously easy to eat.
## The Science of the Perfect Swirl
Why do some cheesecakes look like a toddler’s finger painting while others look like marble statues? It’s all in the viscosity, baby.
🍳 Used in this recipe
Get It on Amazon Basics✔ Free Delivery | ✔ Top Rated | ✔ Budget-FriendlyIf your berry reduction is too watery, it will sink to the bottom like a lead weight. If it’s too thick, it’ll just sit on top like a blob of jam. The secret is reducing that hibiscus-berry mixture until it coats the back of a spoon with a glossy, stubborn sheen.
When you drop those dollops of magenta onto the batter, you aren’t just stirring; you’re *gliding*. Using a thin skewer or a toothpick is the pro move here. Think of it as a low-stakes art project where the final result is edible.
Check out more of our decadent [baked treats and desserts](https://slapid.com/recipes//) to see how we play with textures and flavors!
🍳 Used in this recipe
Get It on Amazon Basics✔ Free Delivery | ✔ Top Rated | ✔ Budget-Friendly## The Flavor Makers (The Ingredient List)
Let’s talk about what’s going into the mixing bowl. No fillers, no fakes—just the good stuff.
### For the Foundation:
* **Graham Cracker Crumbs:** The classic, sandy base that provides the essential crunch.
* **Unsalted Butter:** Melted gold that binds the crust together.
* **A Pinch of Sea Salt:** Because sugar needs a rival to keep things interesting.
🍳 Used in this recipe
Get It on Amazon Basics✔ Free Delivery | ✔ Top Rated | ✔ Budget-Friendly### For the Berry-Hibiscus Soul:
* **Dried Hibiscus Petals:** Look for food-grade dried hibiscus (often labeled as Flor de Jamaica).
* **Mixed Berries:** Fresh or frozen raspberries and blackberries work beautifully.
* **Pomegranate Molasses:** A splash of this adds a deep, tangy complexity that mimics the brightness of citrus but with more soul.
### For the Velvety Filling:
* **Full-Fat Cream Cheese:** Don’t even think about the “light” stuff. We are building a monument to indulgence here.
* **Granulated Sugar:** Just enough to sweeten the deal.
* **Heavy Cream:** This ensures the texture is “cloud-like” rather than “brick-like.”
* **Vanilla Bean Paste:** Those little black flecks are the hallmark of a baker who knows their craft.
## Let’s Get Cooking: The Step-by-Step
🍳 Used in this recipe
Get It on Amazon Basics✔ Free Delivery | ✔ Top Rated | ✔ Budget-Friendly**Step 1: The Crust Commandment.** Preheat your oven to 325°F (160°C). Mix your crumbs, butter, and salt. Press them into a 9-inch springform pan with the bottom of a flat glass. Bake it for 10 minutes. This “par-baking” ensures your crust stays crisp and doesn’t turn into soggy cardboard.
**Step 2: The Reduction.** Simmer your berries, hibiscus petals, a little sugar, and a splash of water in a saucepan. Once the berries break down and the liquid looks like liquid rubies, strain it through a fine-mesh sieve. Discard the solids (or eat them over yogurt!) and simmer the liquid again until it’s thick and syrupy.
**Step 3: The Batter.** Beat your cream cheese and sugar until it’s smooth as silk. Add the eggs one at a time. **Crucial Tip:** Do not overbeat once the eggs are in! Too much air leads to cracks, and cracks are the enemy of cheesecake beauty.
🍳 Used in this recipe
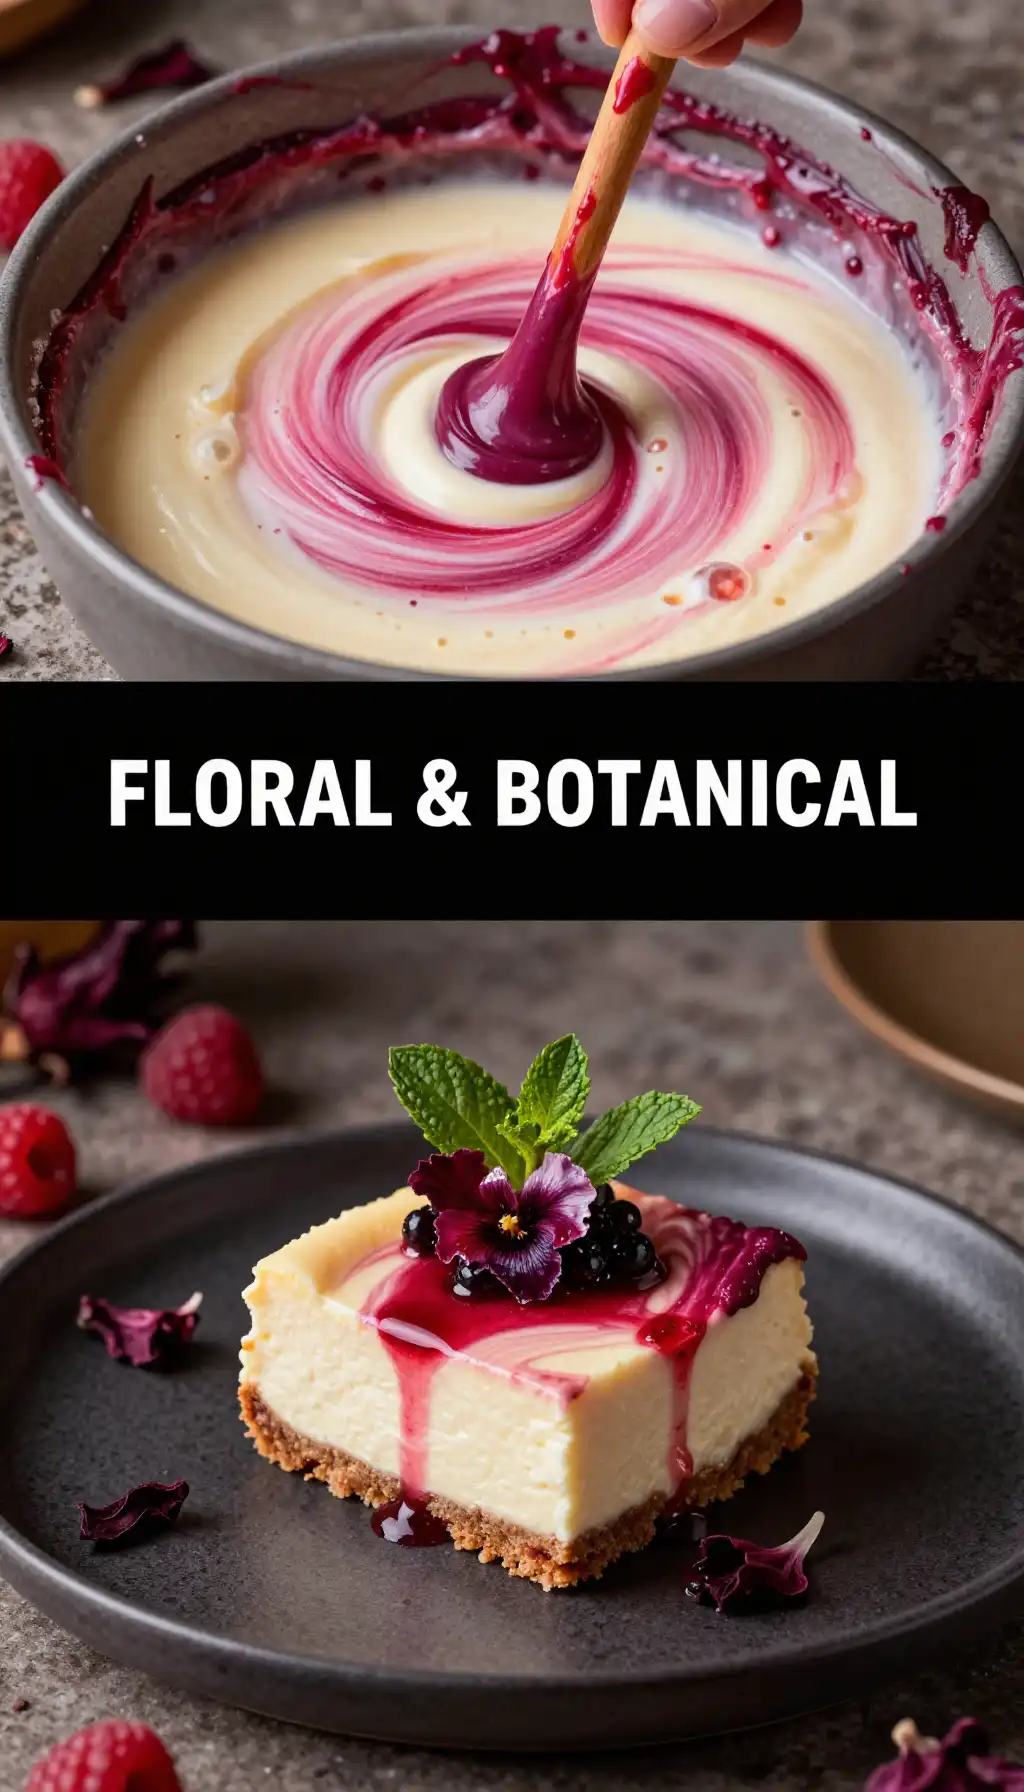
Get It on Amazon Basics✔ Free Delivery | ✔ Top Rated | ✔ Budget-Friendly**Step 4: The Artistry.** Pour the batter over the cooled crust. Drop teaspoons of your hibiscus syrup over the top. Take a skewer and swirl in a figure-eight pattern.
**Step 5: The Water Bath.** Wrap the bottom of your pan in heavy-duty foil (to prevent leaks) and place it in a larger roasting pan filled with an inch of hot water. Bake for about 55-65 minutes.
## How NOT to Mess This Up (Common Pitfalls)
🍳 Used in this recipe
Get It on Amazon Basics✔ Free Delivery | ✔ Top Rated | ✔ Budget-FriendlyLook, we’ve all been there. You open the oven and your cheesecake looks like the Grand Canyon. Here is how to keep your **easy Hibiscus and Berry Swirl Cheesecake** looking like a million bucks:
* **The Temperature Tantrum:** Make sure your cream cheese and eggs are at **room temperature**. If they’re cold, your batter will be lumpy. Lumpy batter is a heartbreak you don’t need.
* **The Peek-a-Boo Habit:** Do not open that oven door! Every time you peek, the temperature drops, and the cheesecake panics. Let it do its thing.
* **The Jiggly Truth:** Your cheesecake is done when the edges are set but the center still has a slight “jiggle” like Jell-O. It will firm up as it cools. If it’s solid in the center, you’ve overbaked it.
* **The Cooling Marathon:** Cooling is part of the cooking process. Leave it in the turned-off oven with the door cracked for an hour, then move it to the counter, *then* the fridge. Patience is a delicious virtue.
## Serving Vibes: Set the Scene
🍳 Used in this recipe
Get It on Amazon Basics✔ Free Delivery | ✔ Top Rated | ✔ Budget-FriendlyThis isn’t just a snack; it’s an event. The **Hibiscus and Berry Swirl Cheesecake** demands a bit of theater.
Imagine a late-summer dinner party on the patio. The sun is setting, the fairy lights are twinkling, and you bring out this magenta-swirled beauty. Serve it with a sprig of fresh mint and maybe a few extra fresh berries on the side.
It’s sophisticated enough for a wedding shower, yet comforting enough for a “just because it’s Tuesday” treat. It pairs perfectly with a cold glass of sparkling cider or a deep, dark espresso.
🍳 Used in this recipe
Get It on Amazon Basics✔ Free Delivery | ✔ Top Rated | ✔ Budget-FriendlyRecommended Product
 -19%
-19%
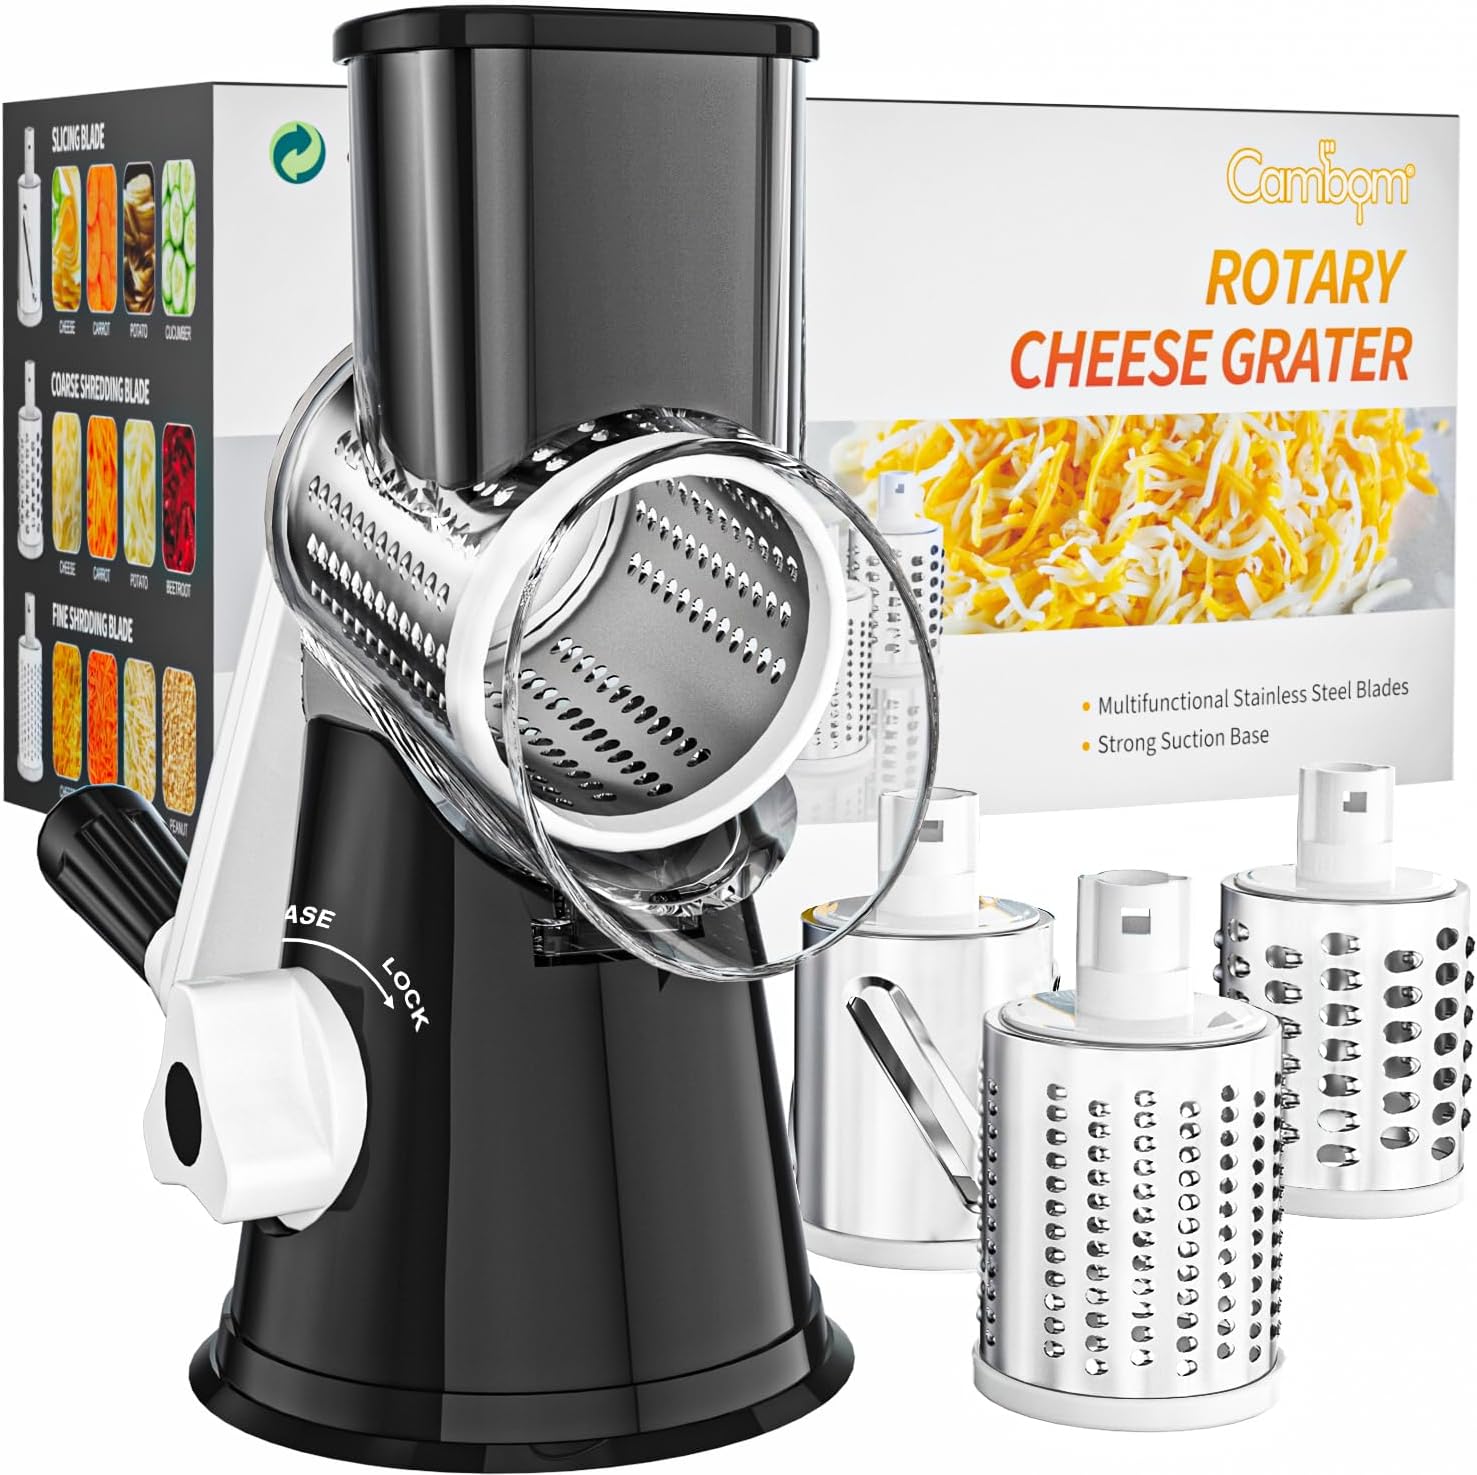
Cambom Rotary Cheese Grater & Vegetable Slicer
- Material: Stainless Steel
## Burning Questions (FAQ)
### How to freeze Hibiscus and Berry Swirl Cheesecake?
Cheesecake is actually a champion of the freezer! To freeze it, let it cool completely in the fridge first. Wrap the whole cake (or individual slices) tightly in plastic wrap, then a layer of aluminum foil. It will stay perfect for up to 3 months. To eat, thaw it in the fridge overnight.
### What are the calories in Hibiscus and Berry Swirl Cheesecake?
While we’re here for the flavor, a standard slice of this cheesecake usually clocks in between 450 to 550 calories. It’s a decadent treat, so make every bite count! Using full-fat ingredients ensures you feel satisfied with one slice.
🍳 Used in this recipe
Get It on Amazon Basics✔ Free Delivery | ✔ Top Rated | ✔ Budget-Friendly### How to make Hibiscus and Berry Swirl Cheesecake without cracks?
The water bath is your best friend. It creates a humid environment that prevents the surface from drying out and cracking. Also, avoid over-mixing the batter once you add the eggs, as trapped air bubbles will rise and pop during baking, causing fissures.
### Can I use hibiscus tea bags instead of dried petals?
Technically, yes! If you can’t find whole dried petals, you can snip open 4-5 high-quality hibiscus tea bags. Just ensure the tea is 100% hibiscus and not blended with other strong flavors like ginger or cinnamon, which might clash with the berries.
### My swirl sank to the bottom! What happened?
Your berry reduction was likely too thin. Next time, simmer it a bit longer until it has the consistency of a thick maple syrup. Also, make sure your cheesecake batter isn’t too runny—if it’s room temp and well-beaten, it should hold the swirl perfectly!
🍳 Used in this recipe
Get It on Amazon Basics✔ Free Delivery | ✔ Top Rated | ✔ Budget-FriendlyNow, go forth and bake! Your kitchen is about to smell like a floral paradise, and your friends are about to think you’ve hidden a professional pastry chef in your pantry. **How to make Hibiscus and Berry Swirl Cheesecake** isn’t just a recipe—it’s your new culinary superpower. Enjoy every creamy, tangy, magenta-swirled second of it!
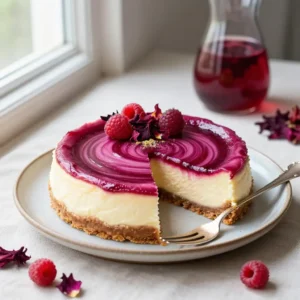
Hibiscus and Berry Swirl Cheesecake

Ingredients
Ingredients
- 1.5 cups graham cracker crumbs finely ground
- 5 tbsp unsalted butter melted
- 24 oz cream cheese softened to room temperature
- 1 cup granulated sugar divided
- 3 large eggs room temperature
- 1 cup sour cream full fat
- 1 tbsp vanilla extract
- 1 cup mixed berries fresh or frozen raspberries and blackberries
- 2 tbsp dried hibiscus flowers crushed or food-grade petals
- 1 tsp lemon juice freshly squeezed
Notes
Recommended Product
 -11%
-11%
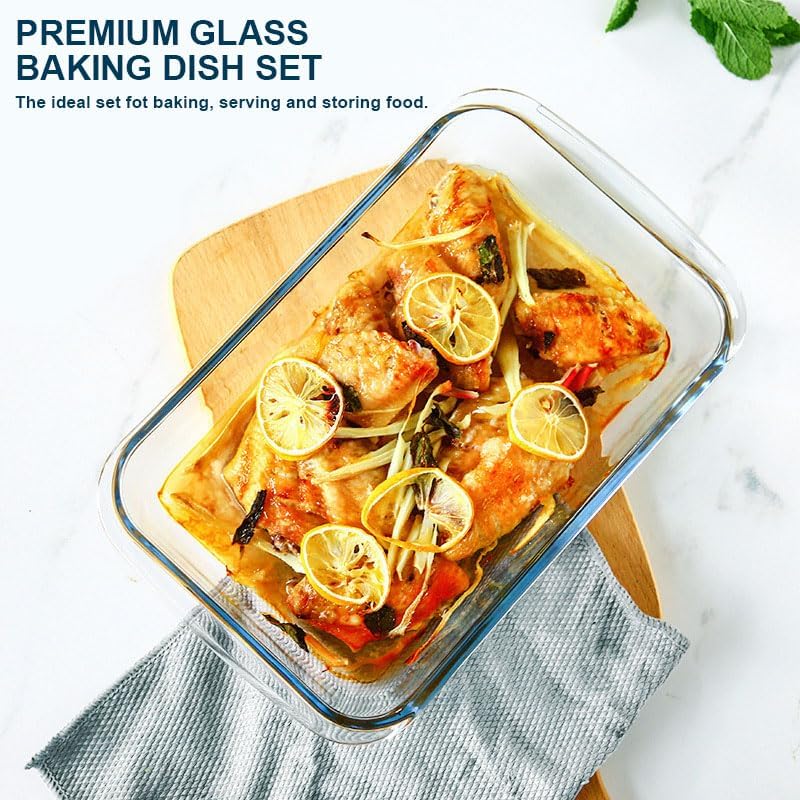
8‑Piece Deep Glass Baking Dish Set with Plastic Lids (Rectangular Bakeware)
- Material: Oven, freezer & microwave safe borosilicate glass (goes from fridge/oven without cracking)
- Pieces →: 4 rectangular dishes + 4 tight‑fitting plastic lids (stackable)
- Easy Care →: Dishwasher safe glass & lids